
In this article, I have explained how to upload files in C# using ASP.NET Web Api and Jquery AJAX, we will be using .NET Framework in this.
The Asp.Net Web Api is a great framework provided by Microsoft for Building HTTP based Restful Services that can be consumed by a broad range of clients including browsers,mobiles,iPhone and tablets etc.
ASP.NET Web API is open source and an ideal platform for building REST-full services over the .NET Framework.
So here is the step by step procedure for uploading files using Web Api :
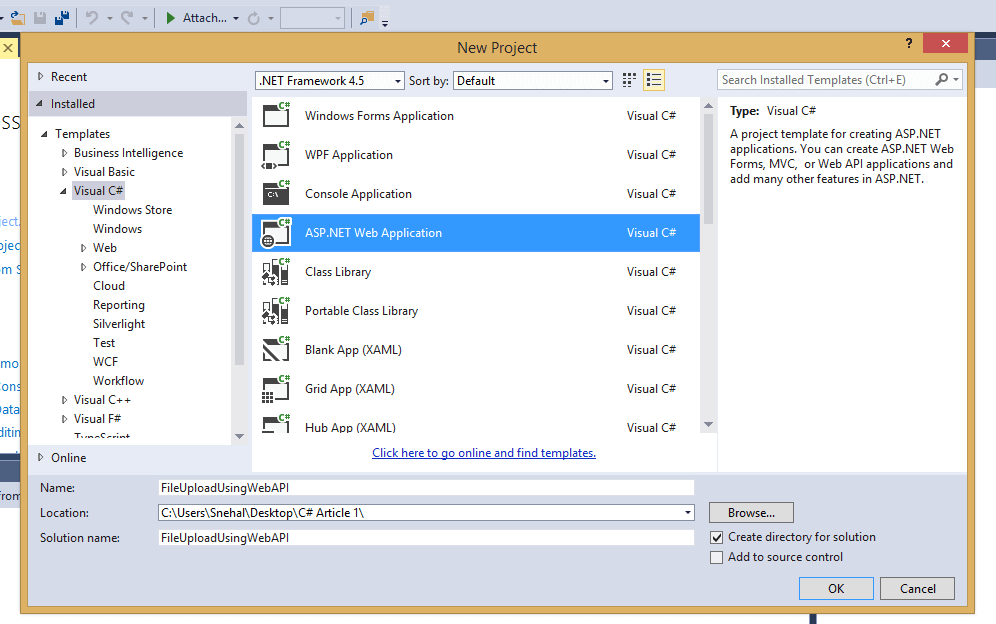
1 .Create a new project in your Visual Studio(File-> New->Project->From web(Left pane)-> Select "Asp.Net Web Application"(right pane)) .
a) Enter a Name, Click "Ok"
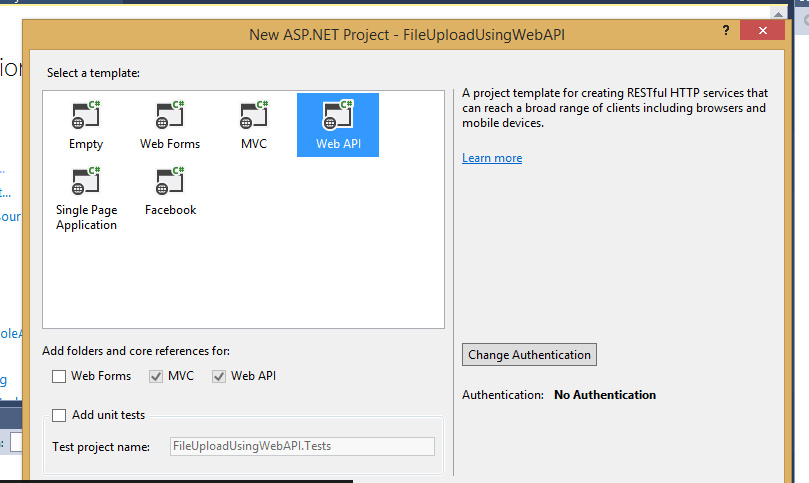
b) Select "WEB API" template from project and click "Ok"
2. Add a folder in the application for saving the uploaded files .
Go to Solution Explorer -> Right-click on Project Name -> Add -> New Folder -> Uploaded Files .

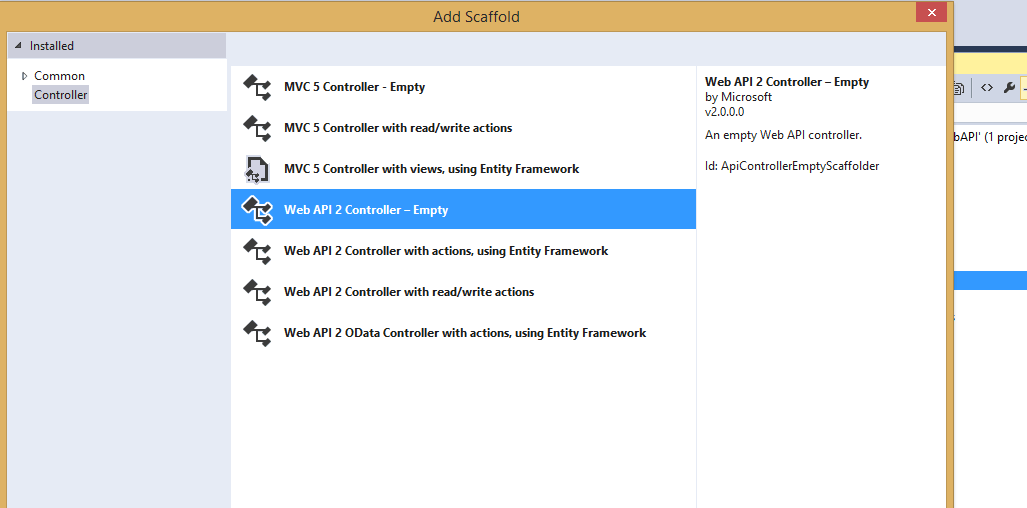
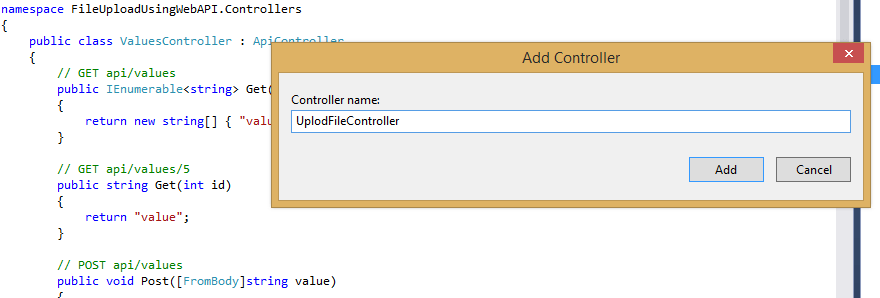
3. Add a new controller .Right-click on controller folder -> Add Controller->Select WebAPI Empty Controller -> Enter Name of Controller -> UploadController .
4. Add the below code to the UploadFileController to save the uploaded file.
 public Task<HttpResponseMessage> uploadfile()
        {
            List<string> savefilepath = new List<string>();

            // Check whether the POST operation is MultiPart?
            if (!Request.Content.IsMimeMultipartContent())
            {
                throw new HttpResponseException(HttpStatusCode.UnsupportedMediaType);
            }

            string rootpath = HttpContext.Current.Server.MapPath("~/UploadFiles");
            var provider = new MultipartFileStreamProvider(rootpath);
            var task = Request.Content.ReadAsMultipartAsync(provider).
            ContinueWith<HttpResponseMessage>(t =>
               {
                   if (t.IsCanceled || t.IsFaulted)
                   {
                       Request.CreateErrorResponse(HttpStatusCode.InternalServerError, t.Exception);
                   }

                   foreach (MultipartFileData item in provider.FileData)
                   {
                       try
                       {
                           string name = item.Headers.ContentDisposition.FileName.Replace("\"", "");
                           string newfilename = Guid.NewGuid() + Path.GetExtension(name);
                           File.Move(item.LocalFileName, Path.Combine(rootpath, newfilename));
                           Uri baseuri = new Uri(Request.RequestUri.AbsoluteUri.Replace(Request.RequestUri.PathAndQuery, string.Empty));
                           string fileRelativePath = "~/UploadFiles/" + newfilename;
                           Uri filefullpath = new Uri(baseuri, VirtualPathUtility.ToAbsolute(fileRelativePath));
                           savefilepath.Add(filefullpath.ToString());
                       }
                       catch (Exception)
                       {
                           throw;
                       }
                   }
                   return Request.CreateResponse(HttpStatusCode.Created, savefilepath);
               });
            return task;
        }
a.Above code uses “POST” method by default..If user posts/upload any file then it will save that file to the server and return the full path of the file. If there is no posted file then it returns the exception details.
b. Fetch the upload file path from server as :
string rootpath = HttpContext.Current.Server.MapPath("~/UploadFiles");
c.MultipartFileStreamProvider Class is used for writing file contents to file stream.
d. Upload MultipleFiles using MultipartFormDataStreamProvider.
e. MultipartFileData Class represents a multiple file data.
f. Multipart/form-data means type of content type in which characters are not encoded in content.So, this type is used while uploading files from client to server and when form requires binary data in content like file documents.
5. Add a new controller .Right-click on controller folder -> Add Controller->Select MVC5 Empty Controller -> Enter Name of Controller -> UploadController .

using System;
using System.Collections.Generic;
using System.Linq;
using System.Web;
using System.Web.Mvc;

namespace FileUploadUsingWebAPI.Controllers
{
    public class UploadController : Controller
    {
        //
        // GET: /Upload/
        public ActionResult Index()
        {
            return View();
        }
	}
}
6. Add the VIEW to this action method to display UI.
Replace the View Code with below code :
@{
    ViewBag.Title = "Index";
}

<div class="row">

    <div class="col-sm-12">

        <div class="form-group">

            <div id="idUploadFile" class="alert" role="alert" style="display:none"> </div>

        </div>

        <div class="form-group">

            <input type="file" id="fileupload" /><br />

            <input type="button" value="upload" id="btnupload" class="btn btn-default" />

        </div>

    </div>

</div>
<script src="https://ajax.googleapis.com/ajax/libs/jquery/3.4.0/jquery.min.js"></script>

<script>

    $(function () {

        $('#btnupload').click(function () {

            //debugger;

            if ($('#fileupload').val() == '') {

                alert('Plase select file');

                return;

            }

            var formdata = new FormData();

            var file = $('#fileupload')[0];

            formdata.append('file', file.files[0]);


            $.ajax({

                url: 'http://localhost:60940//api/UplodFile/uploadfile',

                type: 'POST',

                data: formdata,

                contentType: false,

                processData: false,

                success: function (d) {

                    $('#idUploadFile').addClass('alert-success').html('<strong>Success!</strong><a href="' + d + '">Open File</a>').show();

                },

                error: function () {

                    $('#idUploadFile').addClass('alert_error').html('<strong>Failed!</strong> Error in upload');

                }

            })

        });

    });

</script>
In above code, Jquery Ajax method for post file on server.
The uploaded file is appended to “formdata” variable.
When file saved successfully on the server then add URL of image to attribut In “idUploadFile” div.
If the file is not saved then it’s throwing the error.
In the ajax call , we are using below properties
contentType: false,
processData: false,
contentType option is set to false,is used for multipart/form-data forms that pass files.
If it is set to true, JQUERY will try to convert FormData into string ,which will fail.
By default, processData:true , JQUERY automatically converts any object passed to data to query string that is appended to URL when firing the request.
Setting it to false,prevents that and allows you to send JSON or other data that you don’t want to be processed.
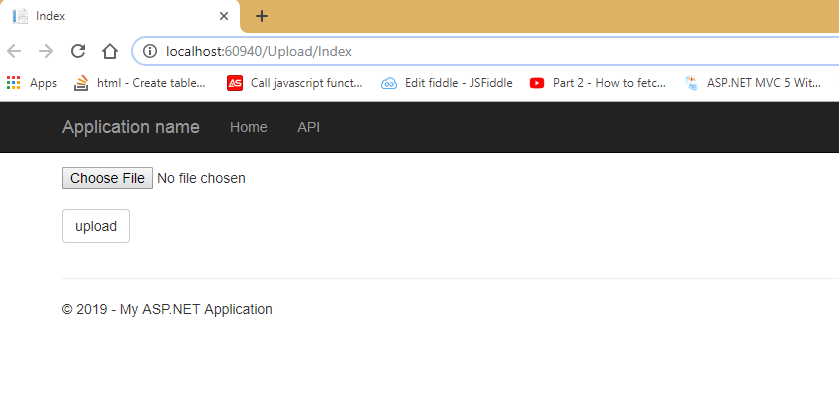
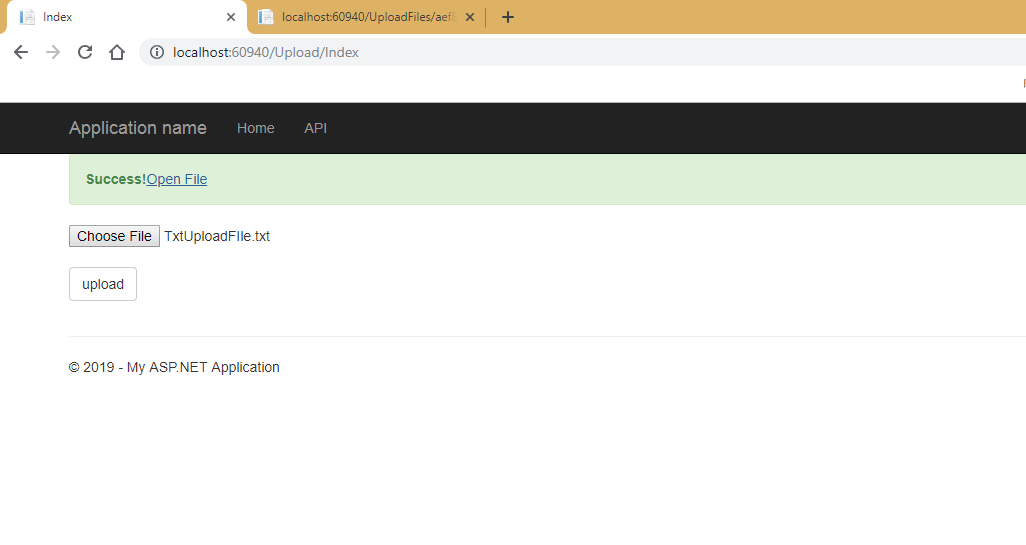
7.Run Application , you should see screen as below
Once, the file uploaded successfully, you will output as below
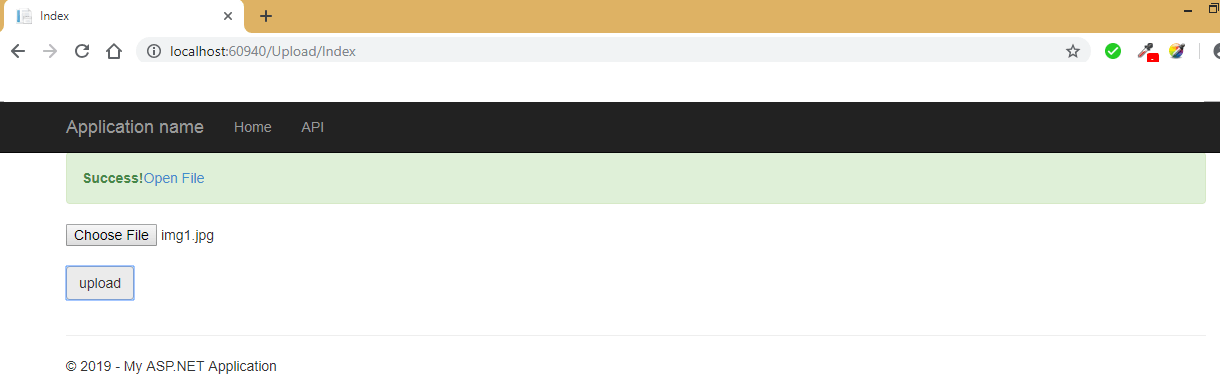
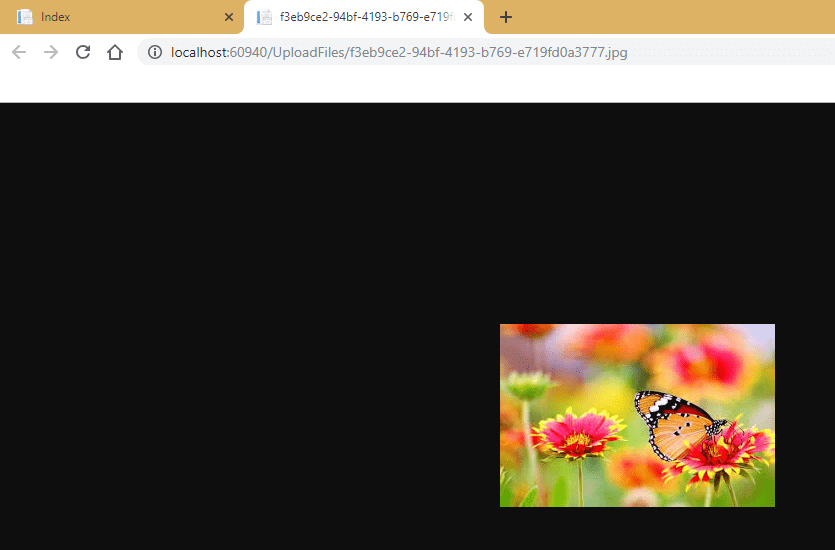
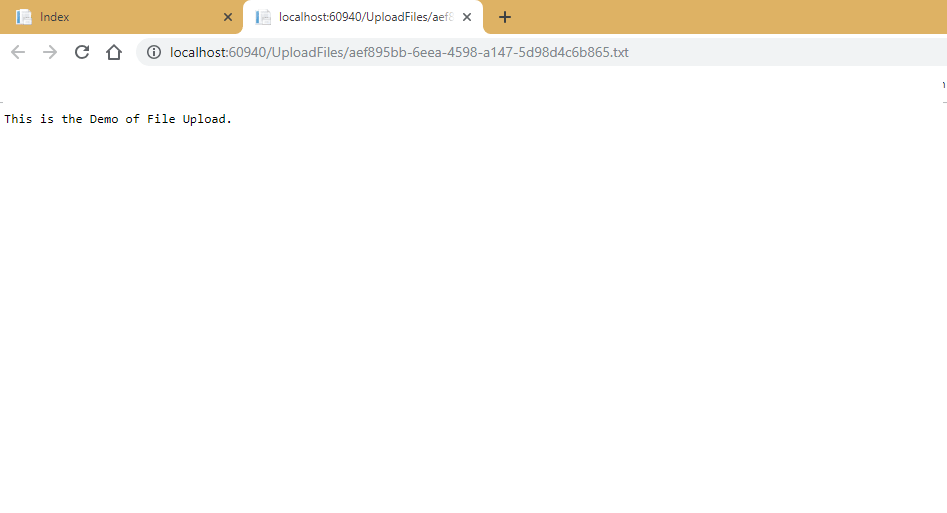
After uploading the Image file , we can see the file by clicking on link
“Open File” as below :
8. After uploading the text file ,
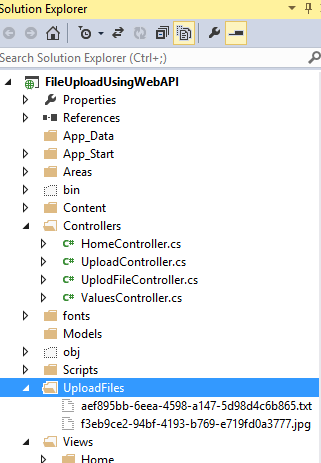
9. You can also check all uploaded files in the "UploadFiles" folder of your project.
OR you can check files, by opening the folder in windows
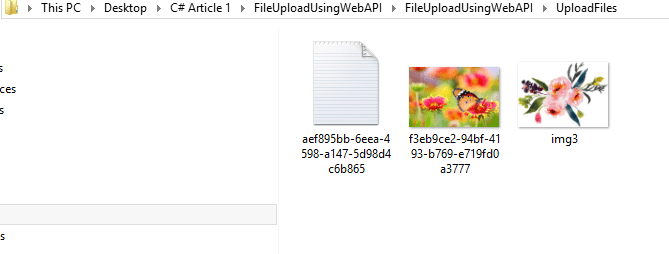
Using Web Api , we can upload any file format file ( image / text ) depening on the requirement.
Note :
The problem with above code is :
Files are saved using different name like guid_extension name.
This would be problematic on a shared host where you might not even know
The folder path.
So this can be achieved using following code :
 public async Task<HttpResponseMessage> Post()
        {
            // Check whether the POST operation is MultiPart?
            if (!Request.Content.IsMimeMultipartContent())
            {
                throw new HttpResponseException(HttpStatusCode.UnsupportedMediaType);
            }

            // Prepare CustomMultipartFormDataStreamProvider in which our multipart form
            // data will be loaded.
            string fileSaveLocation = HttpContext.Current.Server.MapPath("~/UploadFiles");
            CustomMultipartFormDataStreamProvider provider = new CustomMultipartFormDataStreamProvider(fileSaveLocation);
            List<string> files = new List<string>();

            try
            {
                // Read all contents of multipart message into CustomMultipartFormDataStreamProvider.
                await Request.Content.ReadAsMultipartAsync(provider);

                foreach (MultipartFileData file in provider.FileData)
                {
                    files.Add(Path.GetFileName(file.LocalFileName));
                }

                // Send OK Response along with saved file names to the client.
                return Request.CreateResponse(HttpStatusCode.OK, files);
            }
            catch (System.Exception e)
            {
                return Request.CreateErrorResponse(HttpStatusCode.InternalServerError, e);
            }
        }
    }

    // We implement MultipartFormDataStreamProvider to override the filename of File which
    // will be stored on server, or else the default name will be of the format like Body-
    // Part_{GUID}. In the following implementation we simply get the FileName from
    // ContentDisposition Header of the Request Body.
    public class CustomMultipartFormDataStreamProvider : MultipartFormDataStreamProvider
    {
        public CustomMultipartFormDataStreamProvider(string path) : base(path) { }

        public override string GetLocalFileName(HttpContentHeaders headers)
        {
            return headers.ContentDisposition.FileName.Replace("\"", string.Empty);
        }
    }
That's it we are done, Thank you for reading. You can also download source code from below link :
https://drive.google.com/open?id=1I05UEV2_oEbxq0IdN_iWksptEIamjBmT
You may also like to read:
File upload using Ajax in ASP.NET Core
 Buy us a coffee
 Become a Patron