
When we are developing any kind of applications, whether it's e-commerce or any business related portal, we definitely need web-applications to send emails to our customers regularly and it must be done in background, previously in one of our post it is explained to send emails using asp.net MVC now in this article, I will explain you to configure background jobs in ASP.NET MVC using Hangfire.IO and send emails in background using it.
Why HangFire.IO for background jobs?
Although, there are many popular NuGet packages which can help you to create background jobs in ASP.NET MVC like Quartz.NET , but Hangfire.IO has benefit & that is Quartz.Net needs a Windows Service to run it, regularly, as the IIS server goes to idle state when not in use, so either we use windows service to run our background jobs using Quartz.Net or do not allow to keep IIS idle(not a good option).
So in that case, we can use Hangfire.IO for background jobs or you can say recurring jobs, which you need to run every day or once a week etc.
Advantages of hangfire:
- It is easy to use and set up.
- Background jobs are created in a persistent storage – SQL Server, Redis, PostgreSQL, MongoDB, and others.
- Transparent: Built-in web interface allows you to see the whole picture of your background processing, as well as observe the state of each background job.
- Extensible: Job filters allow you to add custom features to the background processing in a way similar to ASP.NET MVC action filters.
- Self-maintainable: You don't need to perform manual storage clean-up – Hangfire keeps it as clean as possible and removes old records automatically.
- Open-Source: Hangfire is open source software and is completely free for commercial use.
- Distributed: Background method calls and their arguments are serialized and may overcome the process boundaries.
How to use it in ASP.NET MVC for scheduling background jobs?
I will guide you to create an MVC application which sends email in the background using Hangfire.IO, you can also configure it to call again after few minutes or call when visits a page or submit form.
Step 1: Create a project in your Visual Studio(2017 in my example), by opening Visual Studio and clicking "File"-> "New"-> "Project".
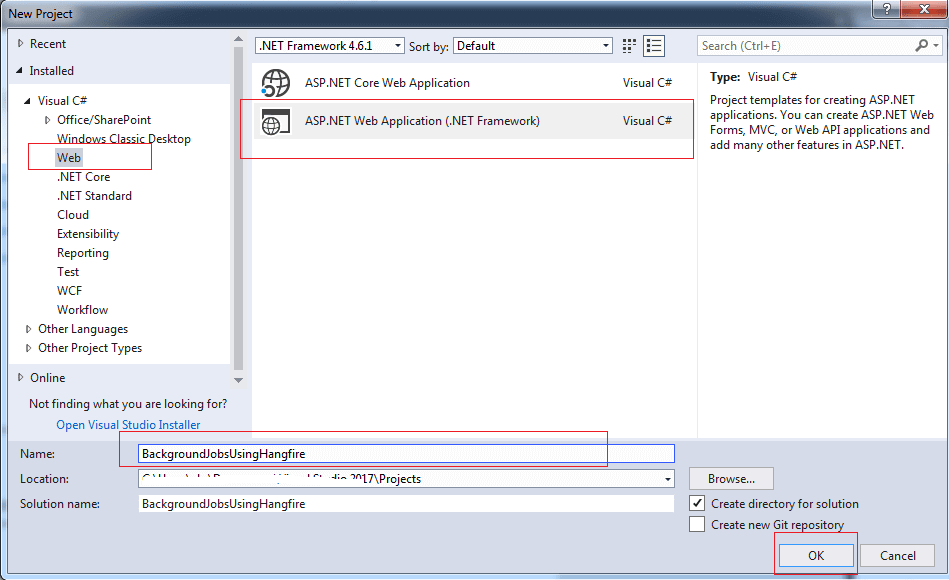
Select MVC template to generate basic HomeController and other details.
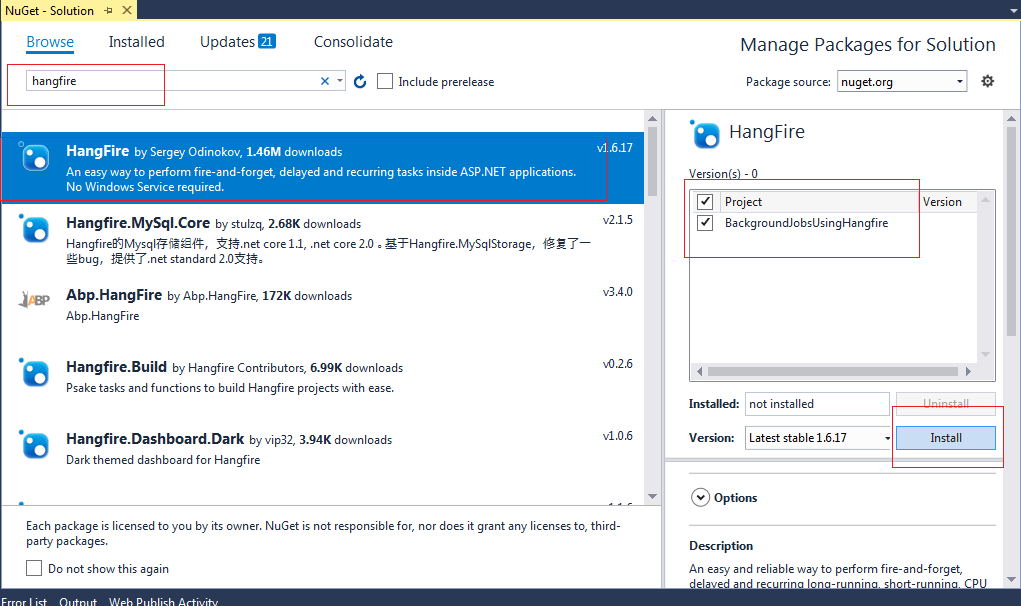
Step 2: Install the Hangfire.IO in your project using Nuget package manager, for this navigate to "Tools"-> "Nuget Package Manager" -> "Manage NuGet package for the solution...", then switch to "browse" tab and search for "Hangfire"
after hangfire is installed successfully, you need to connect your project to your database using the connection string in your web.config, so add a connection string named "Default Connection" in your web.config like below
<connectionStrings>
  <add name="DefaultConnection"
   connectionString="Data Source=serverName;
   Initial Catalog=HangFireBackgroundjobsDB;
   Integrated Security=SSPI;
   uid=username;
   Password=password;"
   providerName="System.Data.SqlClient" />
</connectionStrings>
Step 3: In your Startup.CS let's configure hangfire, if you don't have Startup.cs file in your project, please create one in the root folder of your application, so code in your startup.cs will be as below
public class Startup
{
public void Configuration(IAppBuilder app)
{
//providing database name to save jobs etc
GlobalConfiguration.Configuration
.UseSqlServerStorage("DefaultConnection");
//basic process to check
BackgroundJob.Enqueue(() => Console.WriteLine("Getting Started with HangFire!"));
//will create hangfire dashboard
app.UseHangfireDashboard();
app.UseHangfireServer();
}
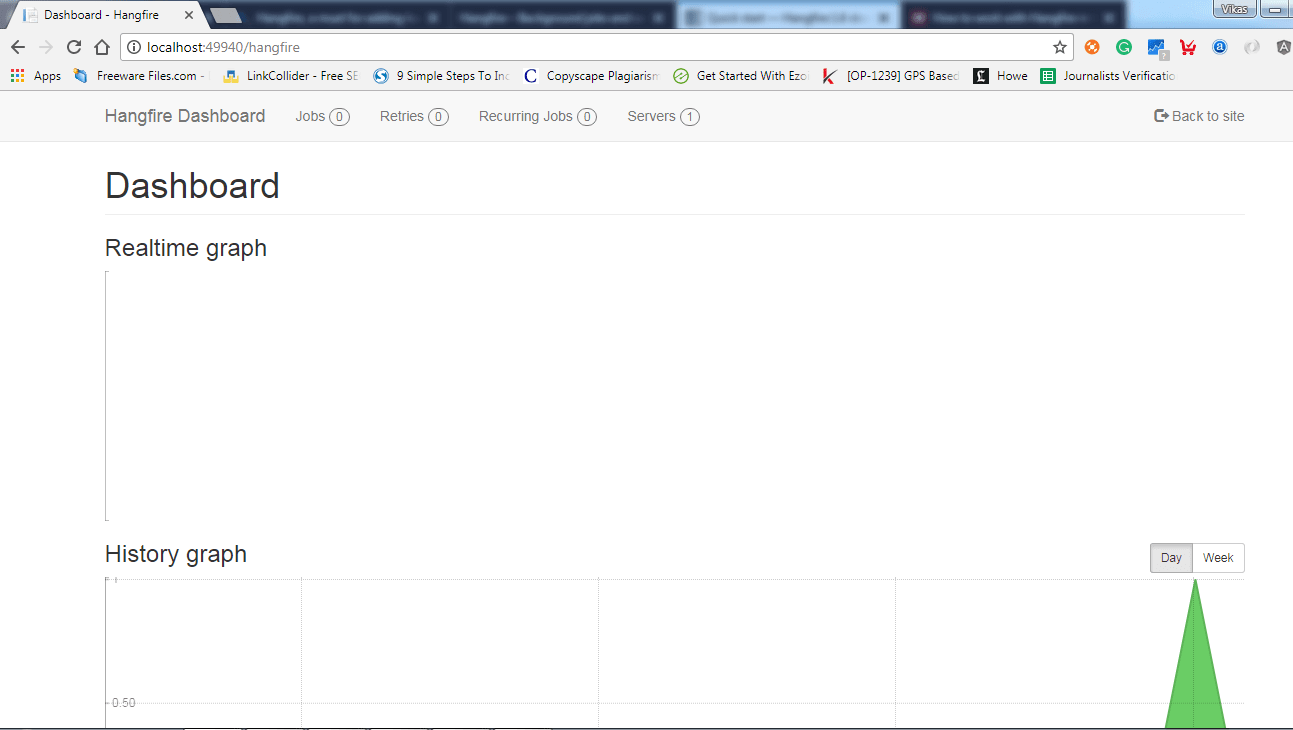
}to test if hangfire is installed correctly and connected to database, build your project and run it in web browser, navigate to url "localhost:portnumber/hangfire" you will see screen like below
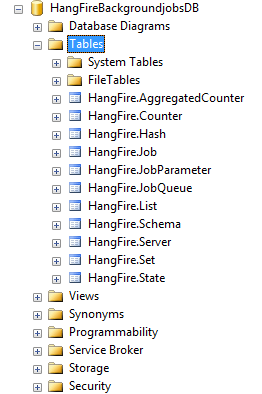
you can check in your database also, there must be some tables created, which are automatically created by Hangfire/
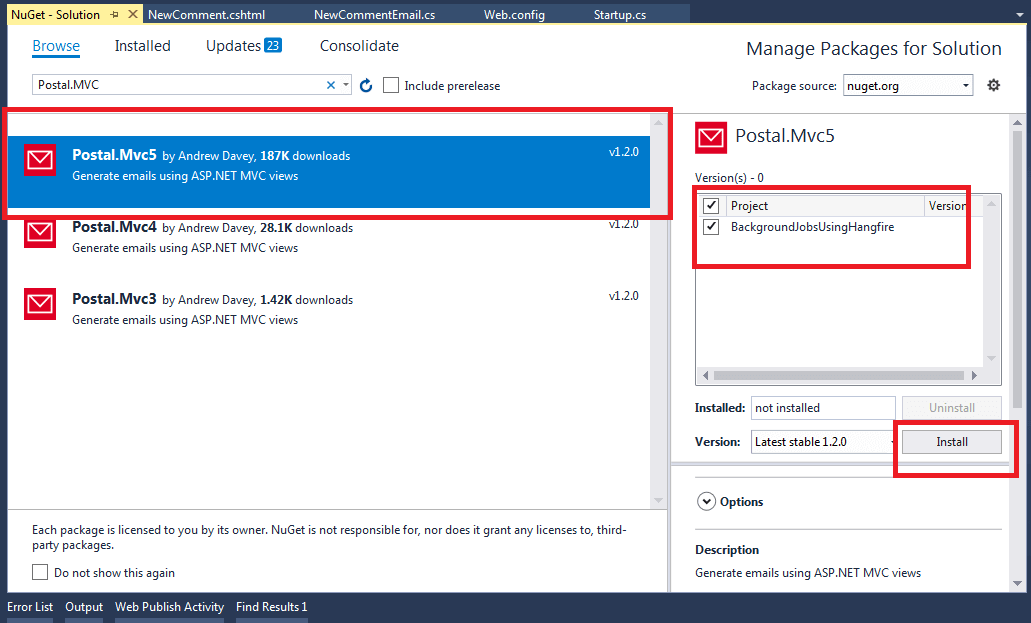
Step 4: Now as we have installed Hangfire, we would need to write code to send emails in background, so let's install another NuGet package which will help us to send emails using template, again navigate to Nuget using "Tools"-> "Nuget Package Manager" -> "Manage NuGet package for solution...", then switch to "browse" tab and search for "Postal.MVC"
now go to your HomeController, create an ActionMethod, calling which will start a background job
 public ActionResult MailInBackground()
        {
           //do something like save details in database etc.

            BackgroundJob.Enqueue(() => NotifyNewComment());


            return RedirectToAction("Index");
        }
Add the code below to call NotifyNewComment method
public static void NotifyNewComment()
        {
            var viewsPath = Path.GetFullPath(HostingEnvironment.MapPath(@"~/Views/Emails"));
            var engines = new ViewEngineCollection();
            engines.Add(new FileSystemRazorViewEngine(viewsPath));

            var emailService = new EmailService(engines);

            // Get comment and send a notification.

                var email = new NewCommentEmail
                {
                    To = "youremail@gmail.com",
                    UserName = "Vikas",
                    Comment = "testing hangfire background jobs"
                };

                emailService.Send(email);

        }
You would need to create a class Model class named "NewCommentEmail", it would be like below
 public class NewCommentEmail :Email
    {
        public string To { get; set; }
        public string UserName { get; set; }
        public string Comment { get; set; }
    }
We would also need to generate a new PartialView in View-> Emails folder, so create a view with name NewComment and add the below code
@model BackgroundJobsUsingHangfire.Models.NewCommentEmail
To: @Model.To
From: testing@example.com
Subject: New comment posted

Hello,
There is a new comment from @Model.UserName:

@Model.Comment
Now everything is done, we just need to place our email settings in web.Config file as below
<system.net>
        <mailSettings>
            <smtp from="youremail@gmail.com">
                <network host="smtp.gmail.com"
                 port="587"
                 userName="youremail@gmail.com"
                 password="password"
                 enableSsl="true"/>
            </smtp>
        </mailSettings>
</system.net>Note: You need to enable Less secure sign in for apps in your Gmail account otherwise you may get an error while sending an email.
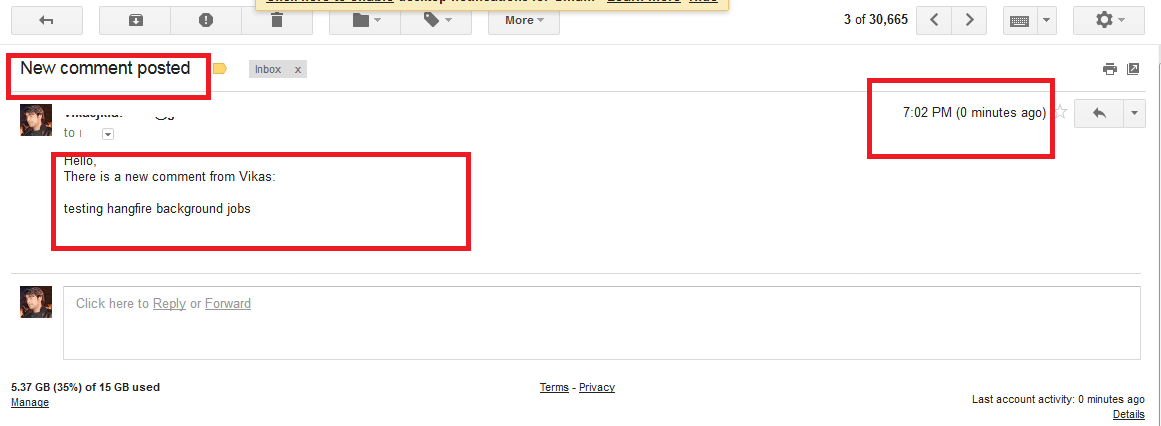
That's it, build your application and debug it in the browser. Navigate to Url "http://localhost:49940/home/MailInBackground", background job will be started and you will receive an email.
As for testing purpose my sent/receive email address was same, here is the mail from my Gmail account Inbox.
Recurring jobs in Hangfire
If you want to execute same jobs over after certain interval of time, you can create a RecurringJob in hangfire like below.
RecurringJob.AddOrUpdate(() => CallEveryMinute(),Cron.MinuteInterval(1));In the above example, CallEveryMinute is a function which gets's executed after 1-minute interval.
If I add the code in Index ActionMethod of HomeController
  public ActionResult Index()
        {
            RecurringJob.AddOrUpdate(() => CallEveryMinute(),Cron.MinuteInterval(1));
            return View();
        }

        public void CallEveryMinute()
        {
            System.Diagnostics.Debug.WriteLine("reccurring job executed");
        }
And debug the project, you can see in your hangfire dashboard that a new recurring job is executed.

With the help of recurring jobs you can schdule to send emails also at specific intervals of time, just replace the CallEveryMinute() to NotifyNewComment()
Now, email will be sent after each minute.
 Buy us a coffee
 Become a Patron