
There can be certaing situtations in which we would have to provide file uploading progress to user, while data is being uploaded on the server, so in that case we can implement file using jQuery file upload function with bootstrap progress bar, so in this article, I am going to implement it in ASP.NET MVC, if you just want to upload file using jQuery AJAX without using progress bar you can check our post "File upload using jQuery in MVC (Single or multiple)"
We will be using jQuery, FormData & XMLHttpRequest to upload files, you can do similar things using $.ajax also.
If you are not familier with form data, the FormData interface provides a way to easily construct a set of key/value pairs representing form fields and their values, which can then be easily sent using the XMLHttpRequest.send() method.
There are many methods of FormData, but we will be using just creating FormData object and appending key/value in it, like below code
                // Create  a FormData object
                var fileData = new FormData();

                // if there are multiple files , loop through each files
                for (var i = 0; i < files.length; i++) {
                    fileData.append(files[i].name, files[i]);
                }
Step 1: In your Visual studio, go to File->New->Project-> Select "Web-site" from left-pane & ASP.NET web application from right-pane.Give a suitable name("UploadFileWithProgress") to the Application. Click OK.
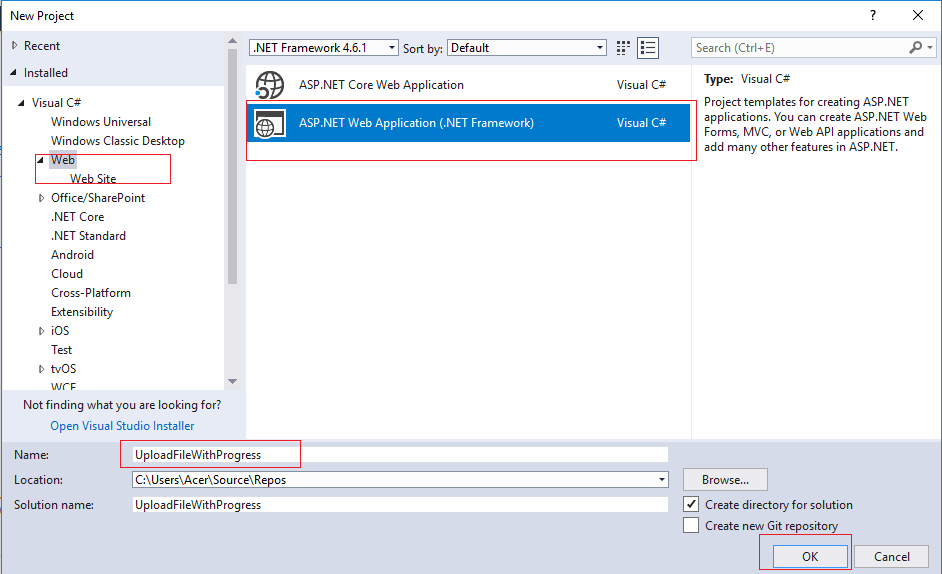
Select MVC Template from it to get started with basic files of MVC and press OK
Step 2: As we have already required file's, let go to our HomeController.Cs and create the logic of uploading files on server using C#, so create a new ActionMethod (UploadFiles) and write the below C# code
        [HttpPost]
        public ActionResult UploadFiles()
        {
            string FileName = "";
            if (Request.Files.Count > 0)
            {
                var files = Request.Files;

                //iterating through multiple file collection
                foreach (string str in files)
                {
                    HttpPostedFileBase file = Request.Files[str] as HttpPostedFileBase;
                    //Checking file is available to save.
                    if (file != null)
                    {
                        FileName = file.FileName;
                        var InputFileName = Path.GetFileName(file.FileName);
                        var ServerSavePath = Path.Combine(Server.MapPath("~/Uploads/") + InputFileName);
                        //Save file to server folder
                        file.SaveAs(ServerSavePath);

                    }

                }
                return Json(FileName);
            }
            else
            {
                return Json("No files to upload");
            }
        }
In the above code, we are check if there is any file sent using Request.Files.Count, if count is greater than 0, then we fetch files using Request.Files and loop though each file using foreach loop, then saving file in ProjectPath/Uploads/FileName.extenstion.
Also, one thing which is needed now is to create a folder in your project with name "Uploads", so right-click in your Project name in Visual Studio, then select "add" then select "New-folder" and name it as "Uploads"(should be in root of the project).
Step 3: Now go to your Index.cshtml page, and delete all the default code, which is already present there, begin by creating basic HTML for uploading file and bootstrap progress bar
<h3>
    File Upload With Progress bar
</h3>
<div id="FileUploadDiv">
    <div class="row">
        <div class="col-md-4">
              <!--File browse button-->
            <input type="file" id="files" name="files" multiple />
        </div>
        <div class="col-md-4">
            <input type="button" id="Upload" class="btn btn-primary" value="Upload" />
        </div>
    </div>
</div>

<br/>
<!--Bootstrap progress bar-->
<div class="progress">
    <div id="progressBardiv" class="progress-bar" role="progressbar"  aria-valuemin="0" aria-valuemax="100" style="">
        <span class="sr-only"></span>
    </div>
</div>

<br />
<br />
Now, we will writing important code of this tutorial, that is to upload file on button "Upload" button click & show progress of the file, so your jQuery code for it will be as below
 $(document).ready(function () {
            $('#Upload').click(function () {

                var fileUpload = $("#files").get(0);
                var files = fileUpload.files;

                // Create  a FormData object
                var fileData = new FormData();

                // if there are multiple files , loop through each files
                for (var i = 0; i < files.length; i++) {
                    fileData.append(files[i].name, files[i]);
                }

                var xhr = new XMLHttpRequest();
                xhr.open("POST", "/Home/UploadFiles", true);
                xhr.upload.onprogress = function (e) {

                    if (e.lengthComputable) {
                      //updating progress bar here
                        $("#progressBardiv").attr('max', e.total);
                        $("#progressBardiv").css('width', e.loaded);

                    }
                }
                xhr.upload.onloadstart = function (e) {
                     //updating progress bar on strt of AJAX request
                    $("#progressBardiv").css('width', 0);

                }
                xhr.upload.onloadend = function (e) {
                    //called on file upload is done.
                    $("#progressBardiv").css('width', e.loaded);

                }
                //send form Data
                xhr.send(fileData);

            });
        });
I have commented out all the important code for you to understand it easily, so your complete Index.cshtml code would be as below
@{
    ViewBag.Title = "Home Page";
}

<h3>
    File Upload With Progress bar
</h3>
<div id="FileUploadDiv">
    <div class="row">
        <div class="col-md-4">
            <!--File browse button-->
            <input type="file" id="files" name="files" multiple />
        </div>
        <div class="col-md-4">
            <input type="button" id="Upload" class="btn btn-primary" value="Upload" />
        </div>
    </div>
</div>

<br />
<!--Bootstrap progress bar-->
<div class="progress">
    <div id="progressBardiv" class="progress-bar" role="progressbar" aria-valuemin="0" aria-valuemax="100" style="">
        <span class="sr-only"></span>
    </div>
</div>

<br />
<br />
@section scripts{

    <script>
        $(document).ready(function () {
            $('#Upload').click(function () {

                var fileUpload = $("#files").get(0);
                var files = fileUpload.files;

                // Create  a FormData object
                var fileData = new FormData();

                // if there are multiple files , loop through each files
                for (var i = 0; i < files.length; i++) {
                    fileData.append(files[i].name, files[i]);
                }

                var xhr = new XMLHttpRequest();
                xhr.open("POST", "/Home/UploadFiles", true);
                xhr.upload.onprogress = function (e) {

                    if (e.lengthComputable) {
                        //updating progress bar here
                        $("#progressBardiv").attr('max', e.total);
                        $("#progressBardiv").css('width', e.loaded);

                    }
                }
                xhr.upload.onloadstart = function (e) {
                    //updating progress bar on strt of AJAX request
                    $("#progressBardiv").css('width', 0);

                }
                xhr.upload.onloadend = function (e) {
                    //called on file upload is done.
                    $("#progressBardiv").css('width', e.loaded);

                }
                //send form Data
                xhr.send(fileData);

            });
        });
    </script>
}
Note : In the above code I am using script in @section scripts as I am using default _layout.cshtml setting which includes all the required jQuery and Bootstrap file using Bundling as in below code
@Scripts.Render("~/bundles/jquery")
@Scripts.Render("~/bundles/bootstrap")
@RenderSection("scripts", required: false)If you don't want to use render section and want to add files in specific razor view, you need jQuery.js file & bootstrap.css file for executing above code.
That's it, we are done, build your project and run it in browser you will see output as below
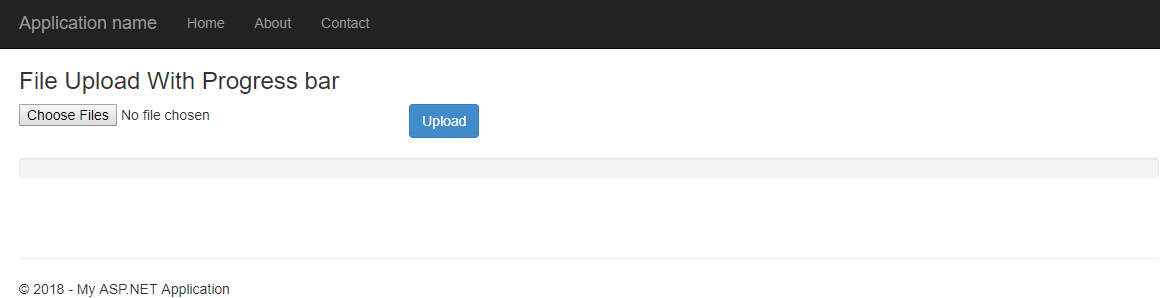
Here is a gif image file which shows progress bar file uploading.
That's it, we are done, feel free to ask any questions related to this in comment's section.
 Buy us a coffee
 Become a Patron