If you are searching on a webabout how to install and create new windows server using amazon EC2 , then you have landed on right place.This article will help you know how to create new windows server on amazon EC2 and log into it to deploy MVC C# application.
1. Start free trial of Amazon
If you dont have account create one using the link http://aws.amazon.com/free/ , Enter email and check “I am a new user”, Click “Sign in using our secure server”, enter your details by filling up the form.
Now go to the AWS Console and log in with your AWS credentials, from top links click on EC2 link.
2. Creating and configuring AWS EC2 Instance
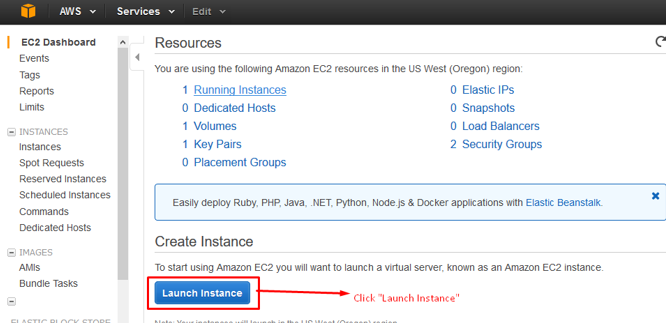
-> Click on "Launch Instance"
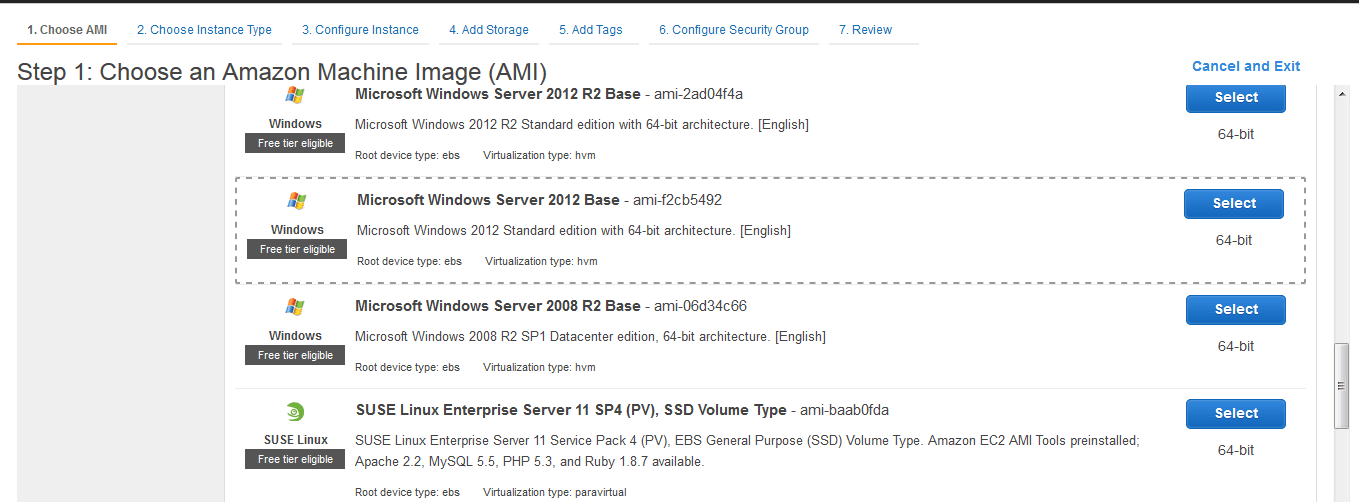
-> Select Amazon Machine Image (AMI): Microsoft Windows Server. (you can select latest Windows Server like 2019 or 2016 base ami), I have selected windows server 2012 base
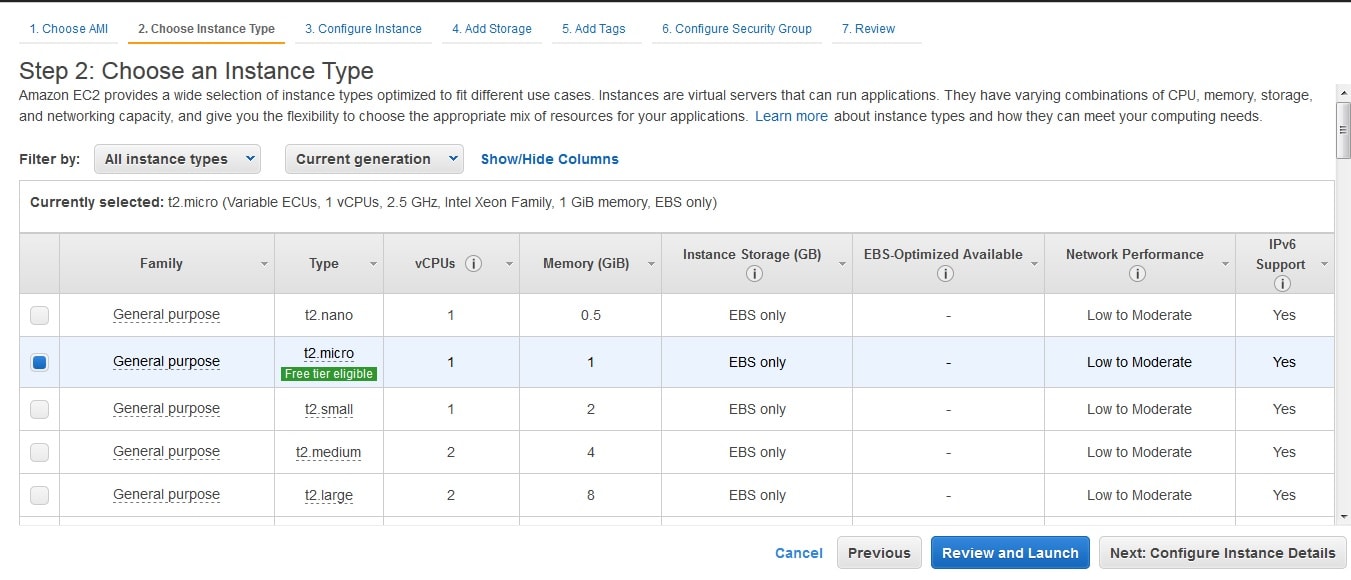
->Choose an Instance type: General Purpose, t2 micro. , this instance is available to try for free for first year ( for newly registered user)
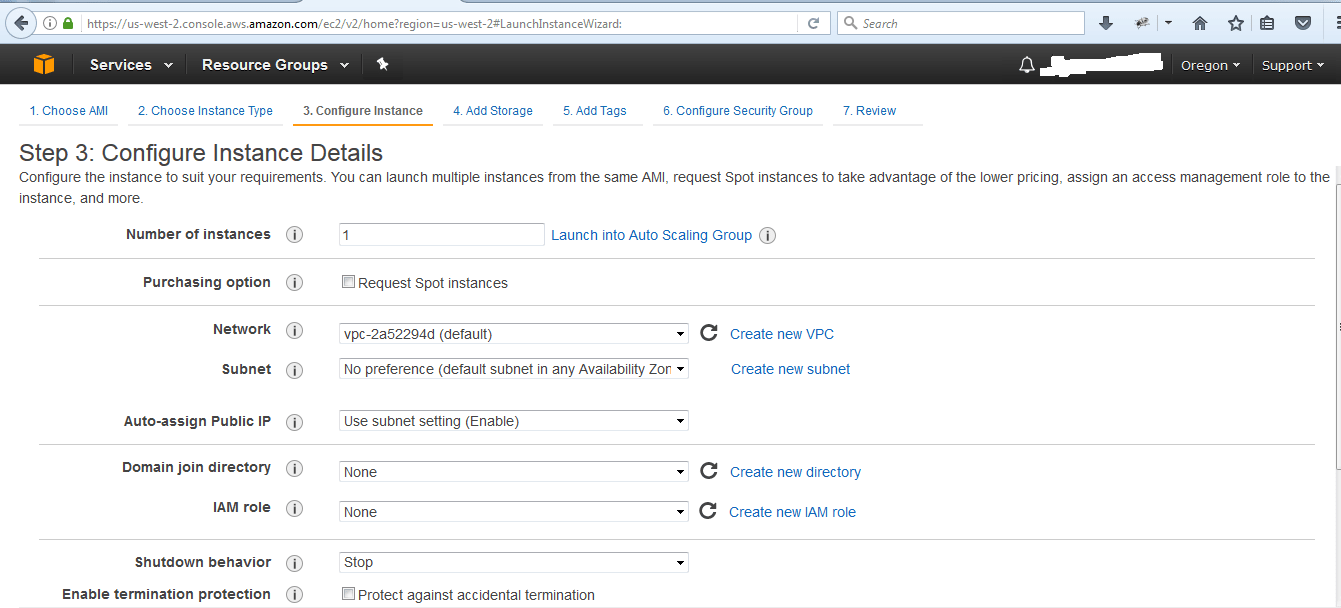
-> Configure EC2 Instance Details. (you can learb it as it is and click on 'Next')
-> Add strogae, remember upto 30 GB is free to try , above that you may have to pay

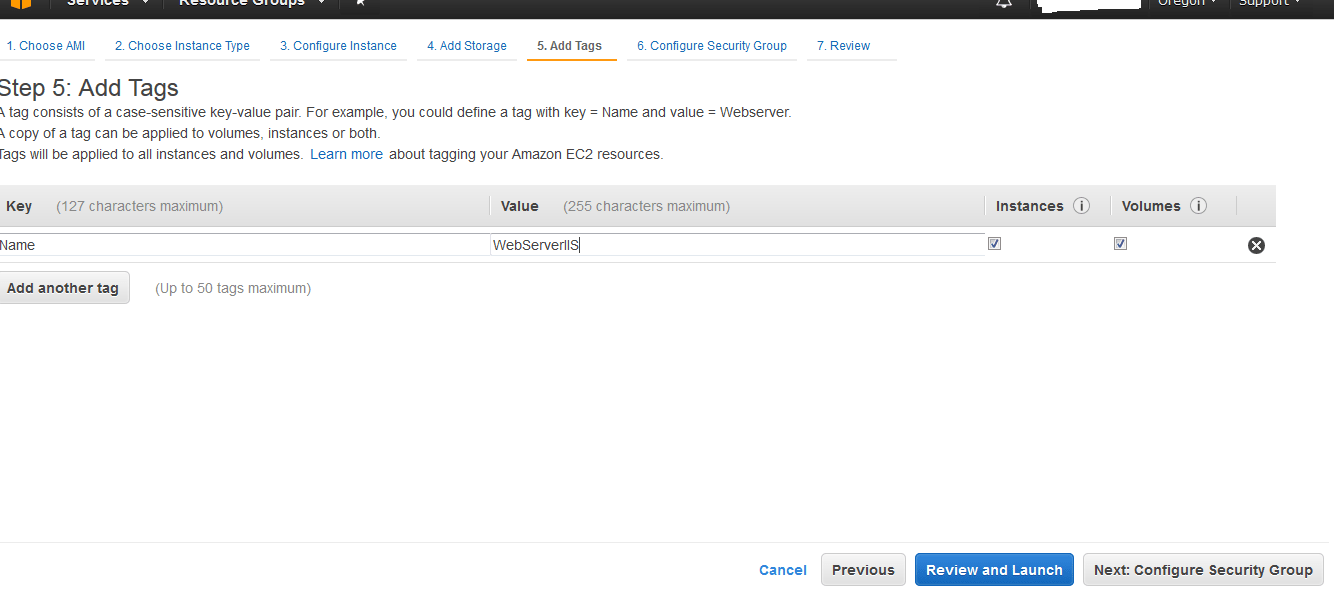
-> Tag Instance
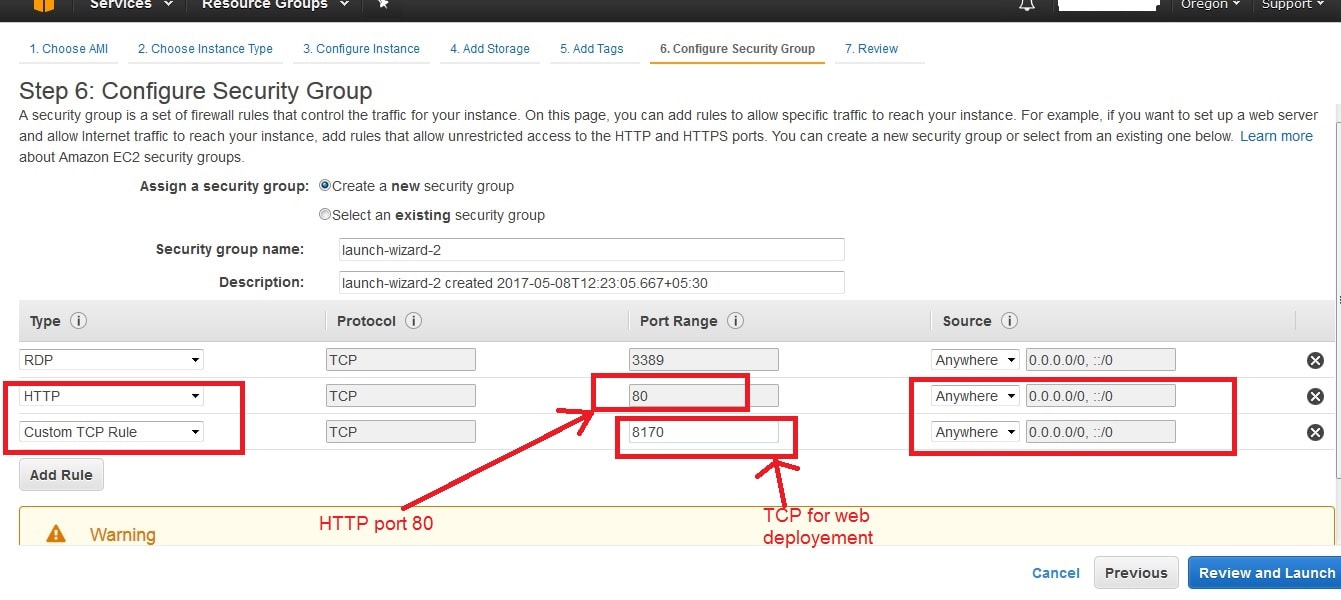
-> Choose security group, here we will add two additional ports so that we can deploy application to server using Visual Studio
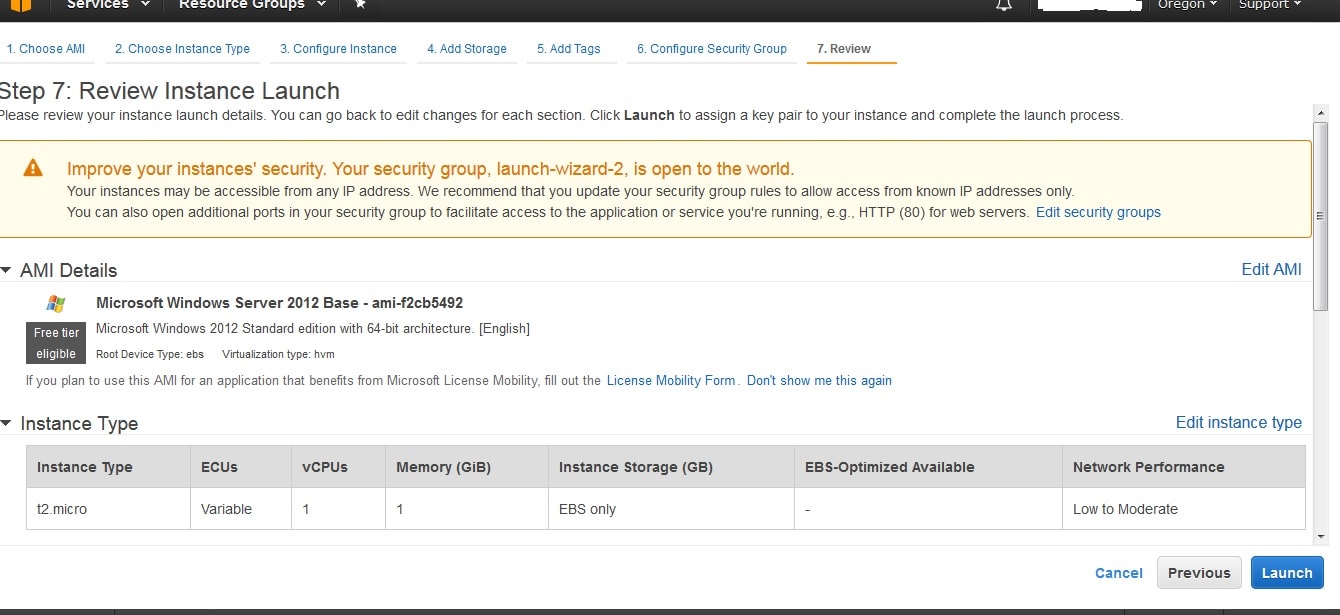
-> Review Summary and click “Launch”.
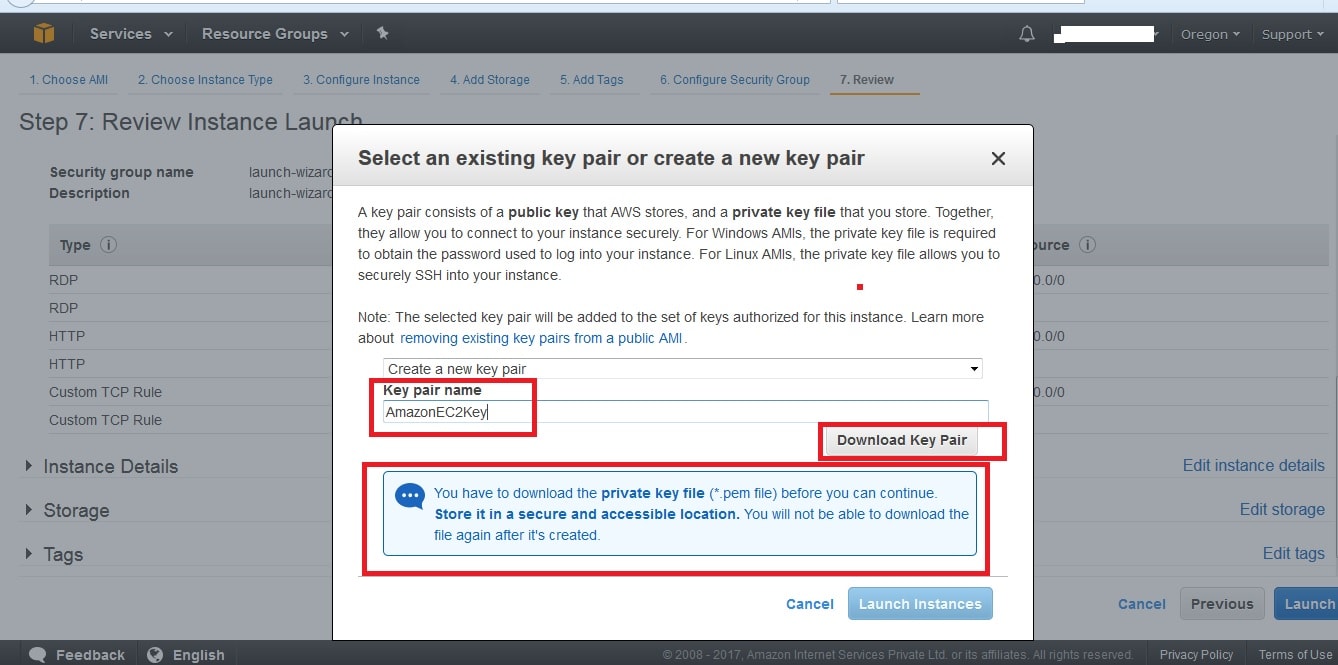
-> We still need to create key for the server to connect before using it. So Create a key pair, download it and store in a secure place, we will use it later
-> Launch Status screen. The instance you created is now launching.
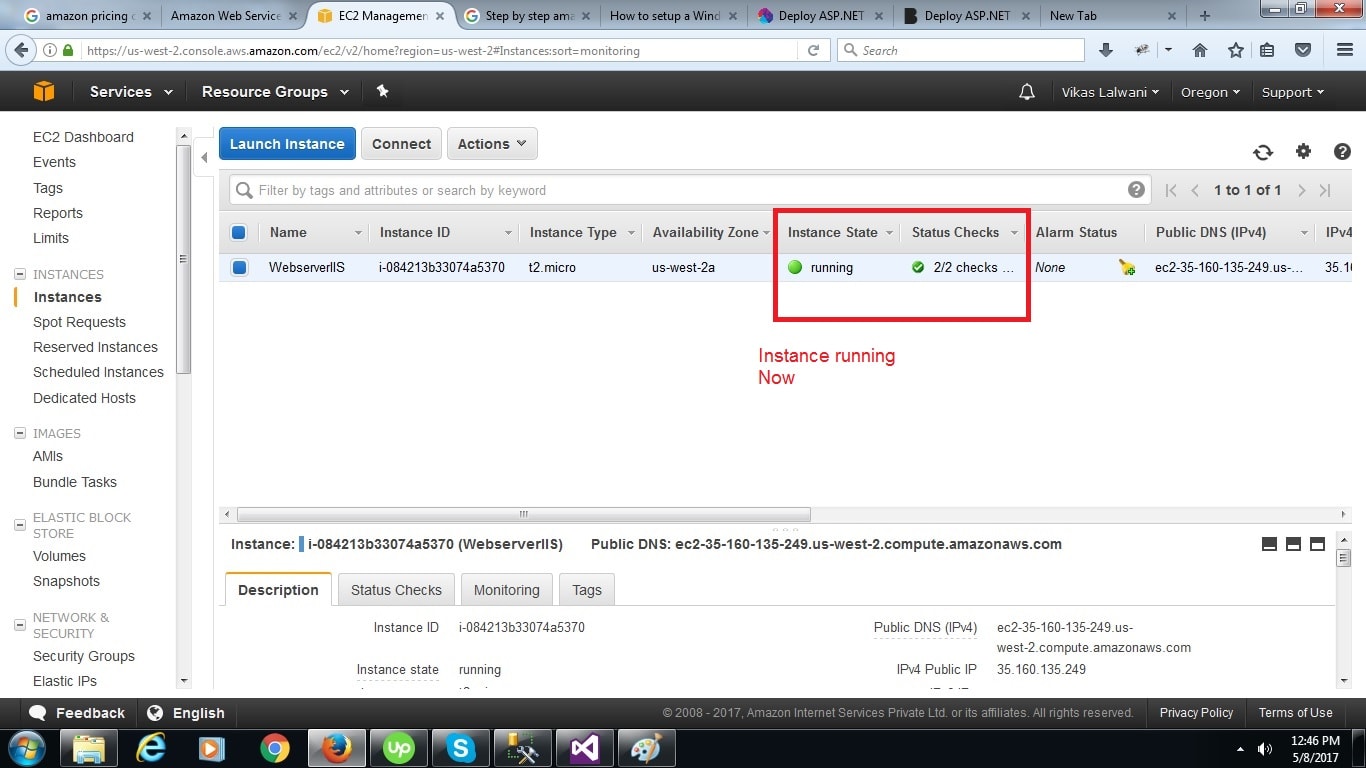
-> Now EC2 Instance is ready to use, click on EC2 dashboard icon, then click on Running Instances.
->Here you will see a list of your web servers. Your new IIS web server can be still initializing. We will continue to work with the server in the next section.
3. Setting up to EC2 remote desktop connection
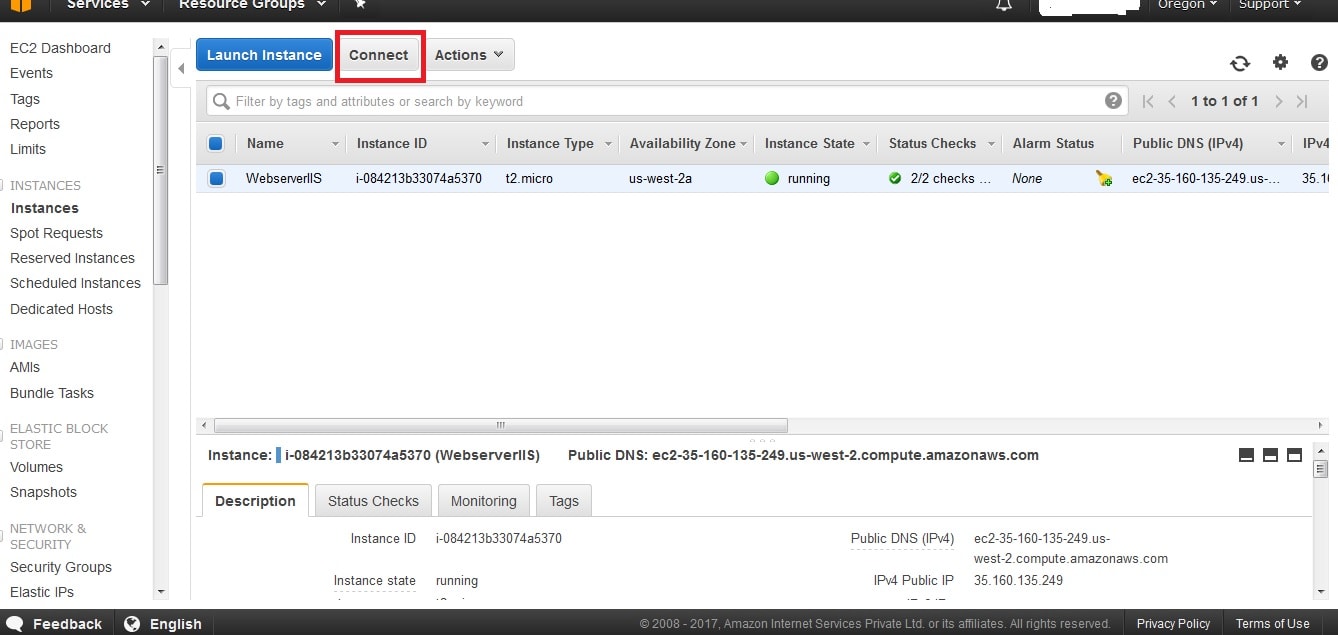
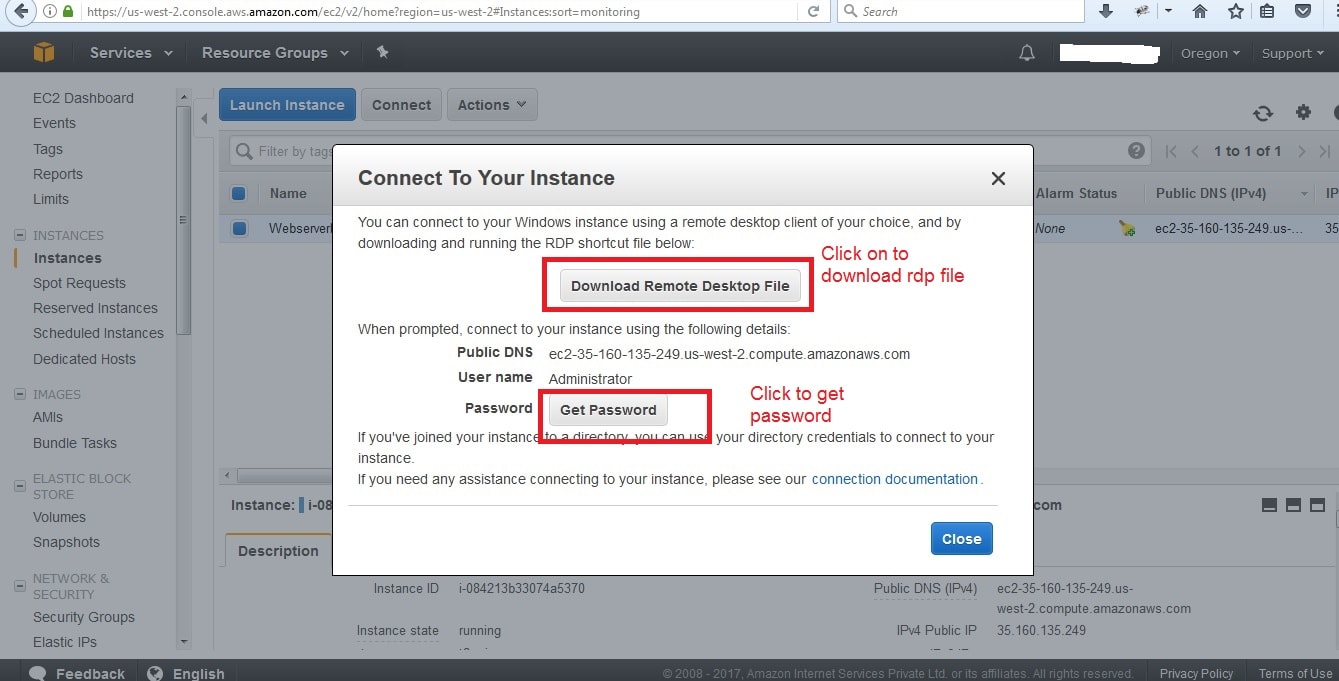
->Now when the server is initialized, you can sleect the server, and to connect to it, Click “Connect” button to download remote desktop file (.rdp).
->Click “Download Remote Desktop File” to start downloading, then you will need to click “Get Password” button, click o to sve .rdp file.
-> Now click to “Get Password”, then click “Browse” and choose the folder you’ve saved you Key Pair which we saved earlier in the end of step 2
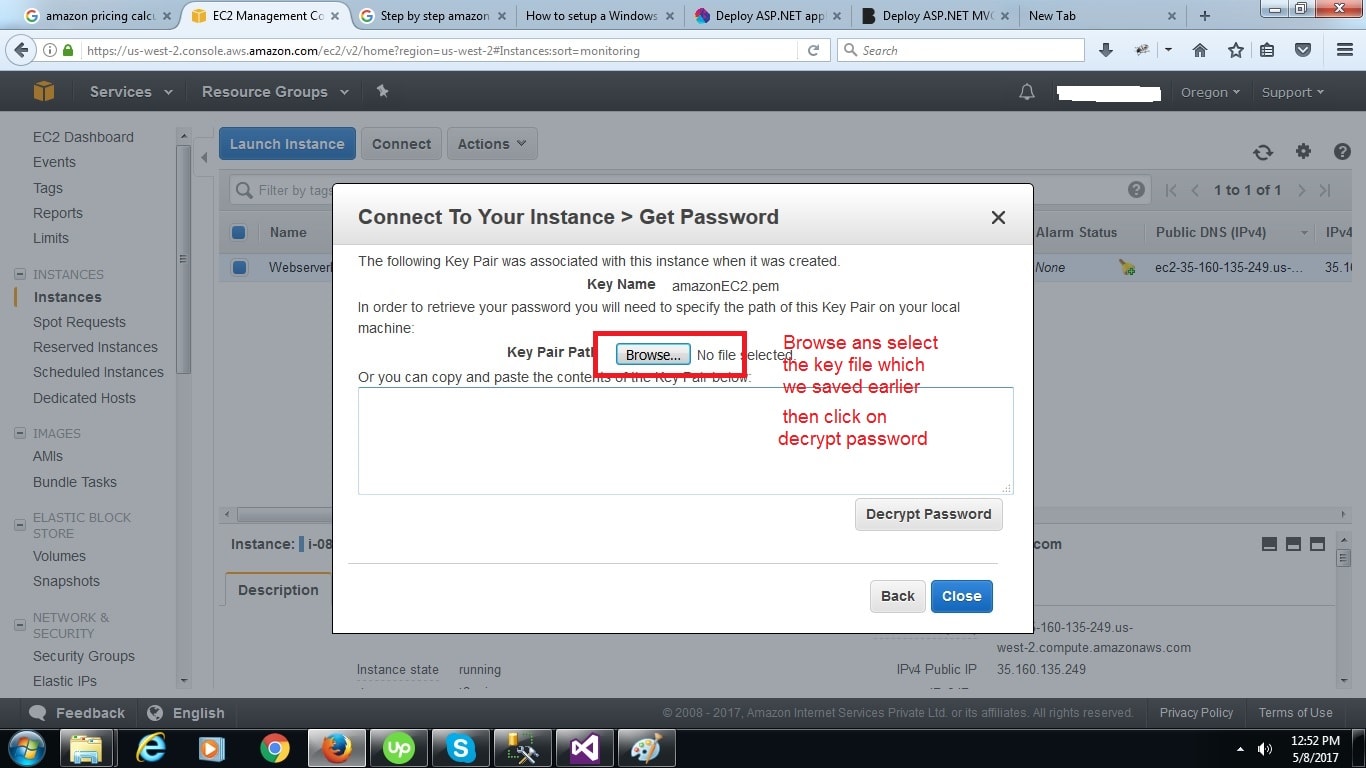
-> Click “Decrypt Password” and Copy your credentials to notepad.
-> Right-click on the .rdp file and select Connect, Now check “Don’t ask me again” checkbox and click Connect again to allow remote connection.
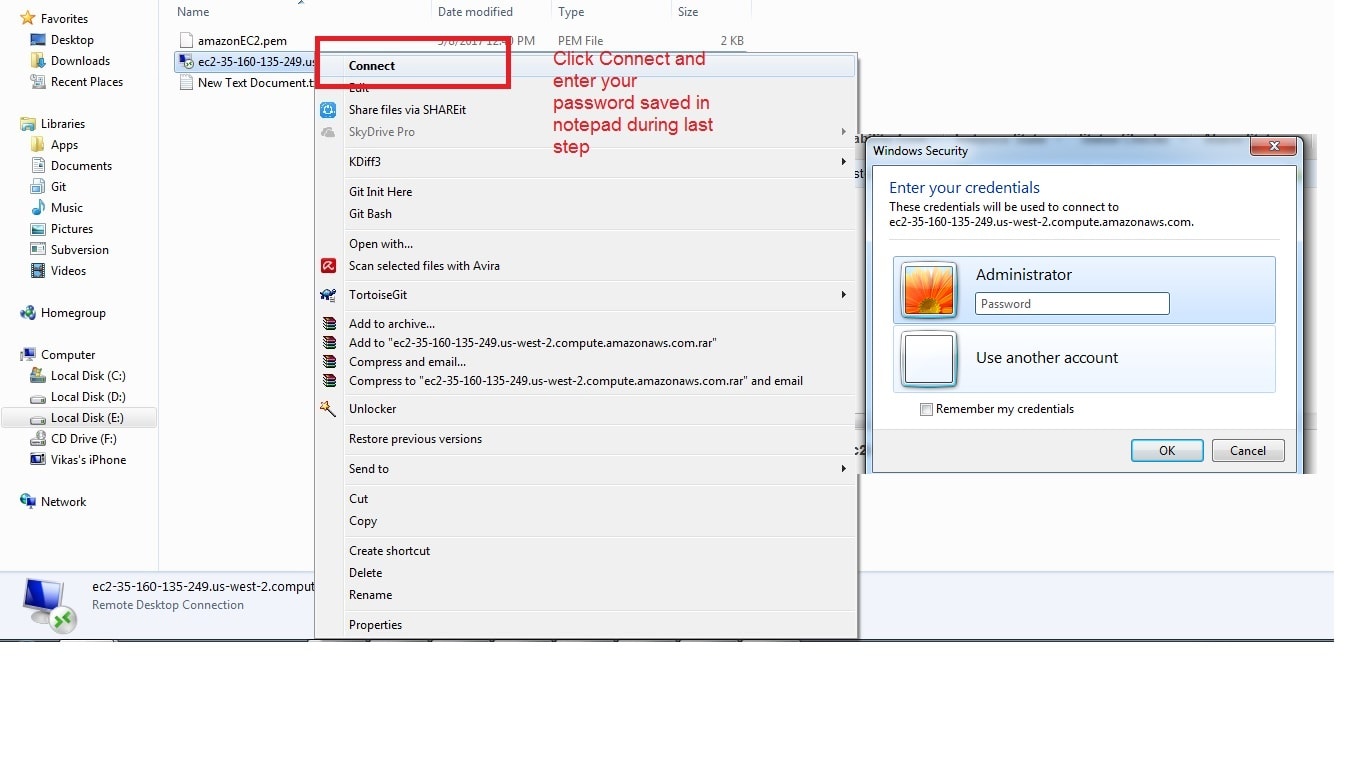
-> Enter your credentials, Check “Don’t ask me again” checkbox and click “Yes”, and you will be connected to your Amazon EC2 server.
4. Setting IIS on EC2 Instance
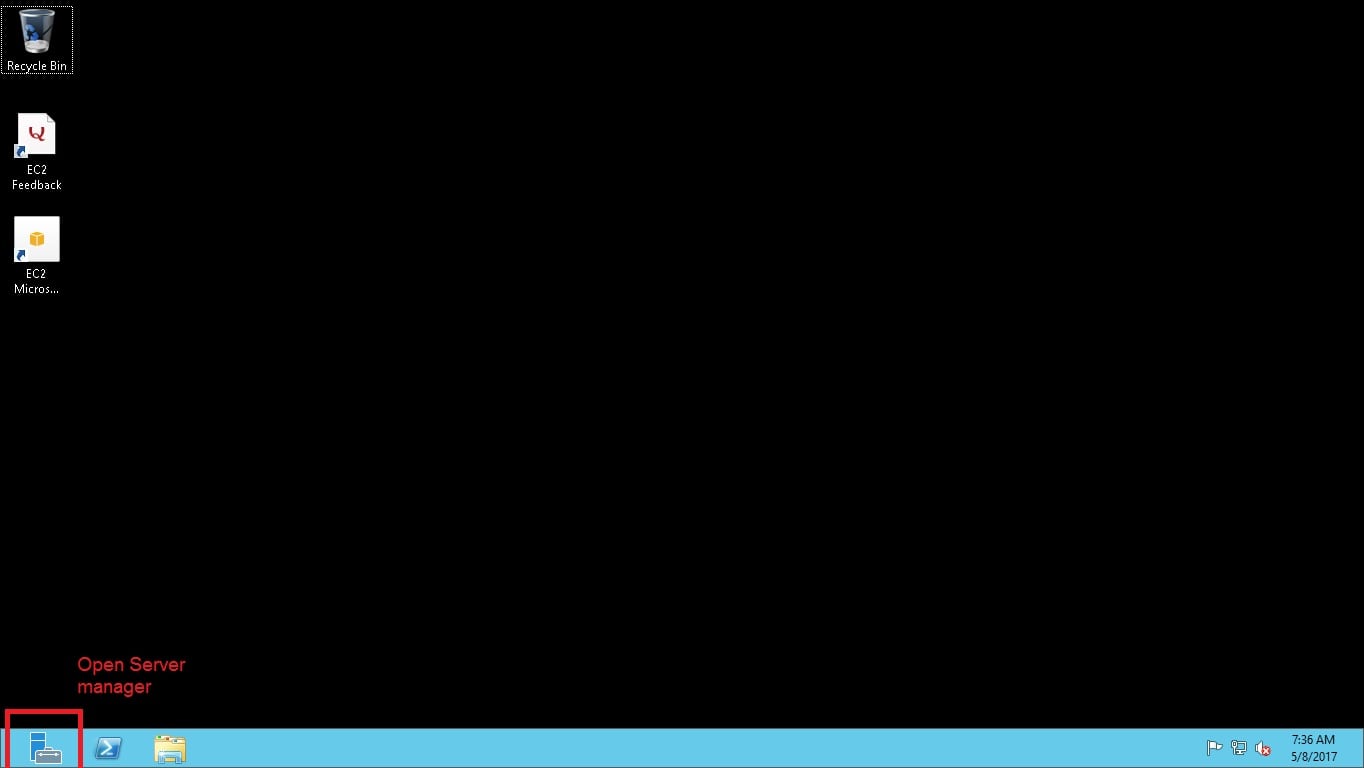
-> Open Server Manager by clicking on its icon on the taskbar, Click “Add roles and features”.

-> Roles and Features Wizard opens. Click “Next” , Select “Role-based or feature-based installation” and click “Next”.
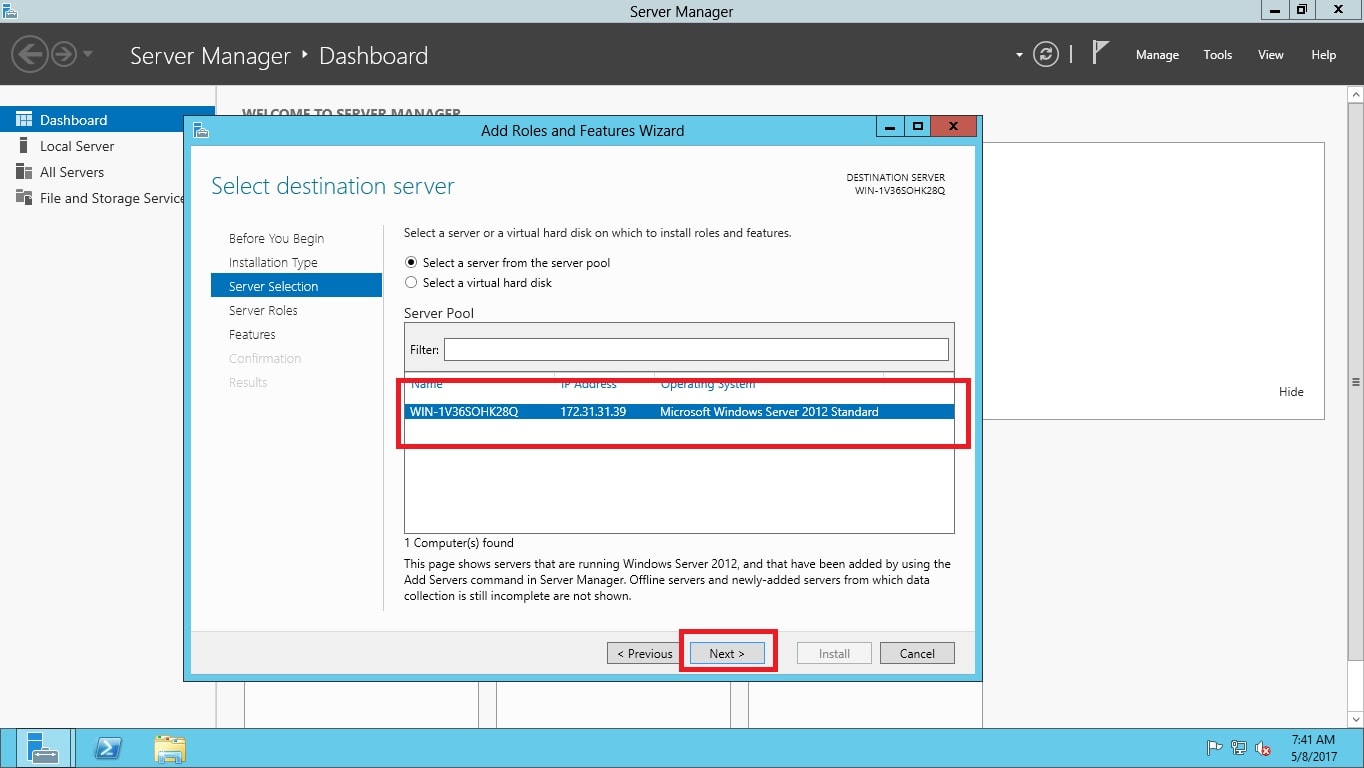
-> Select “Select a server from the server pool”, then choose your server and click “Next”.
-> Select “Web Server (IIS)” from “Server Roles” list and click “Next”.
-> Select following features:
.NET Framework 3.5 Features,
ASP.NET 4.5.

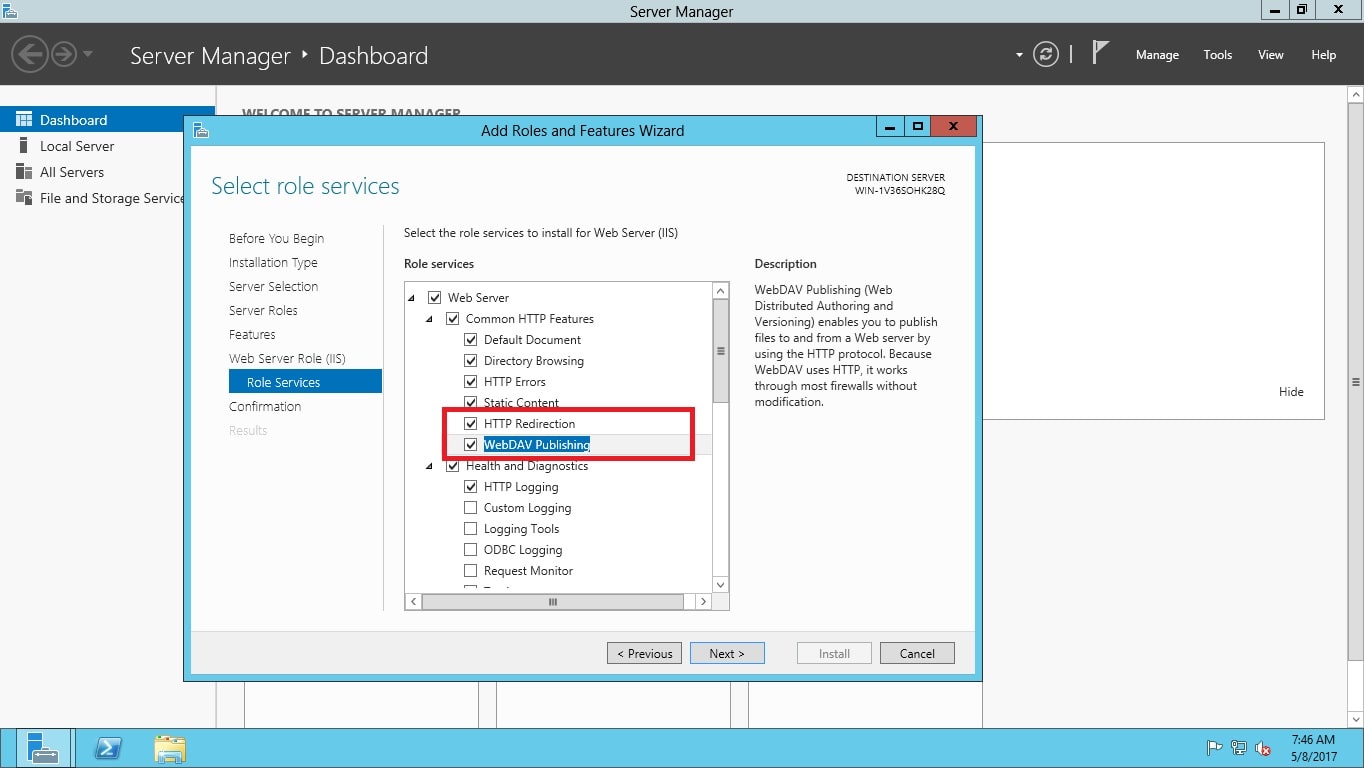
-> Click "Next" , Let’s select Role Services: select items highlighted on the screenshots below and click “Next”.
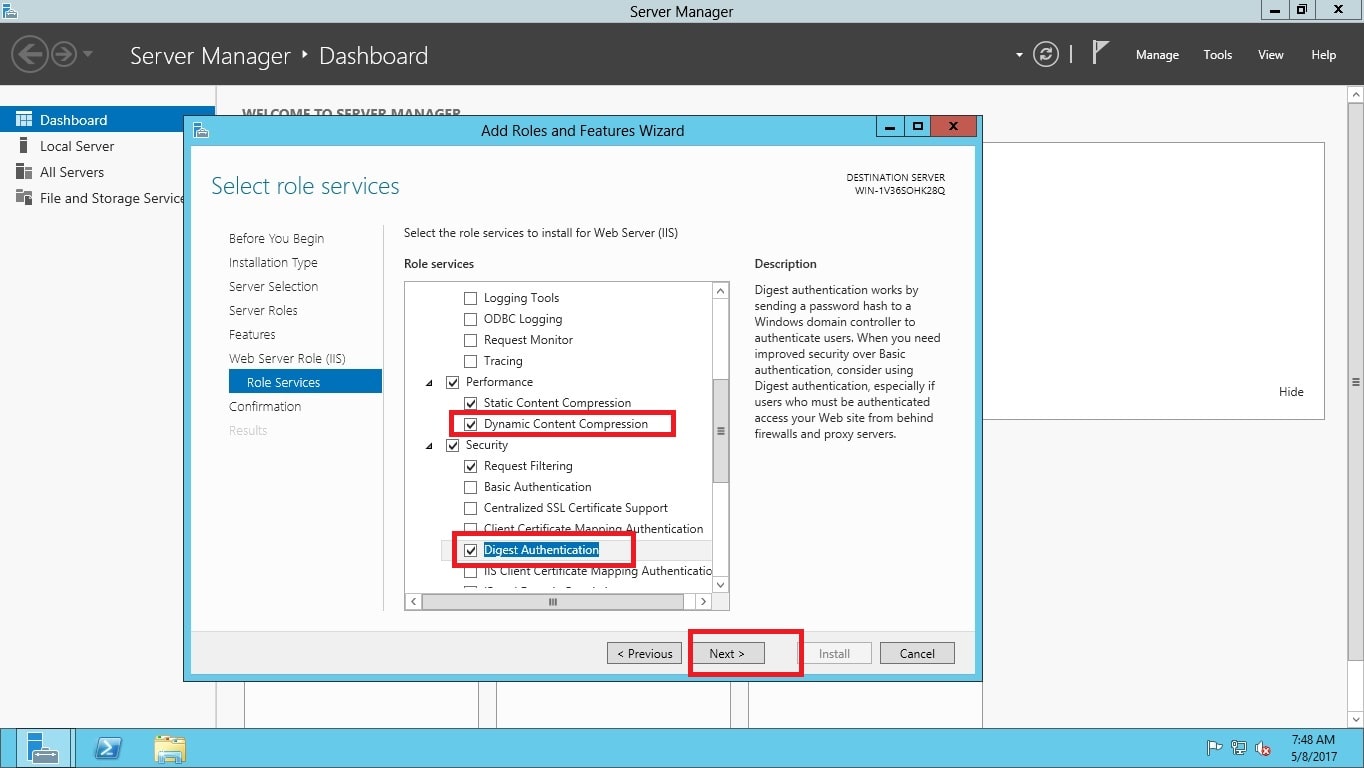
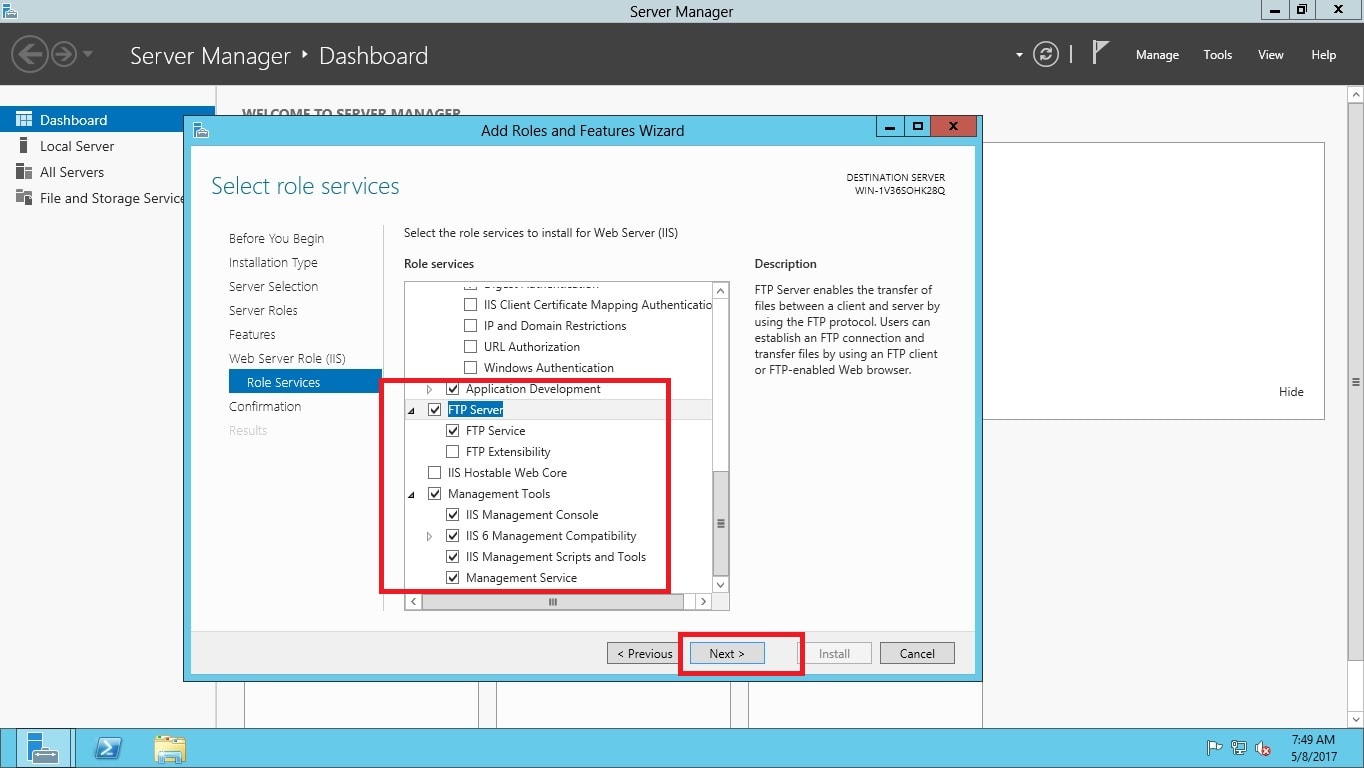
-> Click "Next" to install it and wait until the installation is complete
-> Click "Close"
5. Installing Web Deploy package on EC2 Instance
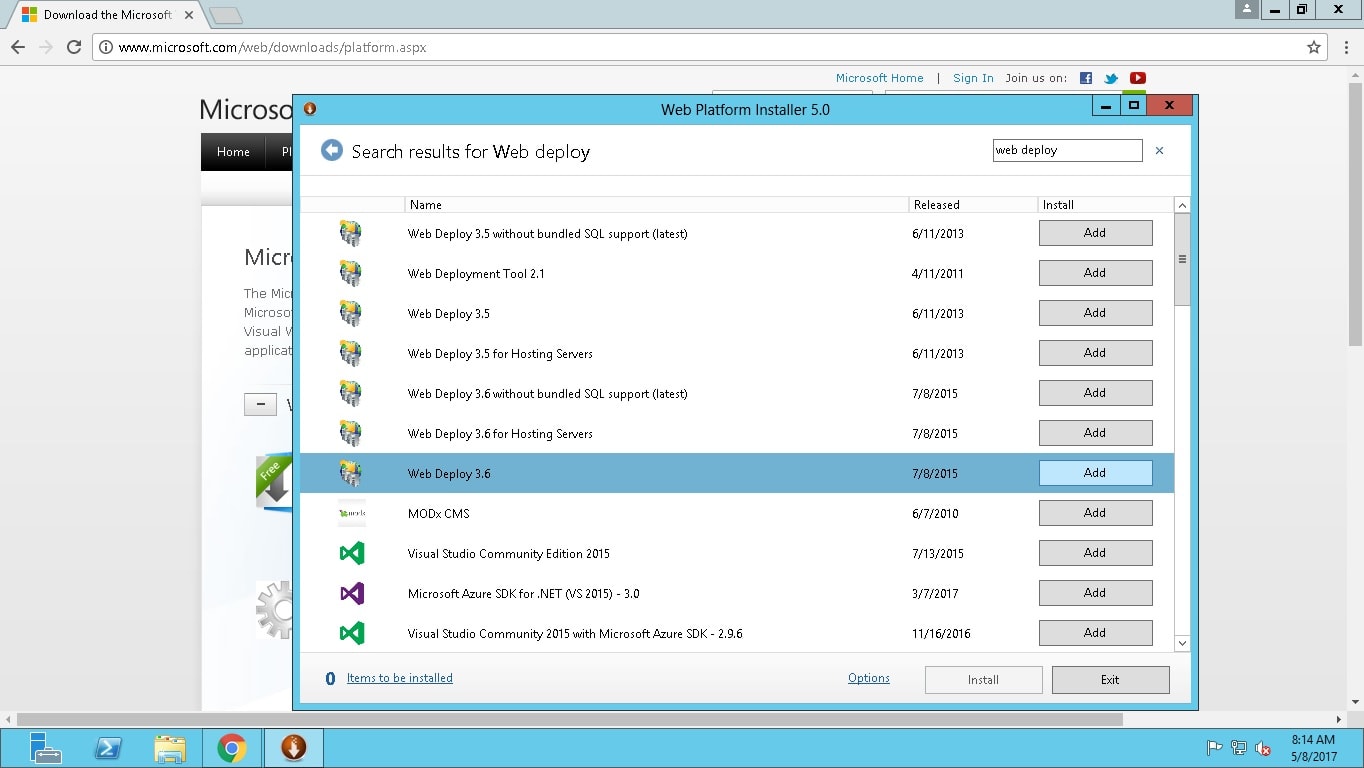
-> Go to http://www.microsoft.com/web/downloads/platform.aspx, download, and run Microsoft Web Platform Installer.
-> Using the installer search field, find and select Web Deploy 3.6 and click “Add”
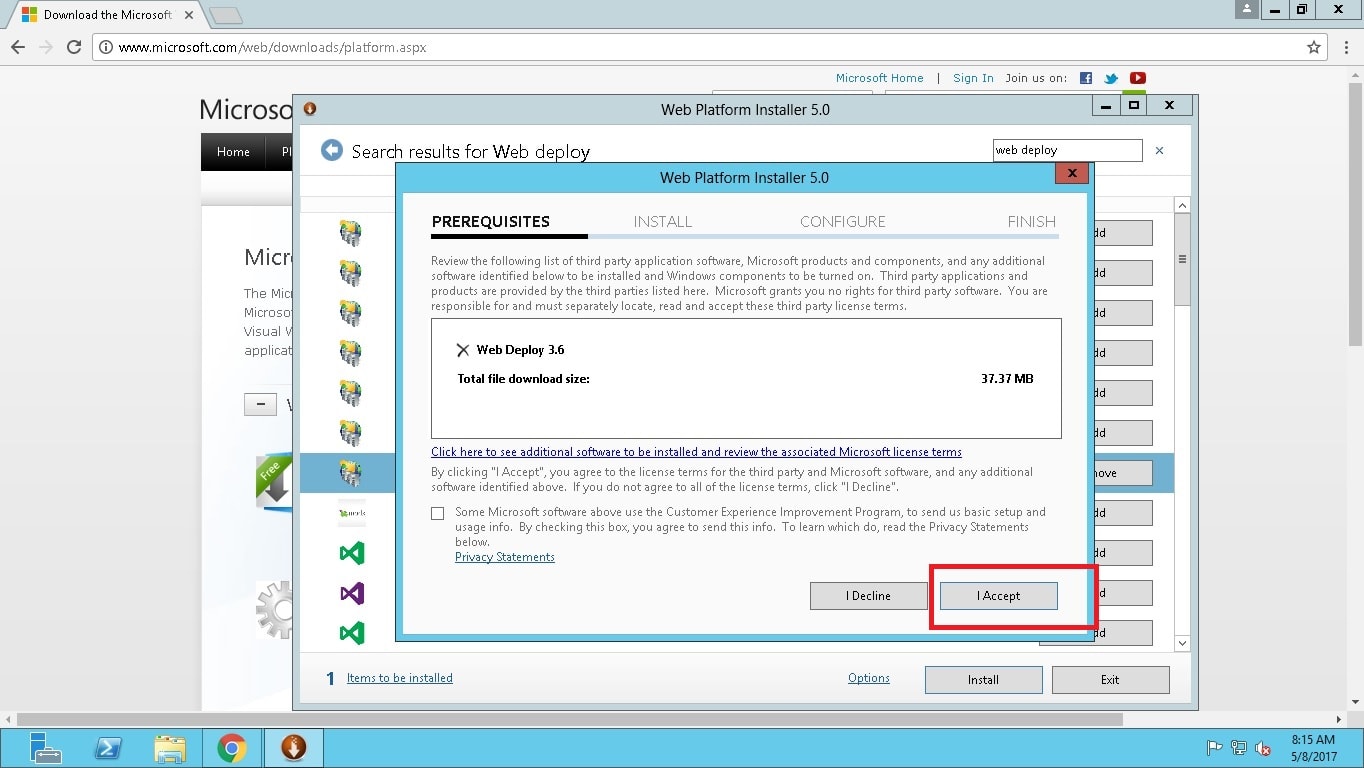
-> Then click “Install”, and Accept the Microsoft license terms, then wait until the end of the installation and click “Finish”.
That's it, you have now Amazon EC2 with Windows Server and necessary files installed on it, to deploy an ASP.NET application.
 Buy us a coffee
 Become a Patron