
In this article, I have shown how you can show image in asp.net web-forms using Image Control easily, further I have explained how you can upload the image on server using Image Control in ASP.NET web-forms.
Step 1: Create a new project in your Visual Studio, navigate to File -> New -> Project -> Select "Web" from left pane and "ASP.NET web-application" from right-pane, name it and click Ok
Select "Empty" Template but Check "Web-Forms" to add references and folders of web-forms, and click OK.
Step 2: In Solution Explorer, right click on your Project andS Select "Add"-> New Item -> Select "Web" from left pane and "Web-Forms" from right-pane, name it "Default.aspx" and click "Add"
Step 3: Add new "Image Control" in ASP.NET web-forms page (Default.aspx) from toolbox by dragging and droping inside web-form
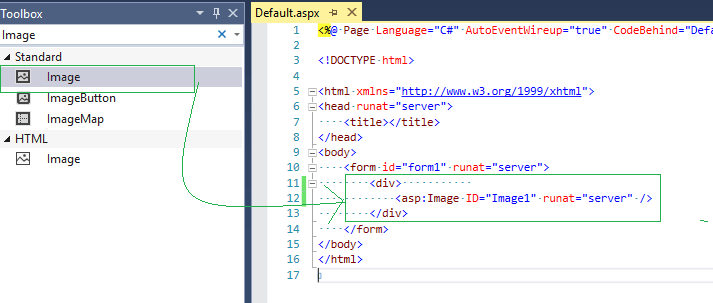
or you can use the code below
 <div>
            <asp:Image ID="Image1" runat="server" />
        </div>
So complete Default.aspx page code will be
<%@ Page Language="C#" AutoEventWireup="true" CodeBehind="Default.aspx.cs" Inherits="ImageControlASPNET.Default" %>

<!DOCTYPE html>

<html xmlns="http://www.w3.org/1999/xhtml">
<head runat="server">
    <title></title>
</head>
<body>
    <form id="form1" runat="server">
        <div>
            <asp:Image ID="Image1" runat="server" />
        </div>
    </form>
</body>
</html>
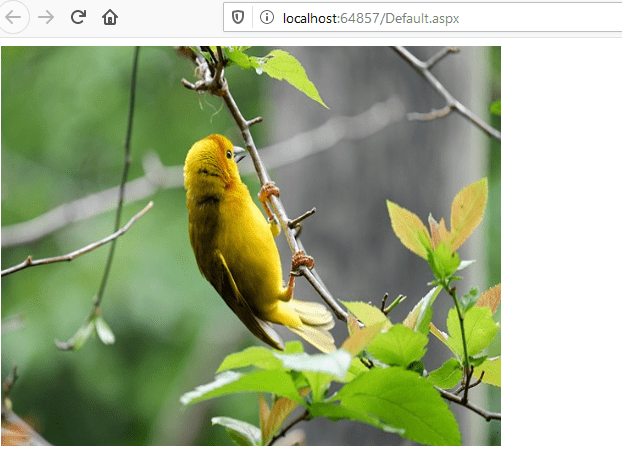
Now to show image using Image Control, you can use "ImageUrl" property , with it's value containing url to image.
Suppose, I have a image "Sample.jpg" in the root directory of the project, then code to show it will be
<form id="form1" runat="server">
        <div>
            <asp:Image ID="Image1" runat="server" ImageUrl="~/sample.jpeg" />
        </div>
    </form>
Build and run your project in browser to see the output.
Sizing the image:
We can use image width/height property to resize it
 <form id="form1" runat="server">
        <div>
            <asp:Image ID="Image1" runat="server" ImageUrl="~/sample.jpeg" Width="500" Height="400" />
        </div>
    </form>
Output in your brower after updating code
Upload image file and show it in Image Control
Let's add File upload control in our Web-Form to upload file and show it in Image Control using Web-Forms.
We will also add a button to upload file using File Upload control.
So complete web-forms code will be as below
<%@ Page Language="C#" AutoEventWireup="true" CodeBehind="Default.aspx.cs" Inherits="ImageControlASPNET.Default" %>

<!DOCTYPE html>

<html xmlns="http://www.w3.org/1999/xhtml">
<head runat="server">
    <title></title>
</head>
<body>
    <form id="form1" runat="server">
        <div>

            <asp:FileUpload ID="FileUpload1" runat="server" /><br/>
              <asp:Button ID="Button1" runat="server" Text="Upload File" OnClick="UploadFile" /><br/>
            <asp:Image ID="Image1" runat="server"  />

        </div>
    </form>
</body>
</html>
As you can see we will be calling "UploadFile" method on button Click, so navigate to Default.aspx.cs (Code behind) file and use the C# code below to upload file and show it in Image Control
 protected void UploadFile(object sender, EventArgs e)
        {
            string folderPath = Server.MapPath("~/Images/");

            //Check whether Directory (Folder) exists.
            if (!Directory.Exists(folderPath))
            {
                //If Directory (Folder) does not exists Create it.
                Directory.CreateDirectory(folderPath);
            }

            //Save the File to the Directory (Folder).
            FileUpload1.SaveAs(folderPath + Path.GetFileName(FileUpload1.FileName));

            //Display the Picture in Image control.
            Image1.ImageUrl = "~/Images/" + Path.GetFileName(FileUpload1.FileName);
        }
You maye have to import "using System.IO;" namespace.
In the above code, we are uploading file in "Images" Folder, checking if file folders, if not, create it.
and then saving path on server Directory, once the file is saved in directory "Images",we will assign image path to "Image1" which is Image Control to show the Image.
We are done, build and run your project in browser, you will see output as below

You may also like to read:
Using Chart in ASP.NET (Pie chart in ASP.NET)
 Buy us a coffee
 Become a Patron