
Sometimes you may need to add Login/Authentication of users using there social media accounts like Google, Facebook etc, so in this article, I have explained how you can add a Google authectication button in your ASP.NET MVC application and get user details from user's google account using Asp.Net Identity OAuth and save it in the database.
By using such feature , users can use their social media identities or any other identities from Providers like Gmail,Facebook etc. to login to various other services across the web.
If you might visit e-commerce site then this option is available there for ease for users to shopping.
So here is the step by step procedure of implementing Google Authentication in your MVC App:
1 .Create a new project in your Visual Studio(File-> New->Project->From web(Left pane)-> Select "Asp.Net Web Application"(right pane)) .
a) Enter a Name, Click "Ok"
b) Select "MVC" template from project and click "Ok"

c) Click on Change Authentication Button -> Select Individual User Accounts.

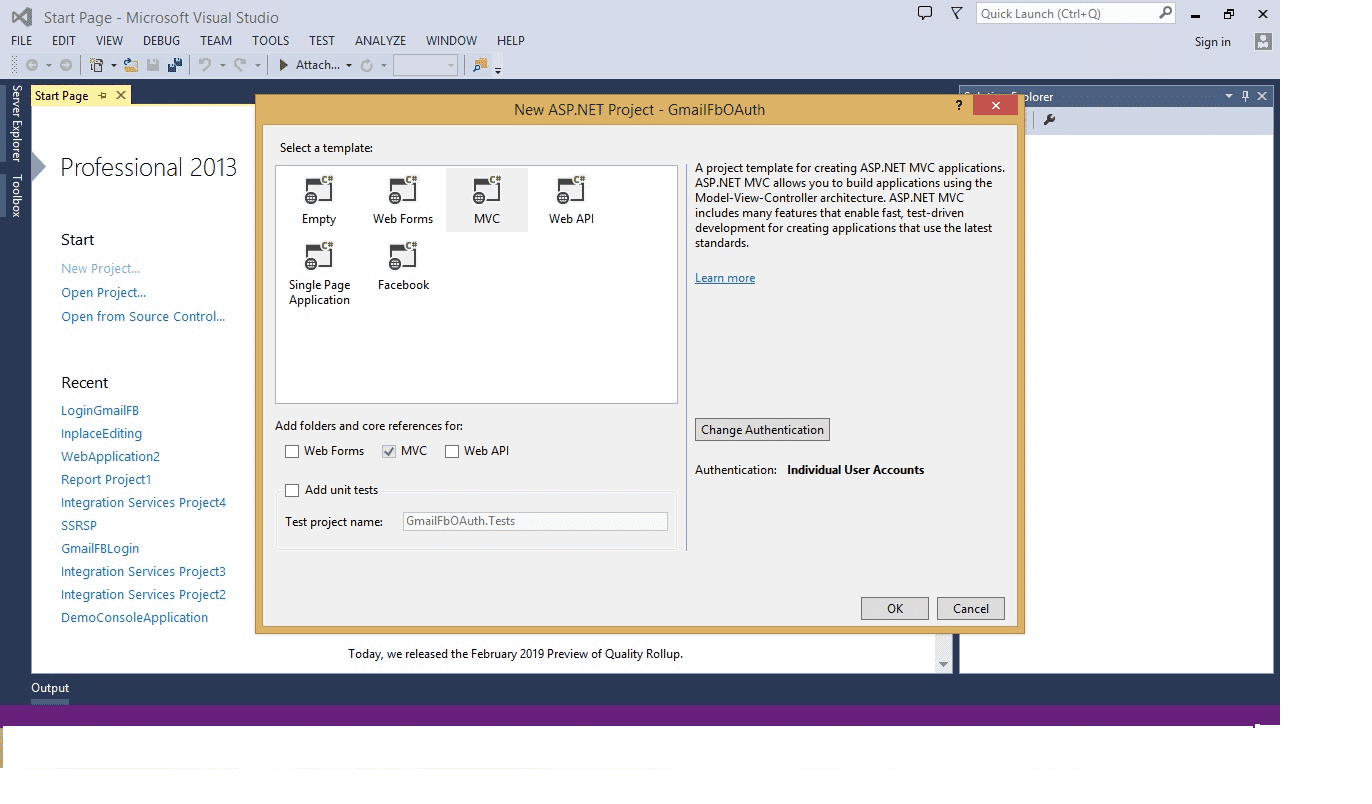
By Selecting Individual User Accounts , application will be configured to use ASP.NET Identity where user register in the application and then sign in via Social Accounts such as Facebook,Twitter,Linkedin ,Google and other providers.
All user credential data will be stored in database.
2. After creating project successfully now let's add connection string to project in Web.Config File :
<connectionStrings>
    <add name="DefaultConnection" connectionString="Data Source=HPLAPTOP;Initial Catalog=SNE;UID=sa;Password=sasasa;Integrated Security=True" providerName="System.Data.SqlClient" />
</connectionStrings>
3. Save the current project and Run the application .
After homepage appears just click on Register link, then Register page will appear. After Registeration page appear enter details required for registration.
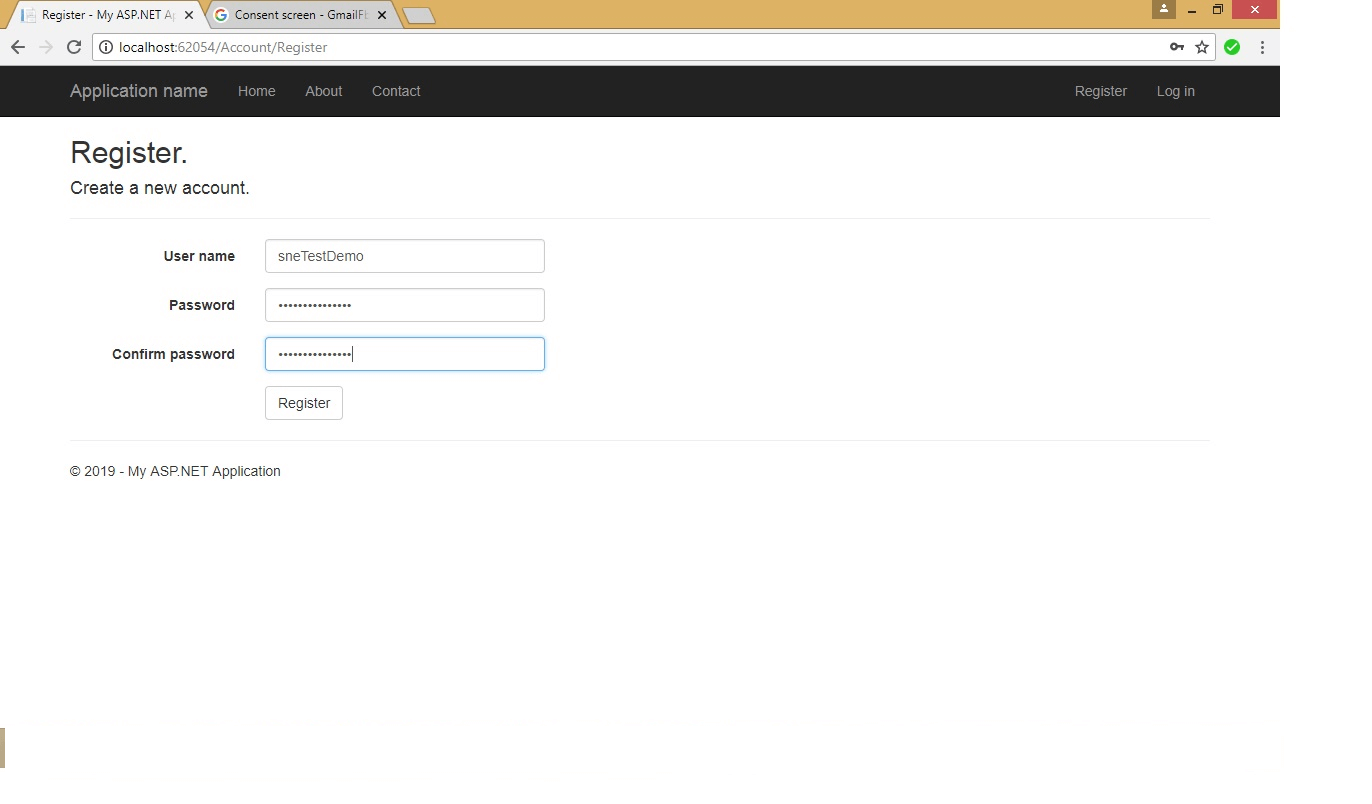
After filling data just click on Register button meanwhile Microsoft.AspNet.Identity will generate tables in the database as shown below.
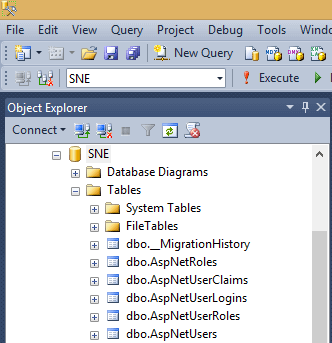
After Registering user, tables will be created in database as follows :
Along with this , the credentials we have filled in registration form are saved in table dbo.AspNetUsers as following :
Tables and its Details used for this application :
AspNetRoles : - which stored data related to Role.
AspNetUserRoles: - which stored data related to Role assigned to User.
AspNetUsers: - which stored data related to User.
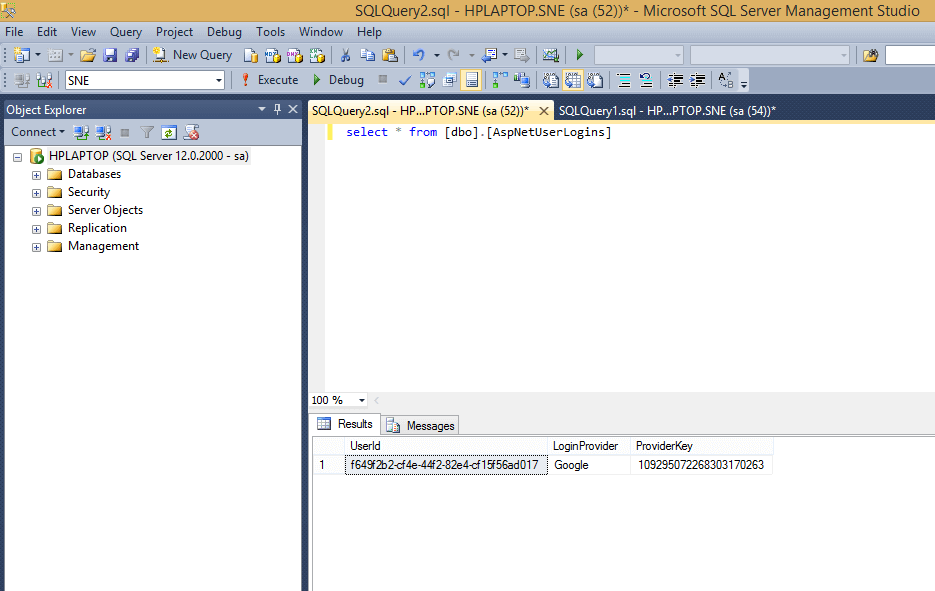
AspNetUserLogins: - which stored data related to Login Provider [Google, Facebook etc ].
This table contains respective ProviderKey and User id form table AspNetUsers.
4 . Now let’s move towards Implementing External Authentication provider like Google :
In your new Project, Install this package for Google Authentication, using Nuget Package manager(For Nuget Package manager console, browse Tools-> Nuget Package Manager-> Nuget package manager console) console, then enter these commands :
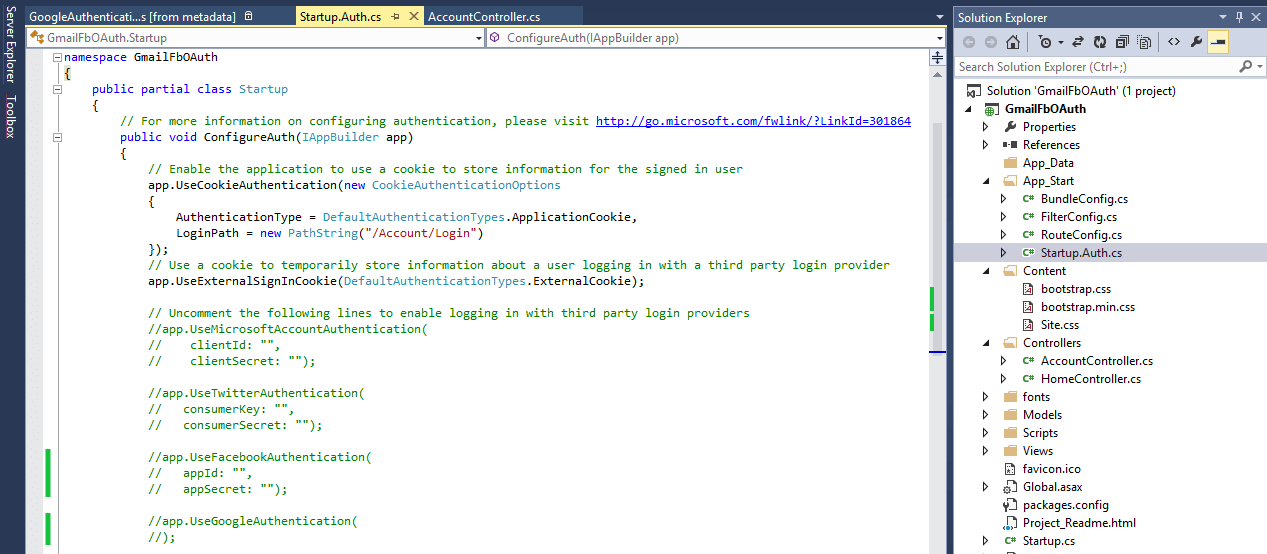
Install-Package Microsoft.Owin.Security.Google –Version 3.0.1Startup.Auth.cs file is created by default when we create application and it is located inside App_Start as shown below :
To login with gmail account , we first need to Register Application with Google.
5. Register your application with Google to enable OAuth Login :
- We can use existing gmail account or we will create new one for this applicationn.
- For this, go to url : http://console.developers.google.com/
- and login with gmail login credentials.
After Login , click on create project button, new window will open with name New Project as shown below :
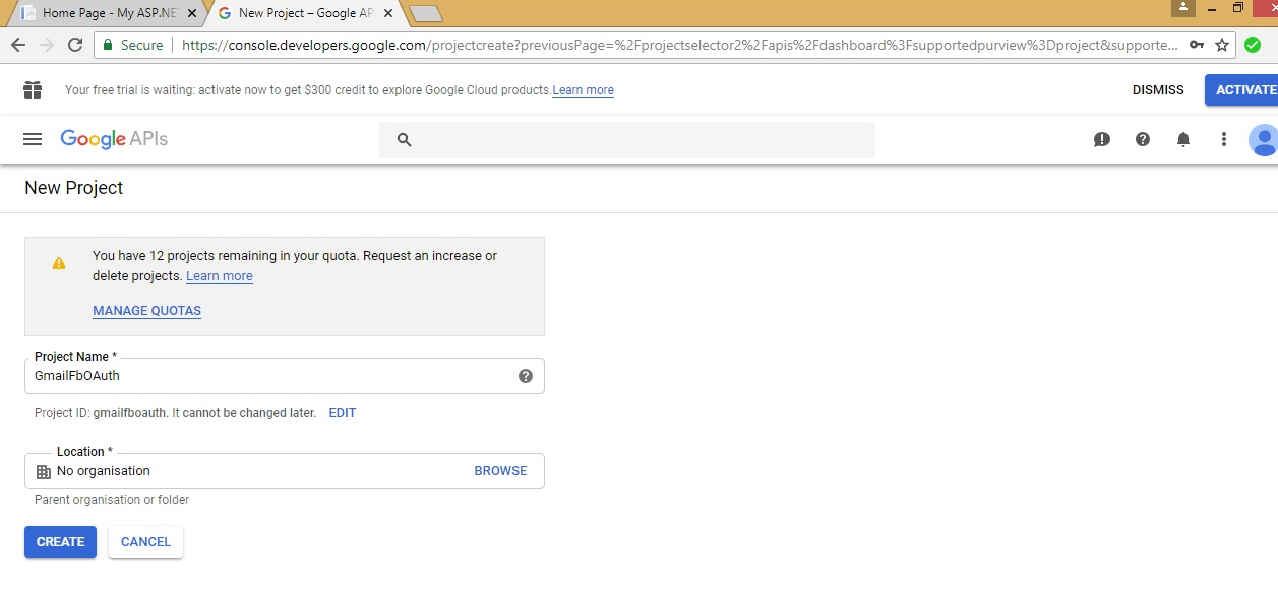
After that we are going to enter project name as "GmailFbOAuth" and click on create a will show you Credentials screen.:
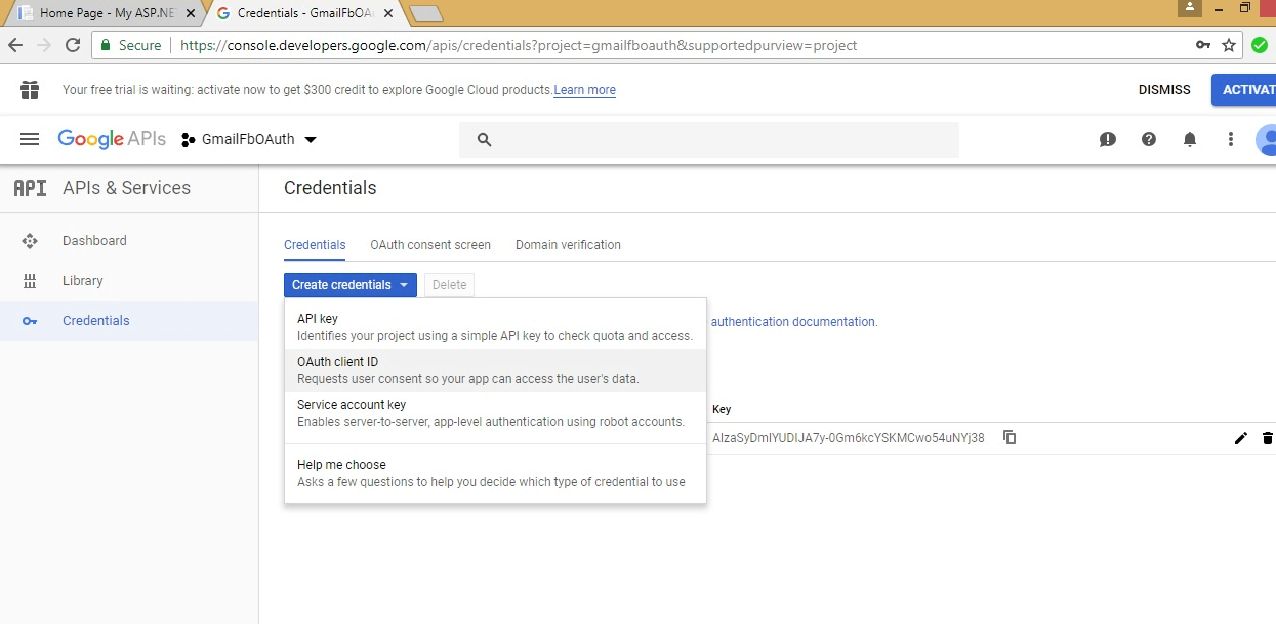
On Credentials screen, there is Create credentials drop-down list from that select OAuth client ID :
After choosing OAuth client ID a new screen will appear with warning
"you must first set a product name on the consent tab" with button "Configure consent screen” : as below :

"OAuth consent screen" as shown below :
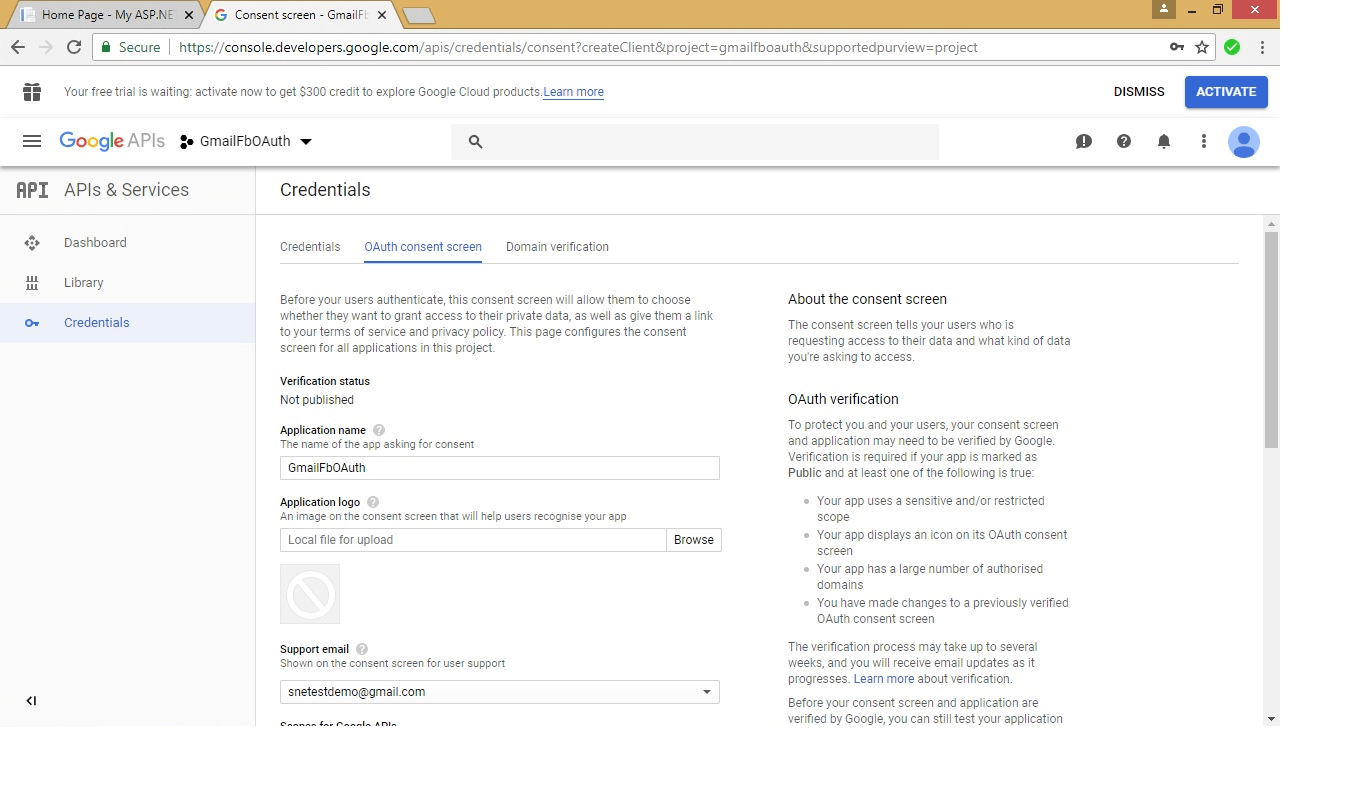
Enter [Product name to display to users] enter " GmailFbOAuth " and click on save button.
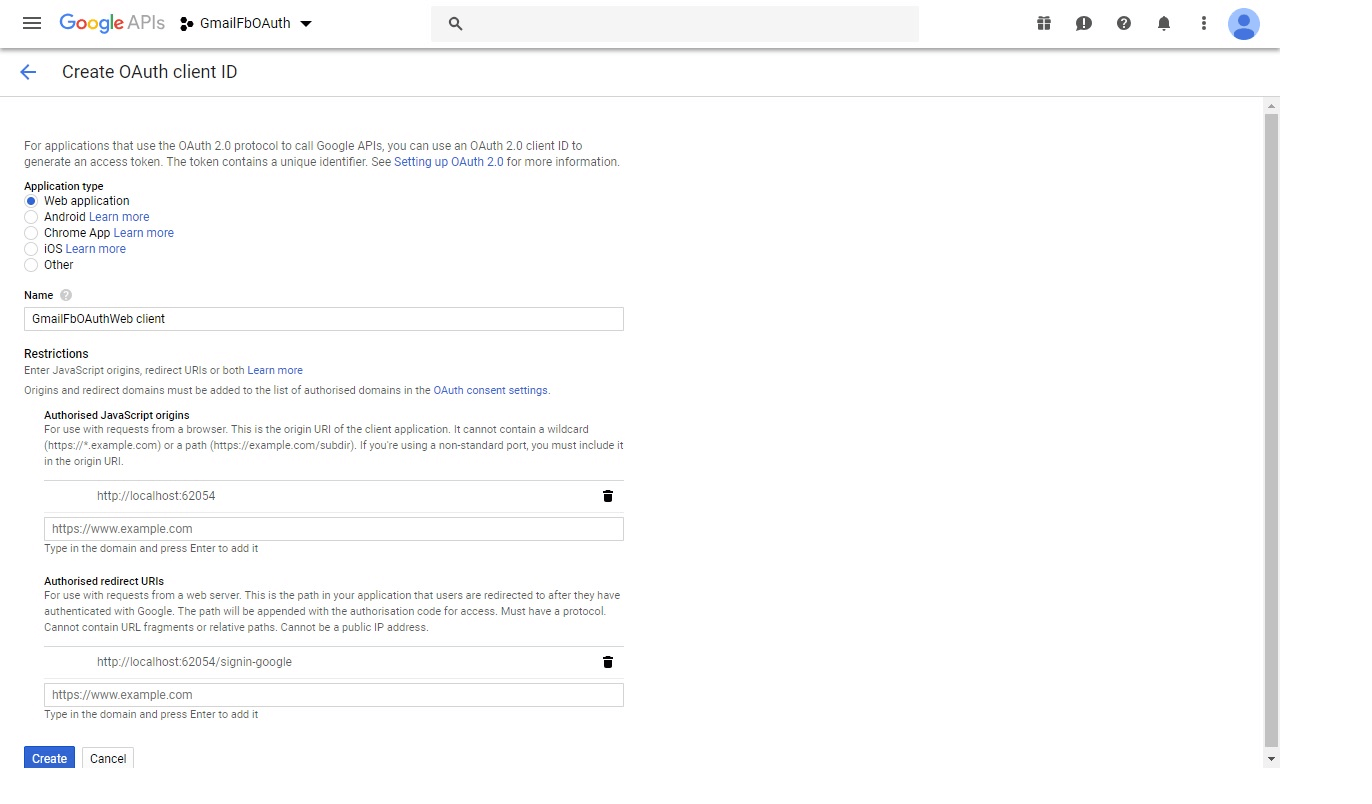
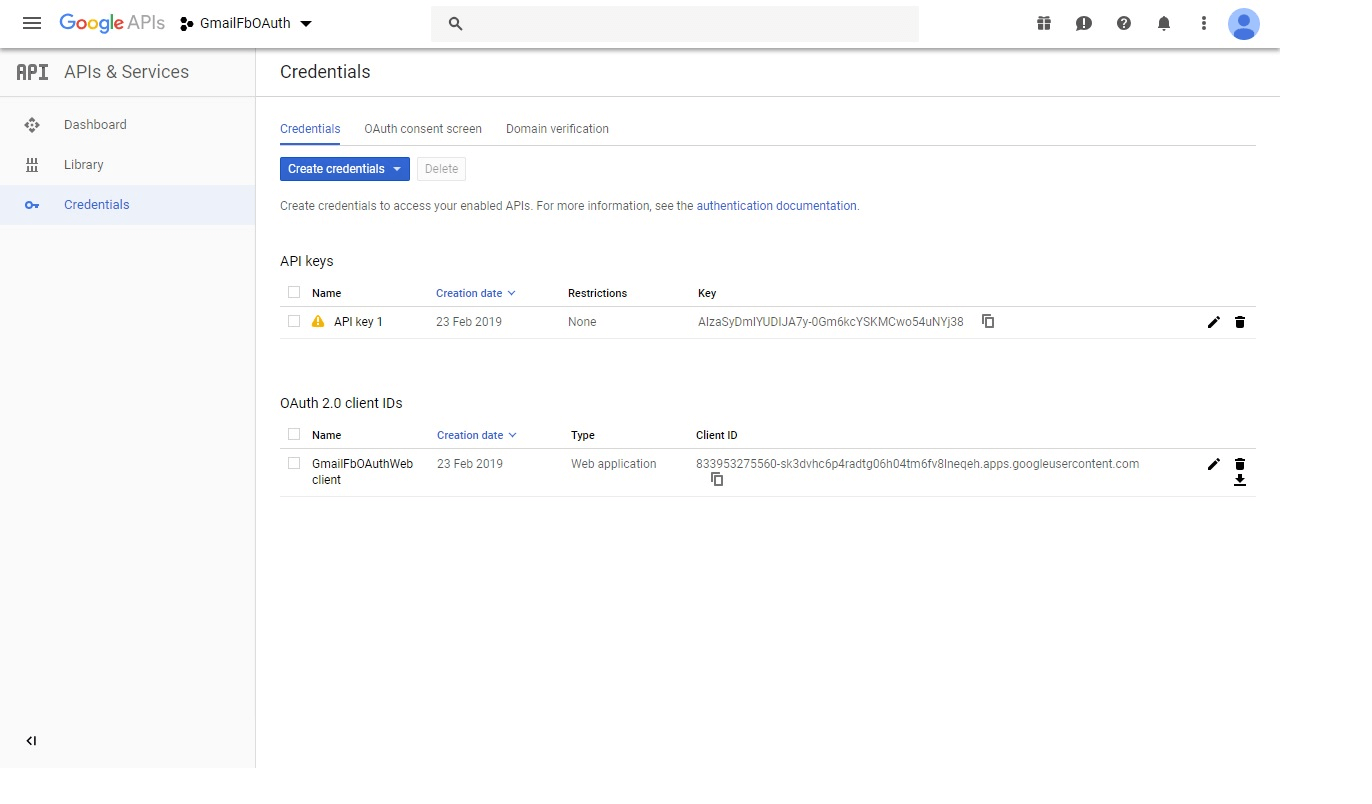
It will again take you back to Credentials tab, after again choosing OAuth client ID option will take you to Create ClientID screen as shown below :
Select Parameteers as follows :
Application Type -> Web Application
Name ->GmailFbOAuthWebClient
Authorized Javascript option -> the project url [Port No in which application is running].
Here is : http://localhost:62054
Authorized Redirected URI -> This URI is user is redirected after successfully authenticated by Google.
Here is : http://localhost:62054/sign-in-google
After clicking on Create button, a new alert will pop up with Name "OAuth Client" .
It contains ClientID and Client secret which we want to use for OAuth Google integration.
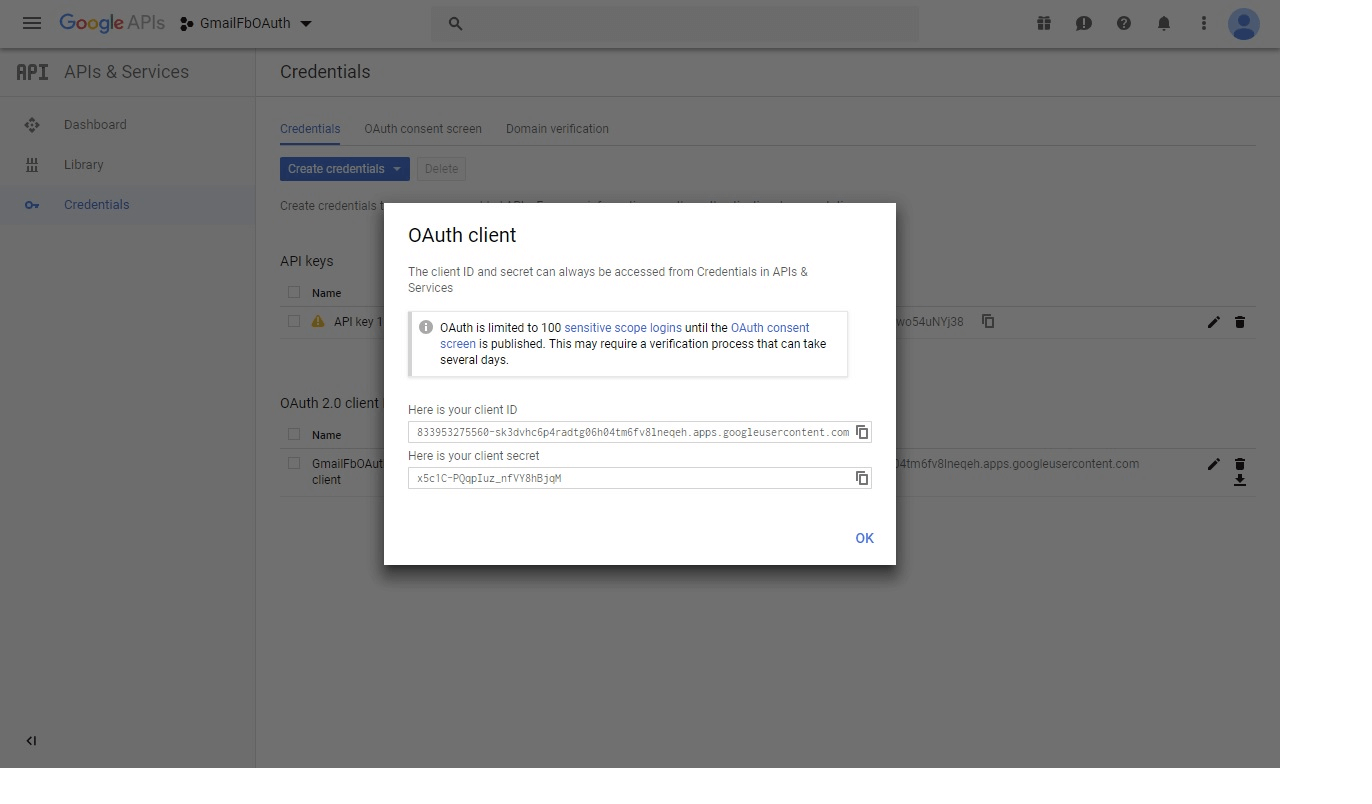
Just copy and paste ClientID and Client secret keys and replace the existing code to Startup.Auth.cs class as shown below :
GoogleOAuth2AuthenticationOptions is used to redirect uri with google, is present in the namespace :
using Microsoft.Owin.Security.Google .
app.UseGoogleAuthentication(new GoogleOAuth2AuthenticationOptions()
            {
                ClientId = "833953275560-sk3dvhc6p4radtg06h04tm6fv8lneqeh.apps.googleusercontent.com",
                ClientSecret = "x5c1C-PQqpIuz_nfVY8hBjqM"

            });
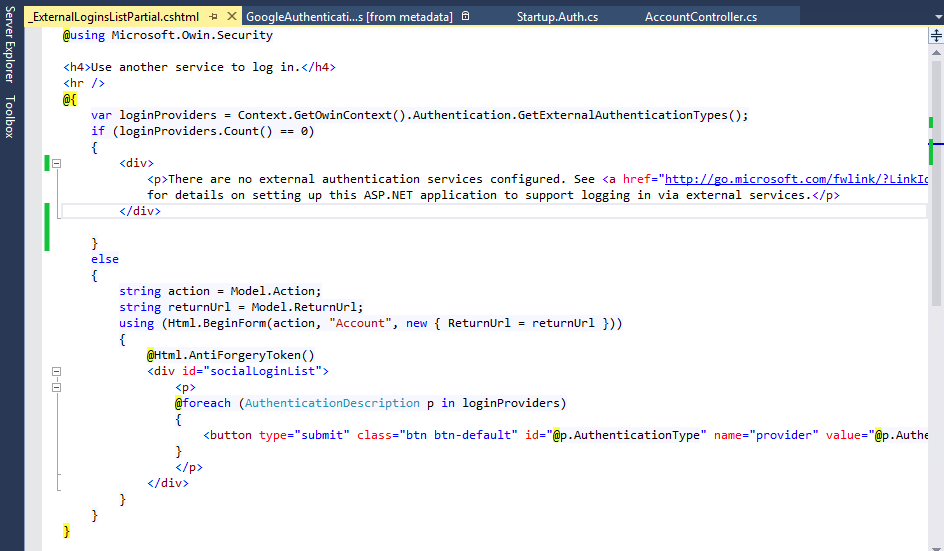
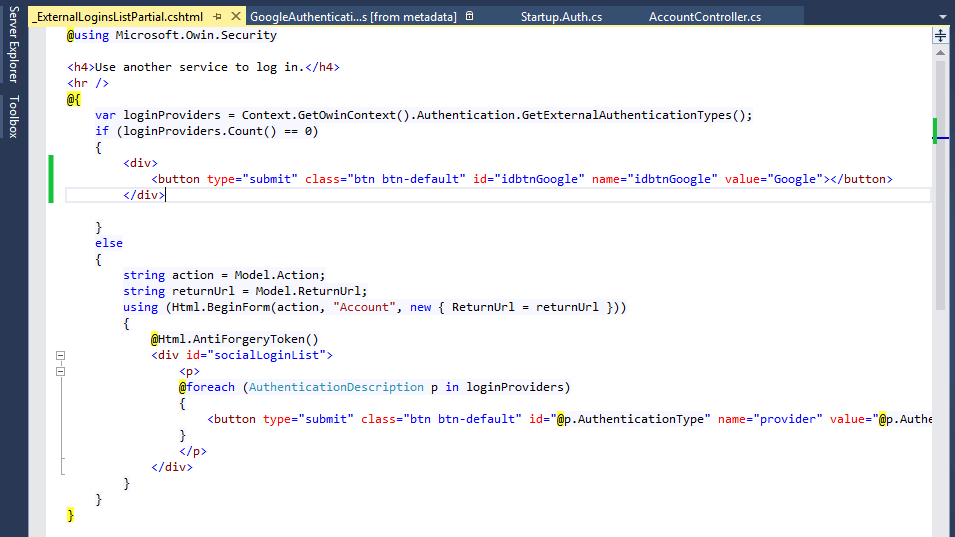
Replace the existing code of views -> Account -> _ExternalLoginsListPartial.cshtml as shown below :
<div>
   <button type="submit" class="btn btn-default" id="idbtnGoogle" name="idbtnGoogle" value="Google"></button>
</div>
Then Save application and run.
Below Login screen will appear with Google button :
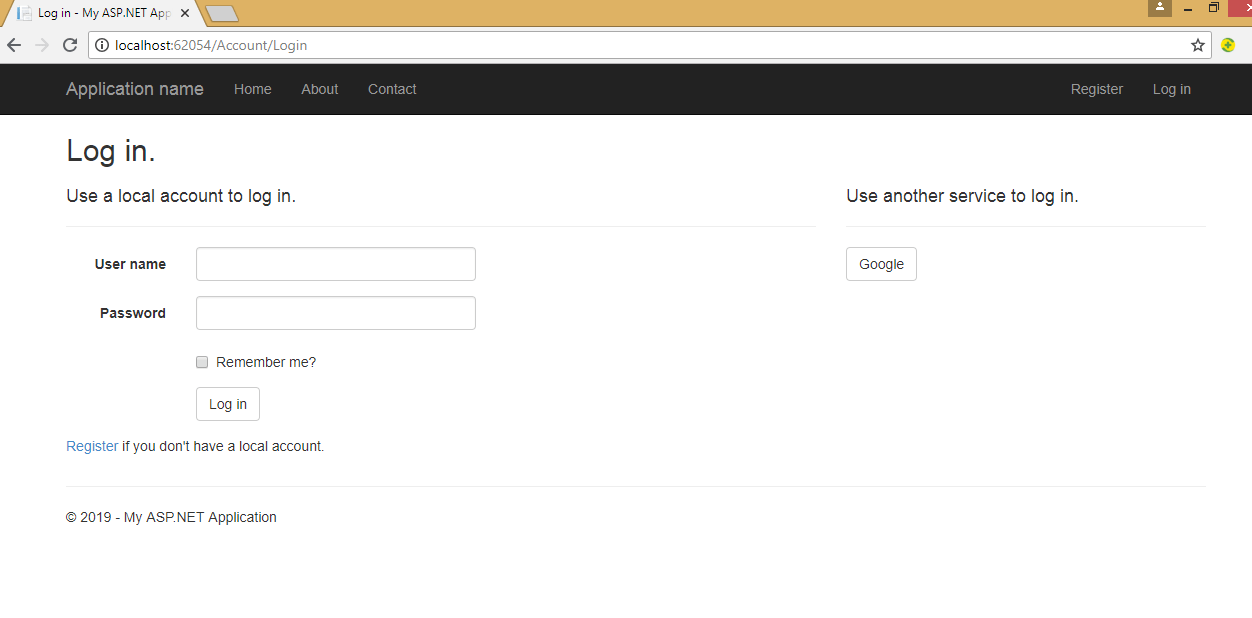
After clicking on Google button if it is not Logging in then we do not have permission to the Google+ API to application.
6. We need to set access to of Google+ API to “GmailFbOAuth Project” which we have created or Enabling Permission of Google+ API :
- Go to URL : https://console.developers.google.com/projectselector/apis/credentials
- Select Project -> click on Enable API button [+Enable API],it will take you to Library View as shown below
- Search for Google+ API as below :
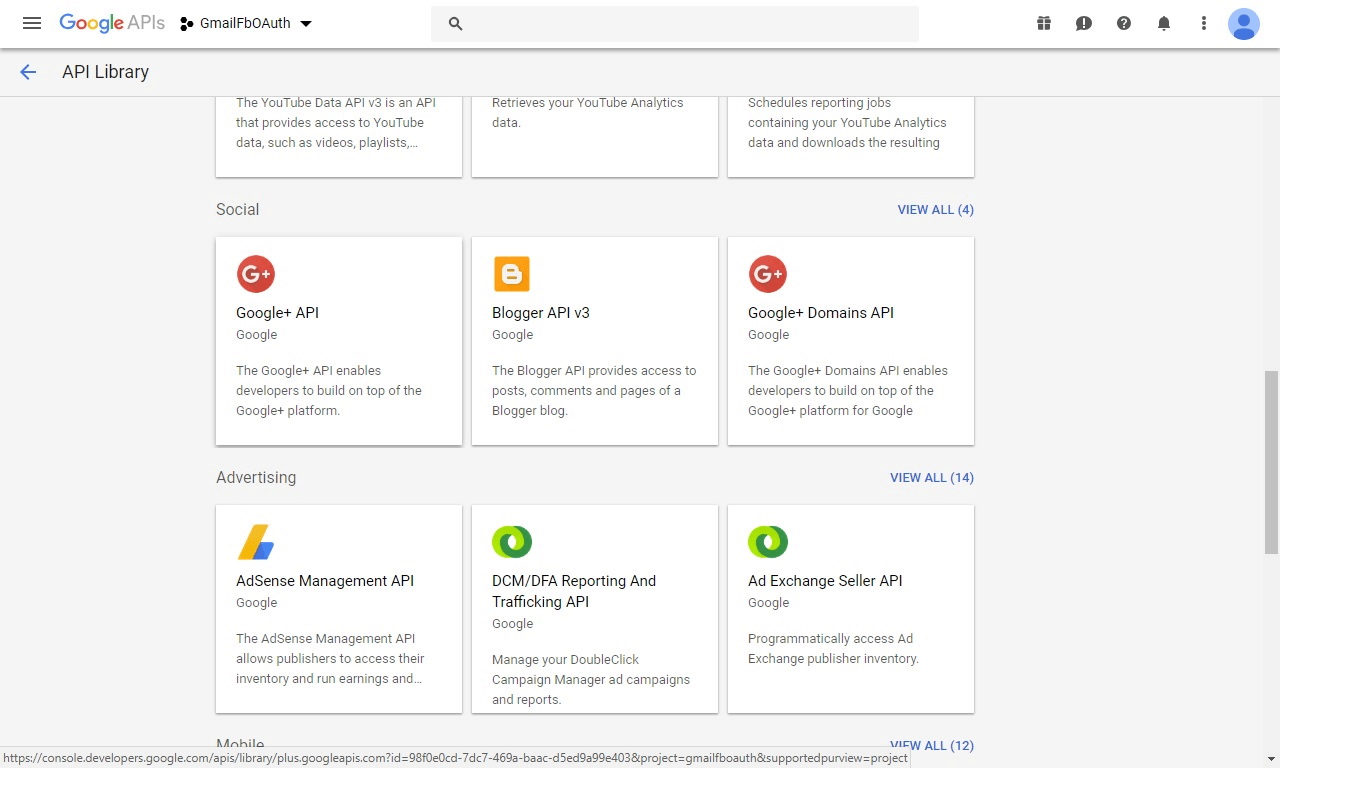
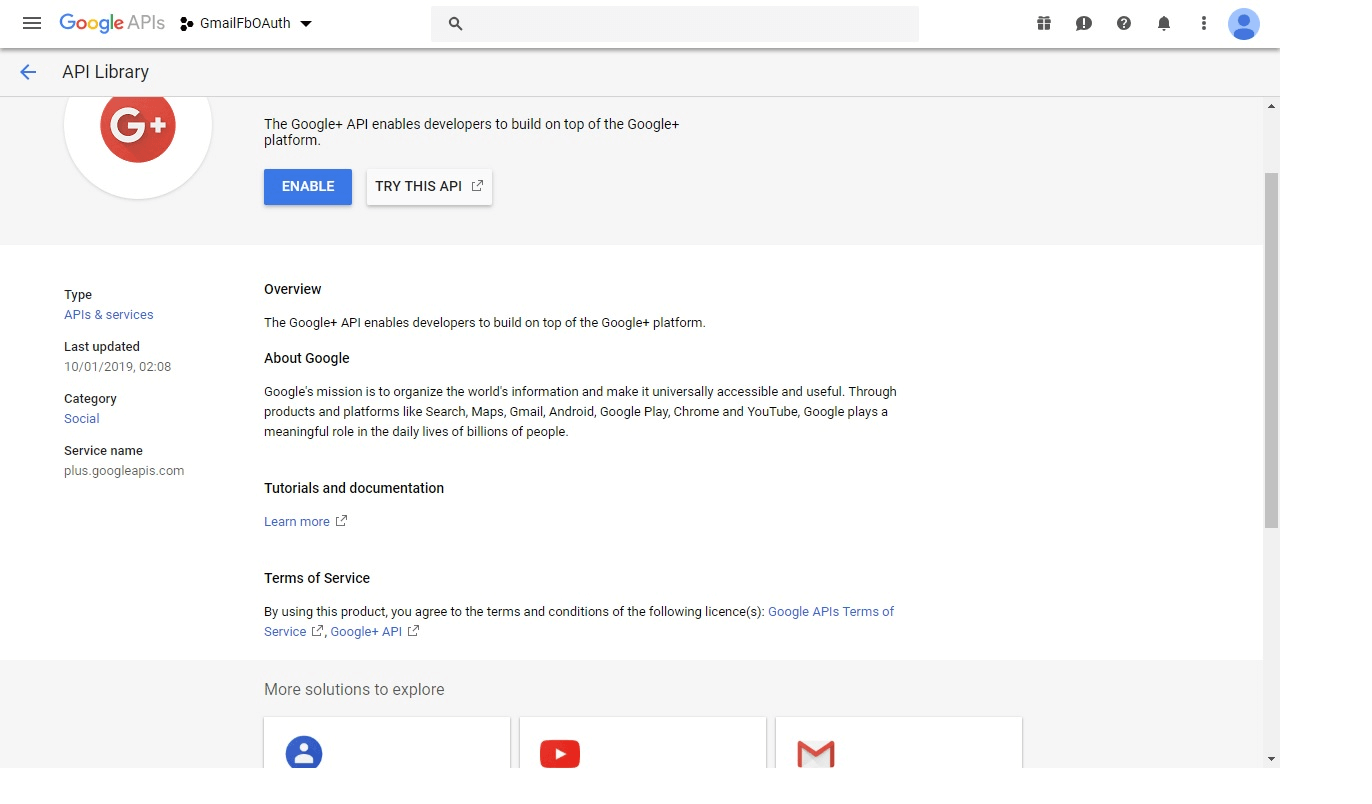
- Select Google+ API link below screen will appear with Enable button just click on it to enable button.
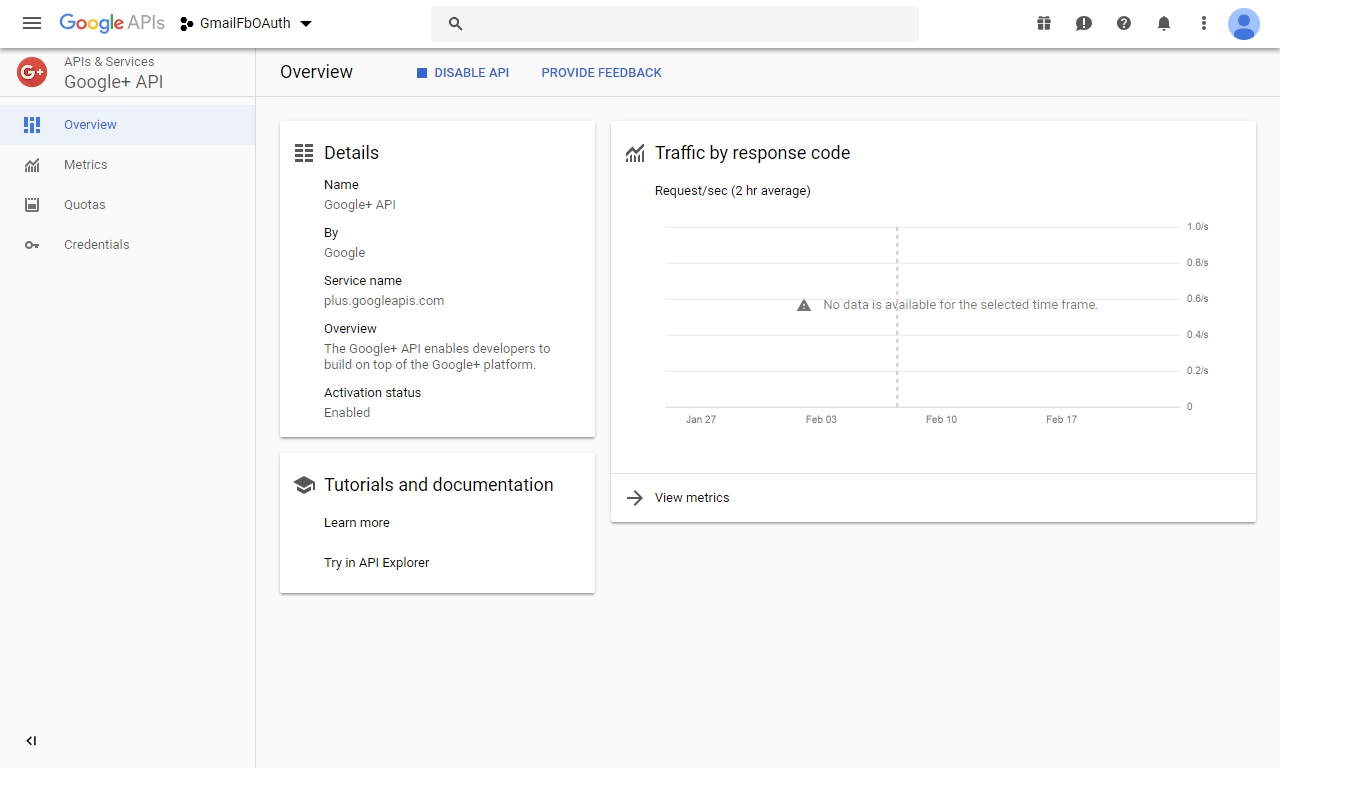
- After enabling Google+ API the below view appear :
After clicking on Google button of project login it will take you to Google Login page and ask you to enter credentials for Sign in or if you are logged in select particular account as below :

Here, after selecting existing account it will redirect to ExternalLoginCallback view and on that view it will show your Email ID of Google from which we have logged in, and then finally click on register button as below :

it shows message :
"You've successfully authenticated with Google. Please enter a user name for this site below and click the Register button to finish logging in."
After clicking on Register button it will register you and along with that it also login into the application as shown below :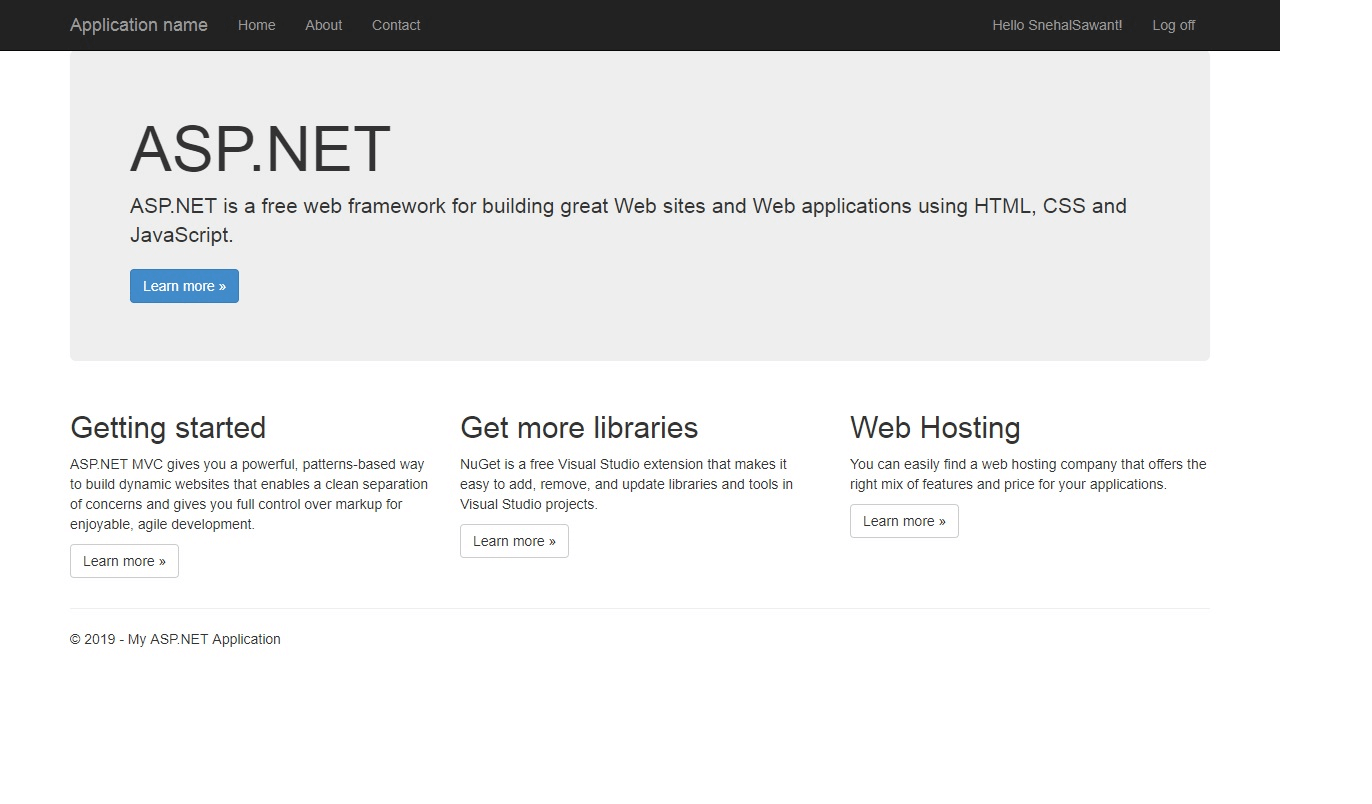
7.Data has been stored in database after this process as below :
AspNetUserLogins table : stores data related to LoginProvider.
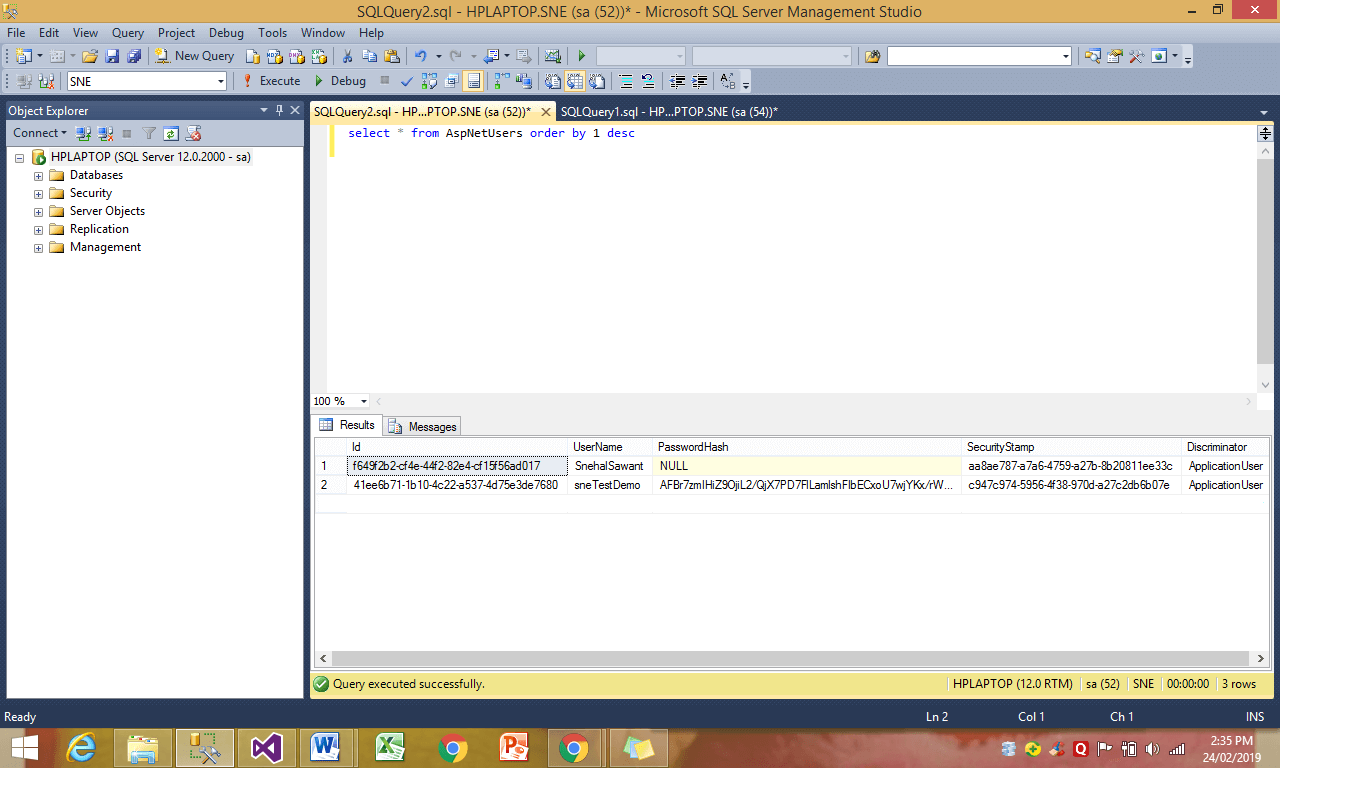
AspNetUsers table : stores data related to all Users from OAuth Login .
If it contains PasswordHash then it is registered by general registeration Login and if it is PasswordHash is empty then it is done by OAuth login.
That's it we are done, Thank you for reading. You can also download source code from below link :
https://drive.google.com/file/d/14ZXMxSeAueYdXNabPNLyKWdI0TM6NbVg/view
You may also like to read:
How to Create login & registration page in MVC with database (ASP.NET)
MVC tutorial part-2 connecting to database, fetching/inserting data
 Buy us a coffee
 Become a Patron