In previous article, I have mentioned to convert HTML to word document using javascript, now in this article, I have provided working example to create word document or you can say generate word document using DocX library in C#, step by step.
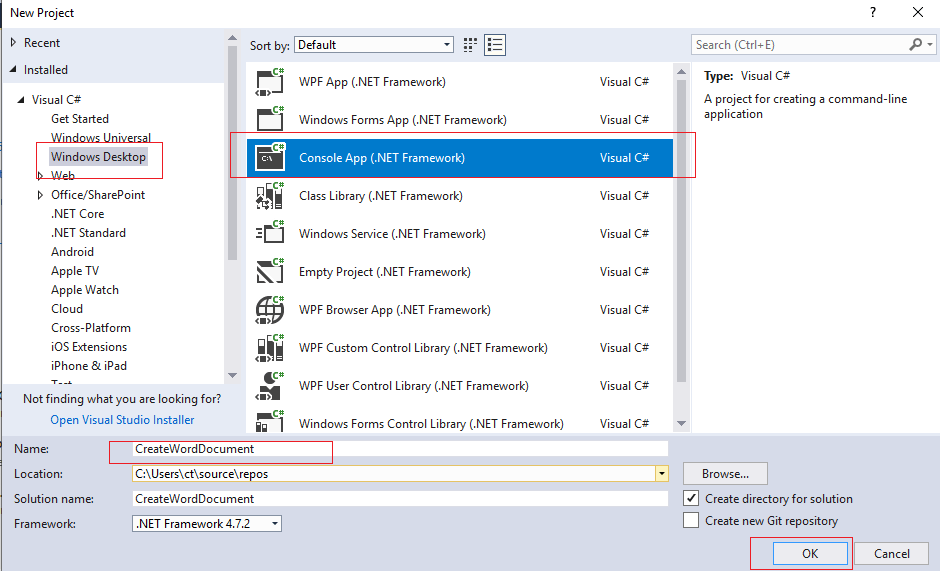
Step 1: We will create a new console application using which we will generate our word document, so Open your Visual Studio and create a new console application by navigating to File-> New -> Project -> Select "Windows desktop" from left pane and Select "Console Application" from right-pane, then name it and Click "Ok".

Step 2: Install DocX library in your console application, using NuGet, navigate to "Tools" -> "NuGet Package Manager console" -> "Manage Nuget Packages for solution "-> Select "Browse" tab and search "DocX", select it and Install it in your project.

Note: DocX is free to use, .NET library that allows developers to manipulate Microsoft Word files, in an easy and intuitive manner. DocX is fast, lightweight and best of all it does not require Microsoft Word or Office to be installed.
Step 3: Navigate to "Program.cs" to use below code
using Xceed.Document.NET;
using Xceed.Words.NET;

namespace CreateWordDocument
{
    class Program
    {
        static void Main(string[] args)
        {
            string fileName = @"E:\DocxExample\sampleWordFile.docx";

            var doc = DocX.Create(fileName); //create docx word document

            doc.AddHeaders(); //add header (optional)
            doc.AddFooters(); //add footer in this document (optional code)

            // Force the first page to have a different Header and Footer.
            doc.DifferentFirstPage = true;

            doc.Headers.First.InsertParagraph("This is the ").Append("first").Bold().Append(" page header");// Insert a Paragraph into the first Header.
            doc.Footers.First.InsertParagraph("Page ").AppendPageNumber(PageNumberFormat.normal).Append(" of ").AppendPageCount(PageNumberFormat.normal); // add footer with page number

            doc.InsertParagraph("Hello Word"); // inserts a new paragraph with text

            doc.Save(); // save changes to file
        }
    }
}
In the above code, we are first creating a fileName and then creating .docx word document using DocX NuGet Package.
We are also adding header and footer in the document, this is optional code and we can skip it, but for example purpose I have added the code.
And we are simply adding a paragraph here, then saving the document using "doc.Save()".
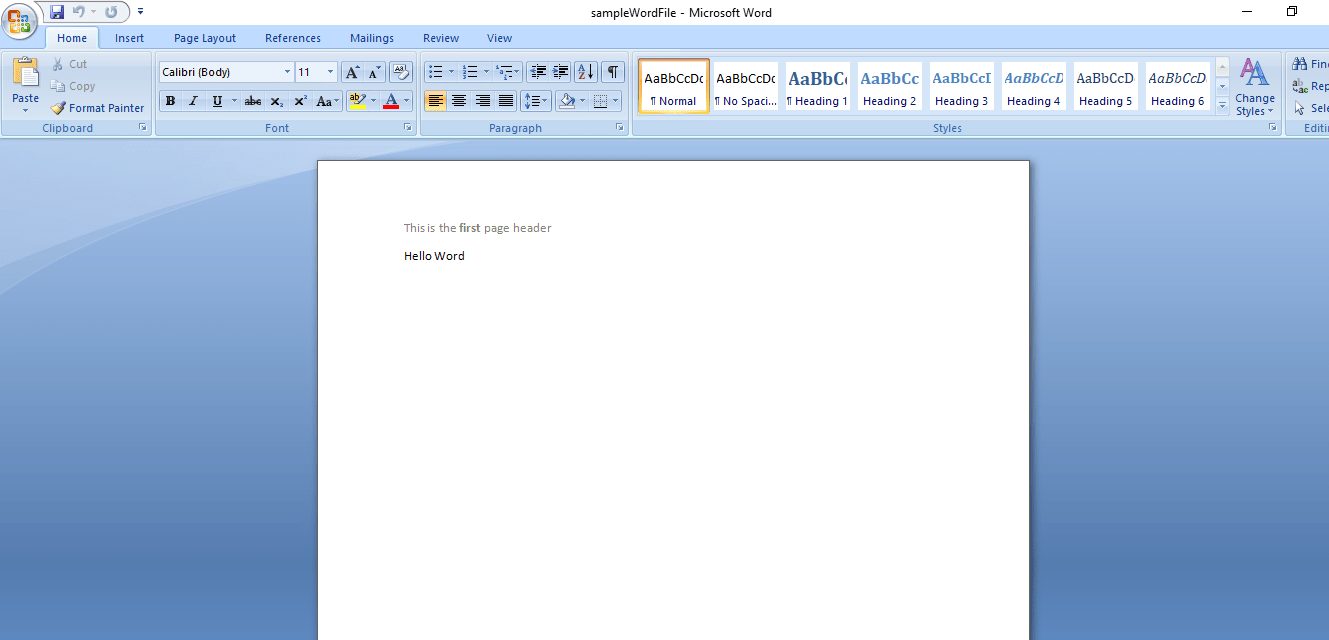
Once you will build and run the above code, you can see a new word document is created and can be viewed in your file location 'E:\DocxExample\sampleWordFile.docx'
Here is the document created using above code

Adding Images in Word Document using DocX in C#
In the above code, we are just adding header/footer and a simple paragraph, if you want you can also add a image file into word document using DocX, here is the sample code for it.
using System.IO;
using Xceed.Document.NET;
using Xceed.Words.NET;

namespace CreateWordDocument
{
    class Program
    {
        static void Main(string[] args)
        {
            string fileName = @"E:\DocxExample\sampleWordFile.docx";

            var doc = DocX.Create(fileName); //create docx word document

            var url = System.AppContext.BaseDirectory; //return /bin/debug location

            // Add a simple image from disk.
            var image = doc.AddImage(new FileStream(url + "/sample-image.jpg", FileMode.Open, FileAccess.Read) );
            var picture = image.CreatePicture(200f,200f);
            var p = doc.InsertParagraph("Here is a simple picture added from disk");
            p.AppendPicture(picture);


            doc.Save(); // save changes to file
        }
    }
}
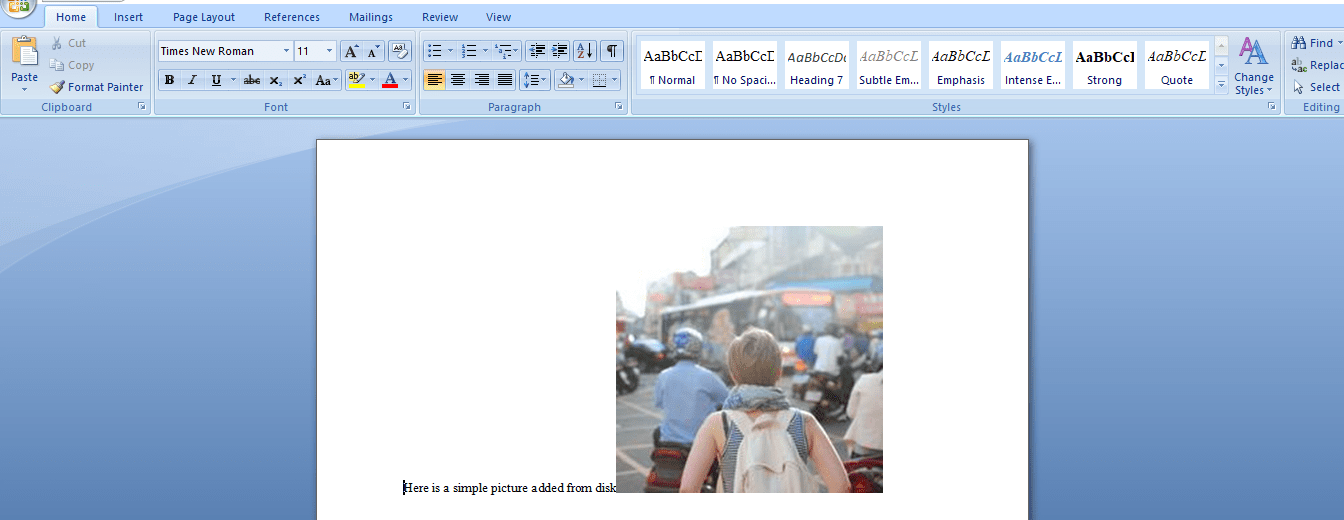
once, you will build and run above code in your console application, you will see word document as below

Add table content to Word document using DocX in C#
If you want you can also create table inside word document using DocX, so here is the sample code for it in C#
using System.IO;
using System.Linq;
using Xceed.Document.NET;
using Xceed.Words.NET;

namespace CreateWordDocument
{
    class Program
    {
        static void Main(string[] args)
        {
            string fileName = @"E:\DocxExample\sampleWordFile.docx";

            var doc = DocX.Create(fileName);

            //Create Table with 2 rows and 4 columns.
            Table t = doc.AddTable(2, 4);
            t.Alignment = Alignment.center; //align center

            //Fill first row adding text in four column
            t.Rows[0].Cells[0].Paragraphs.First().Append("AA");
            t.Rows[0].Cells[1].Paragraphs.First().Append("BB");
            t.Rows[0].Cells[2].Paragraphs.First().Append("CC");
            t.Rows[0].Cells[3].Paragraphs.First().Append("DD");

            //second row by adding text in four column
            t.Rows[1].Cells[0].Paragraphs.First().Append("EE");
            t.Rows[1].Cells[1].Paragraphs.First().Append("FF");
            t.Rows[1].Cells[2].Paragraphs.First().Append("GG");
            t.Rows[1].Cells[3].Paragraphs.First().Append("HH");
            //insert table in doc
            doc.InsertTable(t);

            doc.Save(); // save changes to file
        }
    }
}
In the above code, we are first creating table of 2 Rows and 4 Columns, then filling columns row by row using C#.
You may also like to read:
