
In previous article, we mentioned Model Binding in ASP.NET Core but now in this article, I have mentioned how we can send email in asp.net core using gmail SMTP server along with the attachments.
Step 1 – Create a new ASP.NET Core MVC project
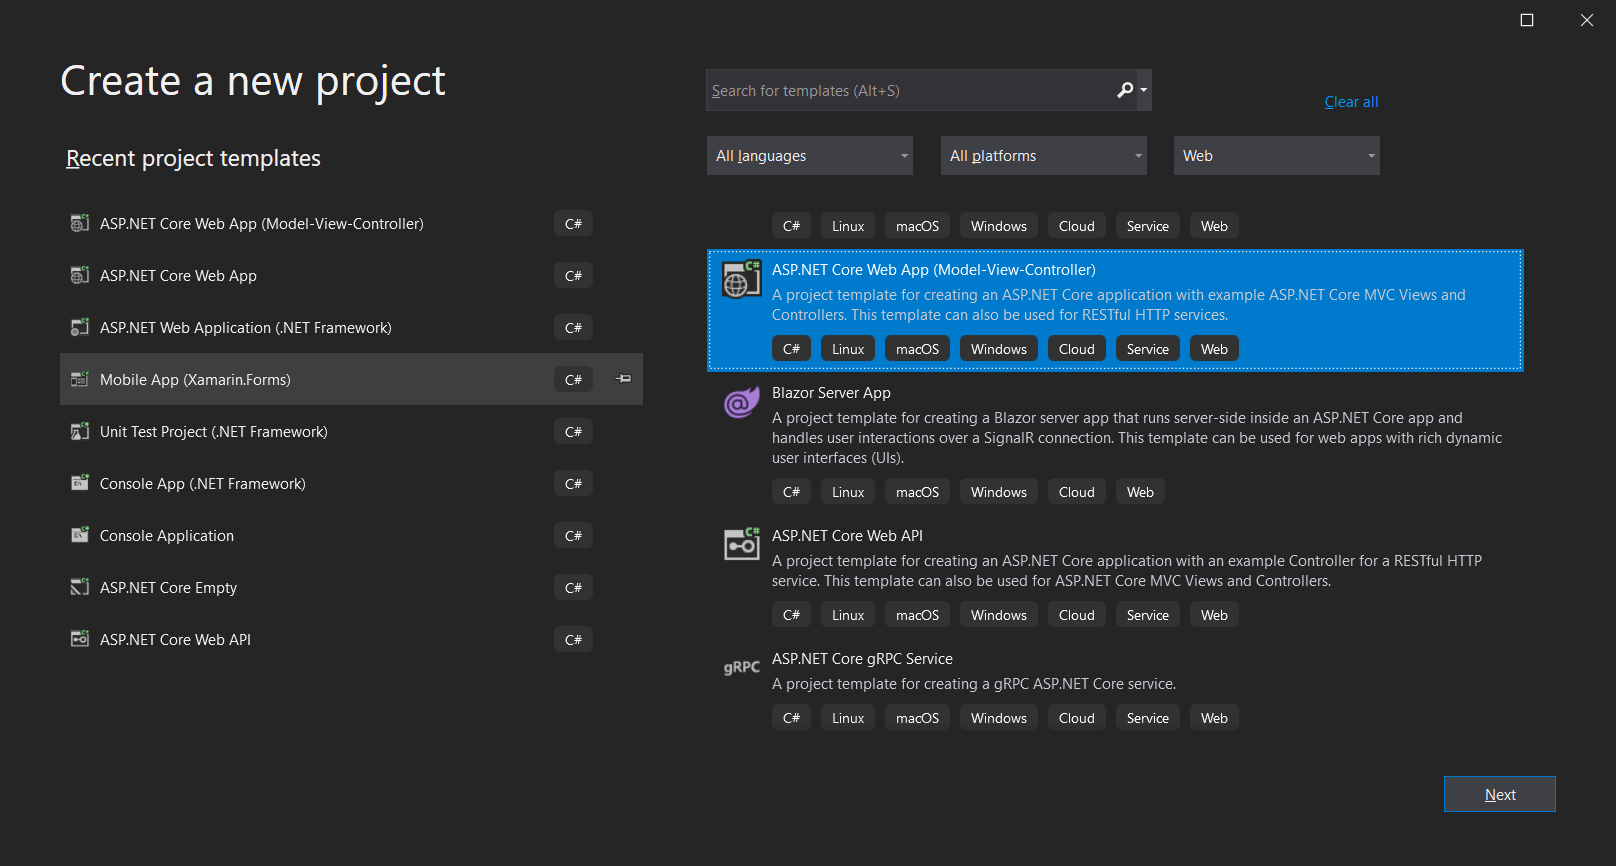
- Open Visual studio and Navigate to File -> New Project. You should see a “Create a new Project” window. On this screen, select ASP.NET Core Web APP (Model-View-Controller) Template and click next.
- Give the name for the project. You can give it anything but for this article let’s name it as "SendEmailFromAspNetCoreMvc". Also give the location where you want to save the project and click on Next.
- Now select the .NET Core Framework as .NET Core 3.1, keep other settings as is and then Click Create Button.
- Once you click on create, you should be able to see the project open in visual studio.
Step 2 – Add Gmail SMTP settings in appsettings.json file
In order to send an email, we will need few SMTP settings which we will read from appsettings.json file, so that they can be changed easily if needed.
Open appsettings.json file and add a new Section “SMTP_Settings” inside it. Add your gmail address and password in Email and Password settings.
{
  "Logging": {
    "LogLevel": {
      "Default": "Information",
      "Microsoft": "Warning",
      "Microsoft.Hosting.Lifetime": "Information"
    }
  },
  "AllowedHosts": "*",
  "SMTP_Settings": {
    "Host": "smtp.gmail.com",
    "Port": 587,
    "Email": "*******",
    "Password": "********"
  }
}
Step 3 – Create a ViewModel for Email.
Now that we have added the SMTP settings, we will create a new ViewModel class which will be used to pass the information from View to the controller POST method.
For this, Add a new class named “EmailViewModel” in the Models folder which is already present in the project. Add the properties in the class as shown below and also the required data annotations.
using Microsoft.AspNetCore.Http;
using System.ComponentModel.DataAnnotations;

namespace SendEmailFromAspNetCoreMvc.Models
{
    public class EmailViewModel
    {
        [Required(ErrorMessage = "To Field is required.")]
        [Display(Name = "To")]
        public string To { get; set; }

        [Display(Name = "CC")]
        public string CC { get; set; }

        [Required(ErrorMessage = "Subject is required.")]
        [Display(Name = "Subject")]
        public string Subject { get; set; }

        [Required(ErrorMessage = "Body is required.")]
        [Display(Name = "Body")]
        public string Body { get; set; }

        [Display(Name = "Attachment")]
        public IFormFile Attachment { get; set; }
    }
}
Step 4 – Add new Email Controller
As the view model is in place now, lets create a new Controller named “EmailController”.
To do this, right click on Controllers folder and select add new Controller. You should see this window.

Now select “MVC Controller – Empty” and Click Add. Now you will see another pop up window. Keep the selection on “MVC Controller – Empty”, and give the name as EmailController and click Add button.
Now you should see a new controller added with the Index Action inside it.
Now lets add a new action in the EmailController called "SendEmail". This action will also take one input parameter which is the view model class that we created "EmailViewModel" in step 3. Also, this action will be HTTP Post. Your controller should look like below.
using Microsoft.AspNetCore.Mvc;
using SendEmailFromAspNetCoreMvc.Models;

namespace SendEmailFromAspNetCoreMvc.Controllers
{
    public class EmailController : Controller
    {
        public IActionResult Index()
        {
            return View();
        }

        [HttpPost]
        public IActionResult SendEmail([FromForm] EmailViewModel model)
        {
            return View("Index", model);
        }
    }
}
Step 5 – Read SMTP settings from Email Controller.
In order to send email from the SendEmail action, we will need to read the SMTP settings from appsettings.json file that we added in Step 2.
To do this, add a new folder called “Configuration” in the project and add a new class inside it, called “SMTPSettings” as shown below -
namespace SendEmailFromAspNetCoreMvc.Configuration
{
    public class SMTPSettings
    {
        public string Host { get; set; }
        public int Port { get; set; }
        public string Email { get; set; }
        public string Password { get; set; }
    }
}
In the EmailController, add a constructor and inject the IConfiguration interface from Microsoft.Extensions.Configuration namespace, which will be used to read the appsettings. Also, add the below code to read the SMTP settings. Your controller should look like below.
using Microsoft.AspNetCore.Mvc;
using Microsoft.Extensions.Configuration;
using SendEmailFromAspNetCoreMvc.Configuration;
using SendEmailFromAspNetCoreMvc.Models;

namespace SendEmailFromAspNetCoreMvc.Controllers
{
    public class EmailController : Controller
    {
        private readonly SMTPSettings _smtpSettings;

        public EmailController(IConfiguration configuration)
        {
            _smtpSettings = new SMTPSettings();
            configuration.GetSection("SMTP_Settings").Bind(_smtpSettings);
        }

        public IActionResult Index()
        {
            return View();
        }

        [HttpPost]
        public IActionResult SendEmail([FromForm] EmailViewModel model)
        {
            return View("Index", model);
        }
    }
}
Step 5 – Add logic for the SendEmail action.
Now that we have read the SMTP settings, let's add the logic in the SendEmail Action.
using Microsoft.AspNetCore.Mvc;
using Microsoft.Extensions.Configuration;
using SendEmailFromAspNetCoreMvc.Configuration;
using SendEmailFromAspNetCoreMvc.Models;
using System.IO;
using System.Net;
using System.Net.Mail;

namespace SendEmailFromAspNetCoreMvc.Controllers
{
    public class EmailController : Controller
    {
        private readonly SMTPSettings _smtpSettings;

        public EmailController(IConfiguration configuration)
        {
            _smtpSettings = new SMTPSettings();
            configuration.GetSection("SMTP_Settings").Bind(_smtpSettings);
        }

        public IActionResult Index()
        {
            return View();
        }

        [HttpPost]
        public IActionResult SendEmail([FromForm] EmailViewModel model)
        {
            if (ModelState.IsValid)
            {
                try
                {
                    using (MailMessage mm = new MailMessage(_smtpSettings.Email, model.To))
                    {
                        mm.Subject = model.Subject;
                        mm.Body = model.Body;

                        if (!string.IsNullOrEmpty(model.CC))
                            mm.CC.Add(model.CC);

                        if (model.Attachment != null)
                        {
                            string fileName = Path.GetFileName(model.Attachment.FileName);
                            mm.Attachments.Add(new Attachment(model.Attachment.OpenReadStream(), fileName));
                        }
                        mm.IsBodyHtml = false;
                        using (SmtpClient smtp = new SmtpClient())
                        {
                            smtp.Host = _smtpSettings.Host;
                            smtp.EnableSsl = true;
                            NetworkCredential NetworkCred = new NetworkCredential(_smtpSettings.Email, _smtpSettings.Password);
                            smtp.UseDefaultCredentials = true;
                            smtp.Credentials = NetworkCred;
                            smtp.Port = _smtpSettings.Port;
                            smtp.Send(mm);

                            ViewBag.Message = "Email Sent Successfully";
                        }
                    }
                }
                catch (System.Exception ex)
                {
                    ViewBag.ErrorMessage = ex.Message;
                }
            }
            return View("Index", model);
        }
    }
}
Let's understand what we have done here.
- With ModelState.IsValid, we are just verifying that the model that we have received has all the necessary fields passed by the view. If not it will return the view with error.
- We are initializing a new instance of System.NET.Mail.MailMessage which takes two arguments, from email and to email. From email will be email which are using in appsettings, and to email will be coming from the view. We are also assigning the other properties of mail messsage like Subject, Body, CC.
- Then, we are initializing a new SMTPClient with settings from appsettings.json file and calling the send method of SMTP client.
Step 6 – Add the View for the Send Email.
Since we have our controller ready, lets create a view which will call these controller actions.
Right click on the Index action method in the Email Controller, and select Add View. It should open below popup window.

Now select "Razor View – Empty" and click on Add button, after which a window will pop up.
Now keep the name as Index.cshtml and click on Add button. This should add a new Empty view in "Views -> Email" folder.
To create the form for sending the email we will use the Bootstrap to design our form. You can find more information on bootstrap site.
Add the below code in the Index.cshtml file
@model EmailViewModel

<!doctype html>
<html>
<head>
    <link href="https://cdn.jsdelivr.net/npm/bootstrap@5.0.2/dist/css/bootstrap.min.css" rel="stylesheet" integrity="sha384-EVSTQN3/azprG1Anm3QDgpJLIm9Nao0Yz1ztcQTwFspd3yD65VohhpuuCOmLASjC" crossorigin="anonymous">
</head>
<body>

    <form asp-action="SendEmail" method="post" enctype="multipart/form-data">
        @if (!string.IsNullOrEmpty(ViewBag.Message))
        {
            <div class="alert alert-success" role="alert">
                @ViewBag.Message
            </div>
        }
        @if (!string.IsNullOrEmpty(ViewBag.ErrorMessage))
        {
            <div class="alert alert-danger" role="alert">
                @ViewBag.ErrorMessage
            </div>
        }
        <div class="mb-3">
            @Html.LabelFor(model => model.To, new { htmlAttributes = new { @class = "form-label" } })
            @Html.EditorFor(model => model.To, new { htmlAttributes = new { @class = "form-control" } })
            @Html.ValidationMessageFor(model => model.To, "", new { @class = "text-danger" })
        </div>
        <div class="mb-3">
            @Html.LabelFor(model => model.CC, new { htmlAttributes = new { @class = "form-label" } })
            @Html.EditorFor(model => model.CC, new { htmlAttributes = new { @class = "form-control" } })
        </div>
        <div class="mb-3">
            @Html.LabelFor(model => model.Subject, new { htmlAttributes = new { @class = "form-label" } })
            @Html.EditorFor(model => model.Subject, new { htmlAttributes = new { @class = "form-control" } })
            @Html.ValidationMessageFor(model => model.Subject, "", new { @class = "text-danger" })
        </div>
        <div class="mb-3">
            @Html.LabelFor(model => model.Body, new { htmlAttributes = new { @class = "form-label" } })
            <textarea asp-for="Body" class="form-control"></textarea>
            @Html.ValidationMessageFor(model => model.Body, "", new { @class = "text-danger" })
        </div>
        <div class="mb-3">
            @Html.LabelFor(model => model.Attachment, new { htmlAttributes = new { @class = "form-label" } })
            @Html.EditorFor(model => model.Attachment, new { htmlAttributes = new { @class = "form-control" } })
        </div>
        <button type="submit" class="btn btn-primary">Send</button>
    </form>

    <script src="https://cdn.jsdelivr.net/npm/bootstrap@5.0.2/dist/js/bootstrap.bundle.min.js" integrity="sha384-MrcW6ZMFYlzcLA8Nl+NtUVF0sA7MsXsP1UyJoMp4YLEuNSfAP+JcXn/tWtIaxVXM" crossorigin="anonymous"></script>
</body>
</html>
Once you add this code in Index.cshtml file, run the code and navigate to https://localhost:44377/Email. Here the localhost address can change based on your settings. Once this URL is loaded, you should see below screen.

Let’s test our code. Fill the fields for To, CC, Subject, Body and let’s add a sample text file as attachment and click on Send Button.
And we got an error
"The SMTP server requires a secure connection or the client was not authenticated. The server response was: 5.7.0 Authentication Required."
Well let's understand what happened here.
The reason for this error is, Google blocks the sign in attempts from some apps or devices that do not use modern security standards. Since these apps and devices are easier to break into, blocking them helps keep your account safer. Also, Google has now disabled the option for the allowing less secure sign-in for the apps. So in order to access the email accounts from any app, we need to create a new App Password. To do this follow the next step.
Step 7 – Create app password in Google account settings.
Open Gmail and click on the Profile Icon/Picture and you should see the option "Manage your Google Account". Click on this option.

Once you click on it, click on Security Option on the left and scroll to "Signing in to Google" section.

Now for creating app password, it is mandatory to turn on the 2-step verification. If its off, you will not see the option to create app password. So click on 2-Step Verification and you will see below screen.
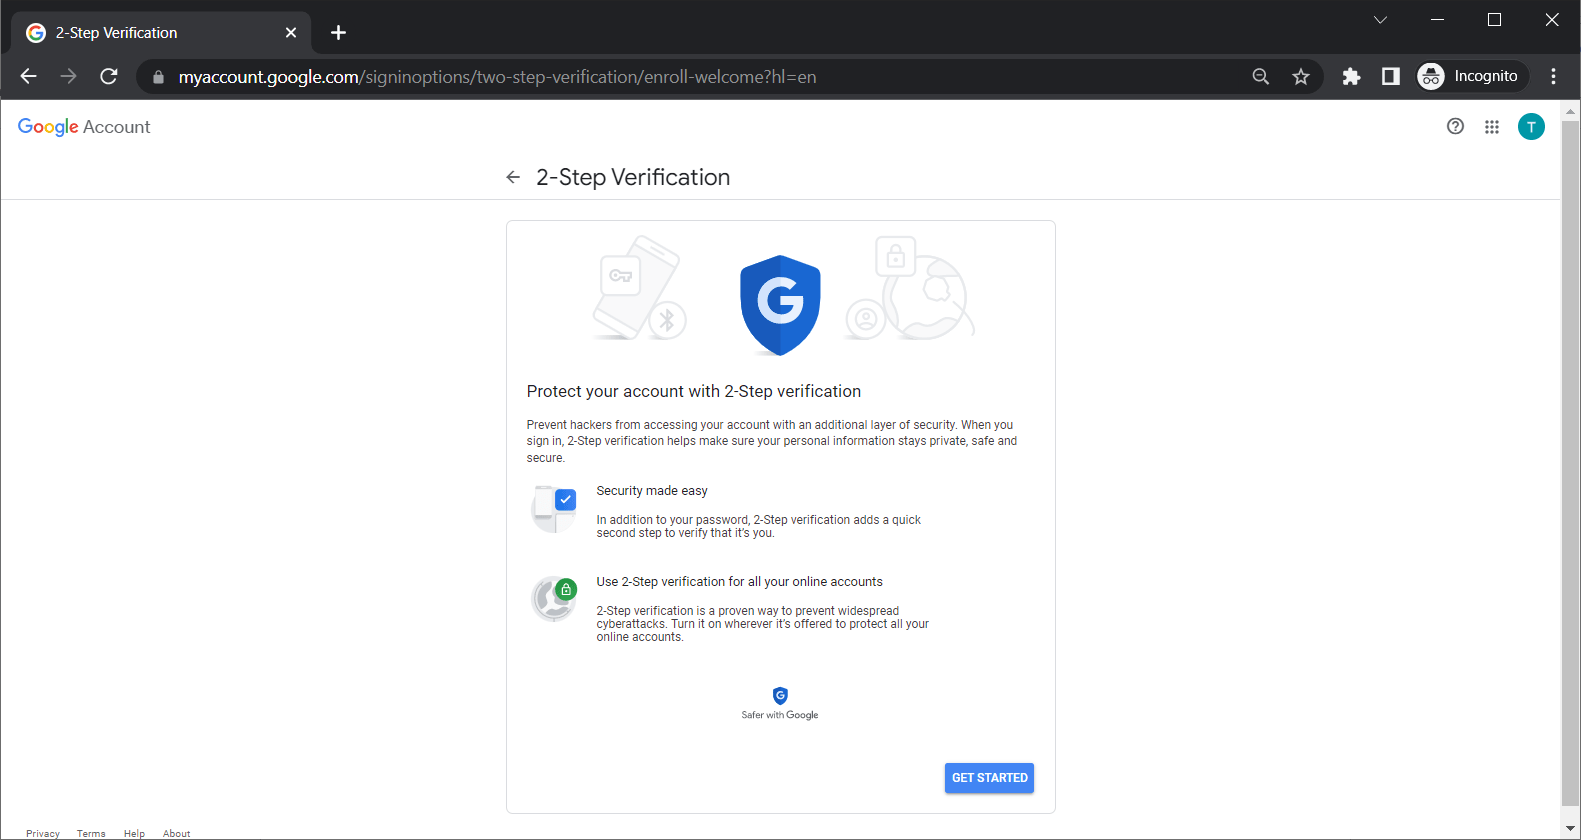
Click on Get Started. Enter your email account password if it asks for it.
Now enter your mobile number and select the mode to get the codes on your mobile and click next.

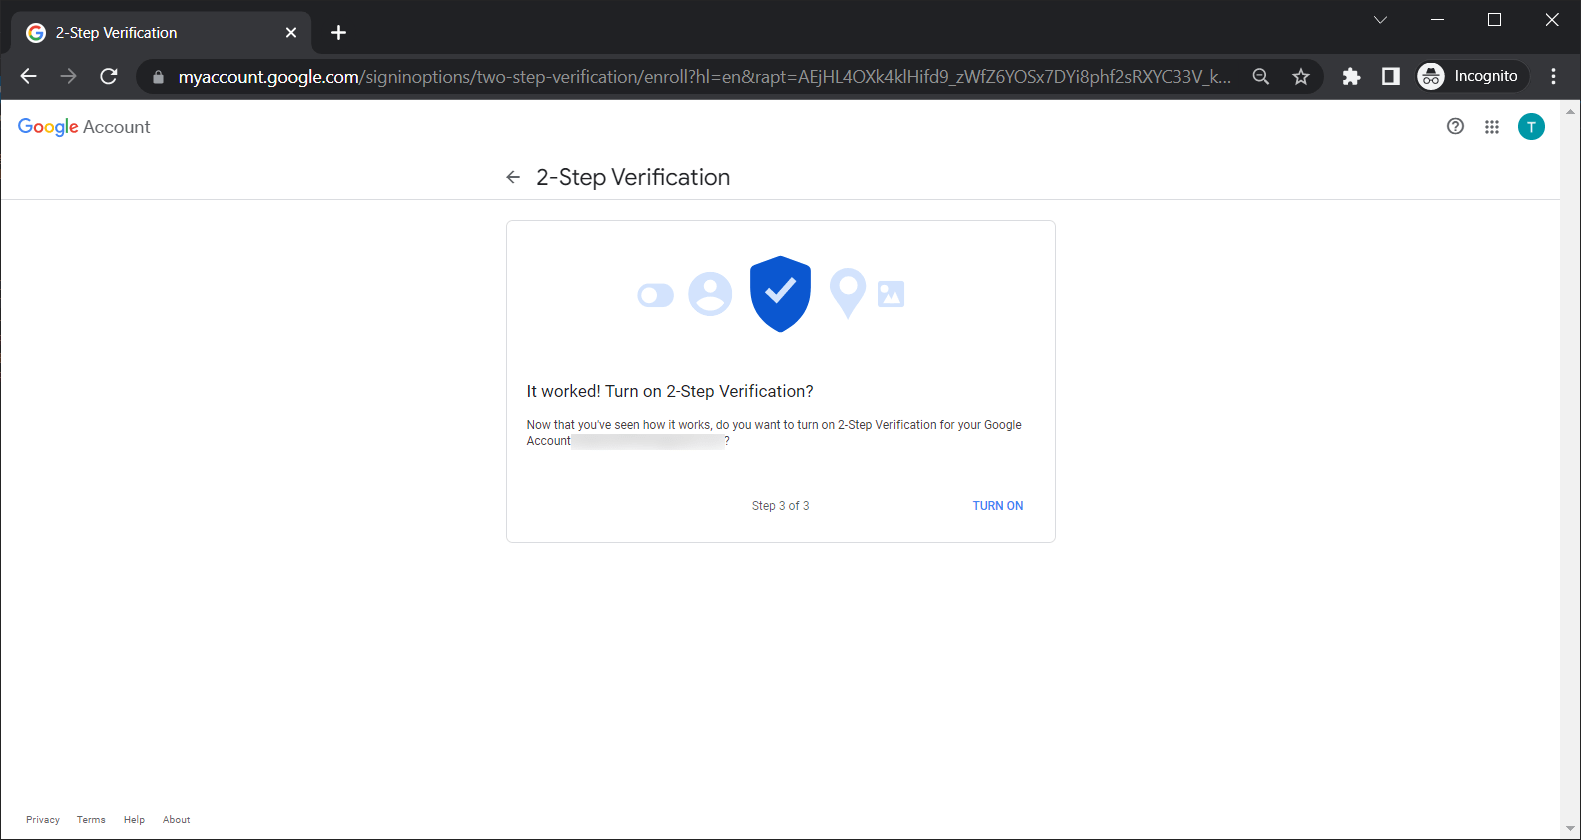
Once the code is validated, you will get below screen. Click on Turn ON.
This will turn on the 2-Step Verification process for the gmail account and you should now able to see the option for the App Passwords in the Security section of “Signing in to Google” as shown below.

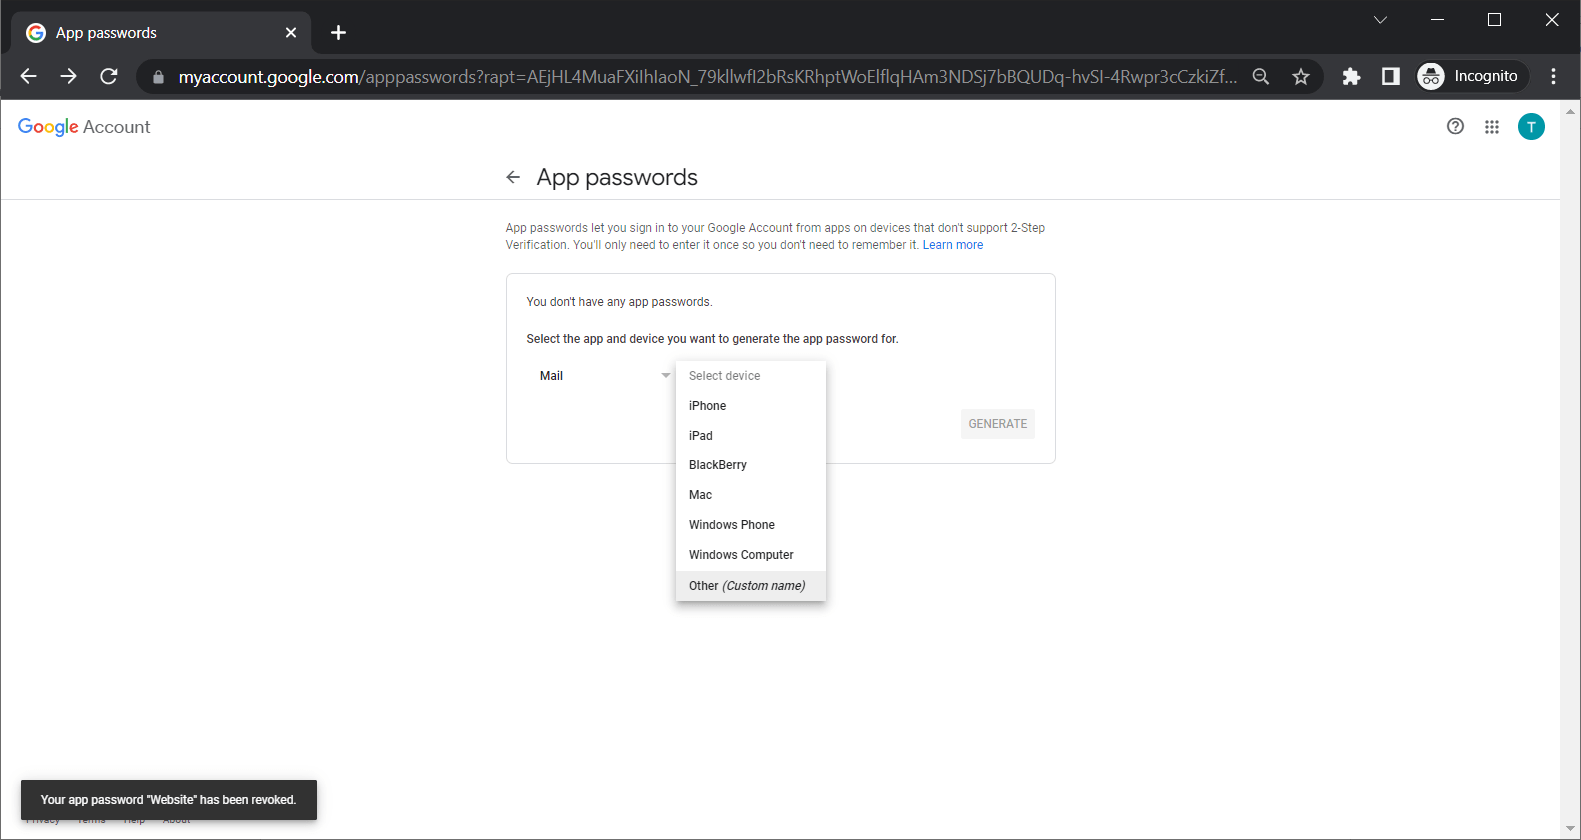
Now click on app passwords and you should see below screen.

Select Mail in the App and in the Select Device, select Other.
Enter the name of the Website for which we are generating the password as shown below.
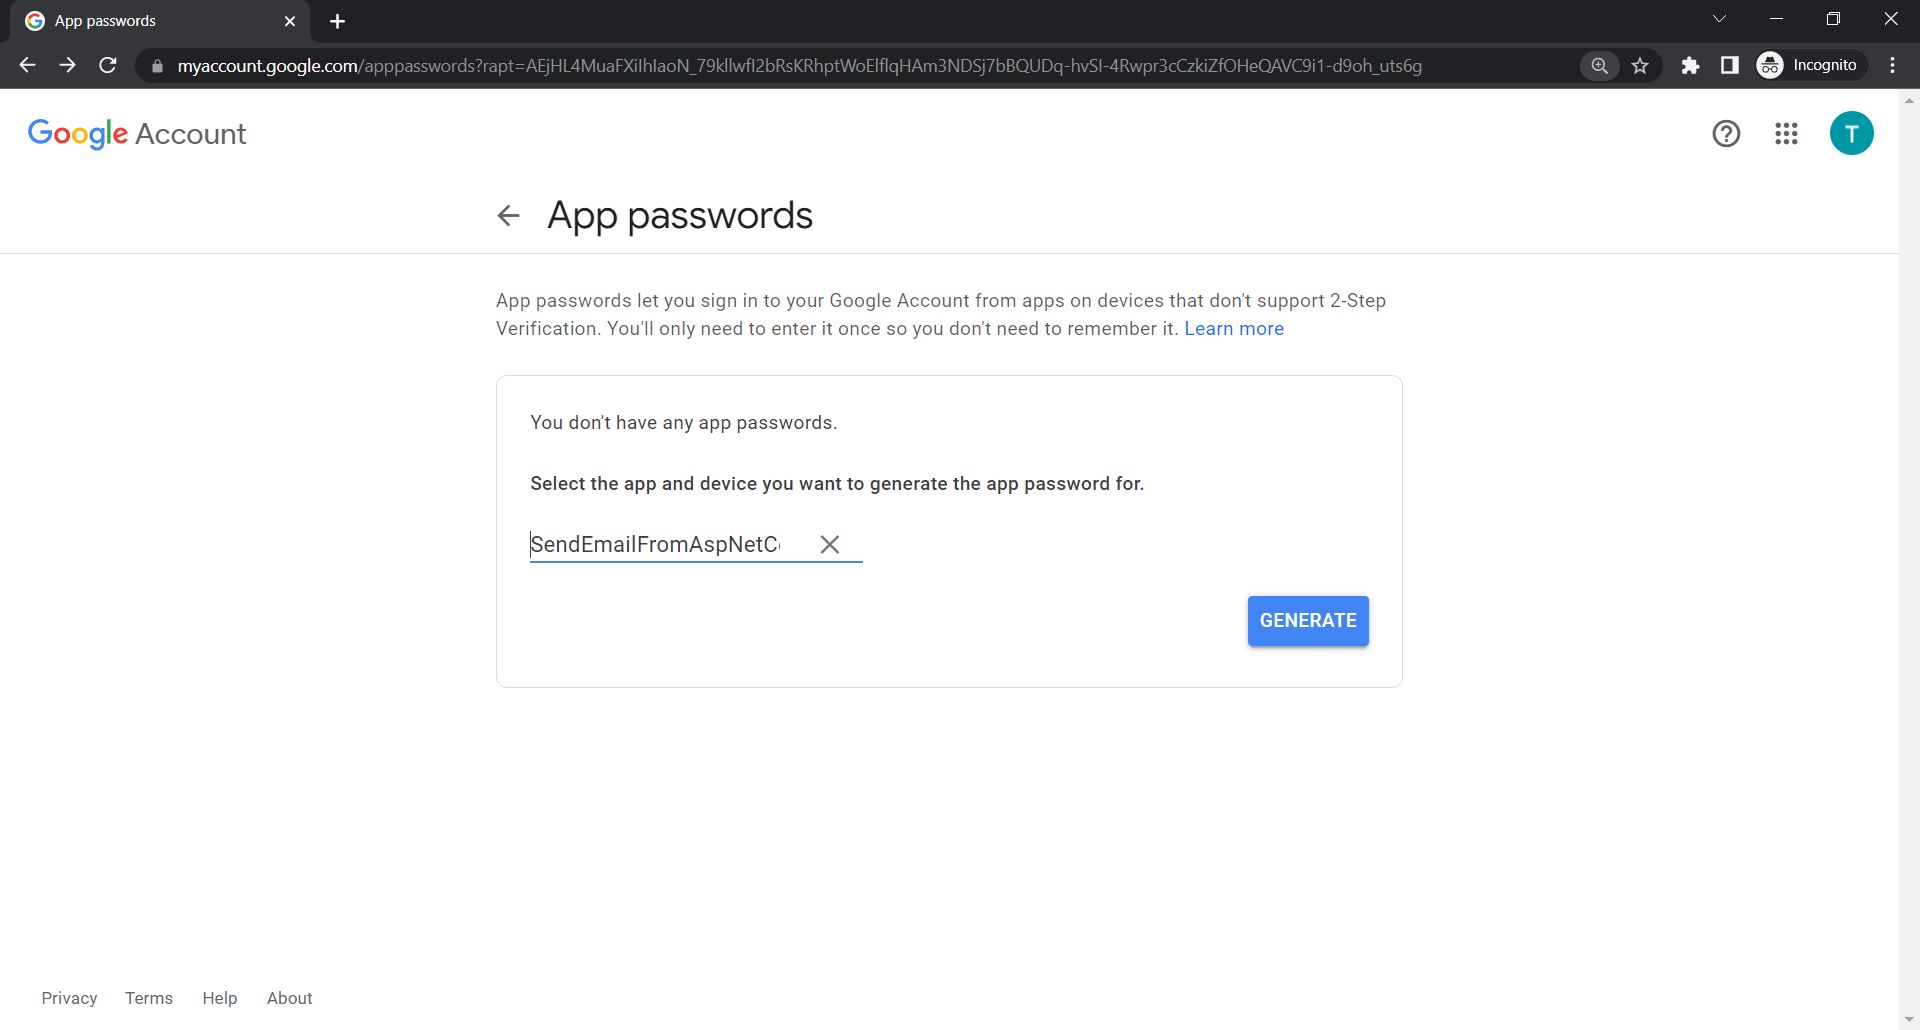
Now click on Generate and you should see the password generated shown below. Copy this password and paste in your appsettings.json file, SMTP_Settings -> Password instead of your gmail account password.

Final Result –
Once you update the app password generated in step 7, run the application again and voila it works. You just sent an email successfully.

Here is the actual email received –

I hope this article will help you. Thanks for your time.
You can find the full code for this article here on github.
You may also like to read:
Email Address Validation in C# (With and without Regex)
Validating Email in ASP.NET using Regularexpressionvalidator
DropDownList in ASP.NET Core MVC
File upload using Ajax in ASP.NET Core
Model Validation in ASP.NET Core MVC (With Custom validation example)
Form Submit in ASP.NET Core MVC using Tag Helpers
Import Excel data in Sql server database in ASP.NET Core MVC using OleDb
Missing Startup.cs in .NET 6, how to configure?
 Buy us a coffee
 Become a Patron