
In one of the previous articles, I have mentioned File upload on AWS using C# in ASP.NET Core and Using CKEditor (Rich-Text Editor) in ASP.NET Core but now in this article, I have mentioned how to upload file to Azure Blob Storage using C#
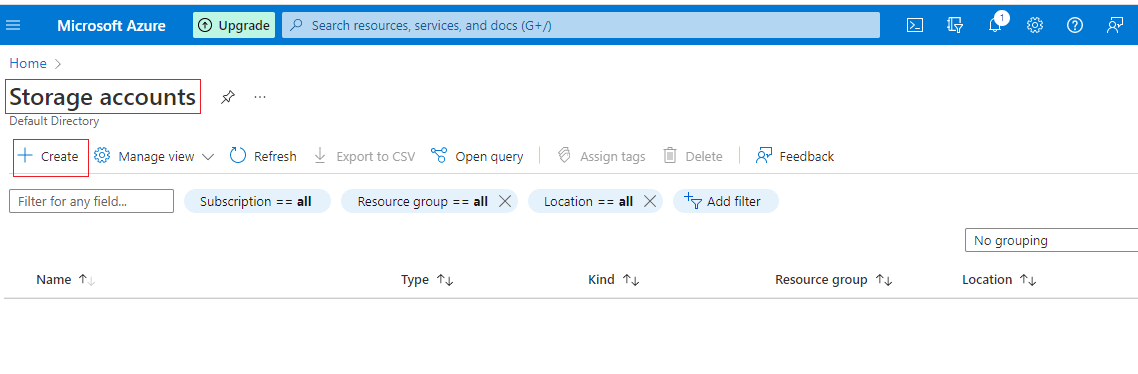
Step 1: We will go to the Azure portal and create a new account or login into our current account, then select "Storage Accounts", then we will create a new Storage account or use the old one.
I am creating a new storage account here by clicking on "Create new", and entering the Storage account name in small letters.
Once I have entered the storage account name, I will click on "Review+Create", which will take you to next screen there it will review your details and validate.

Once Validation is passed in a few seconds, the "Create" button will be enabled, you can click on it and it will start deploying your new Storage account.
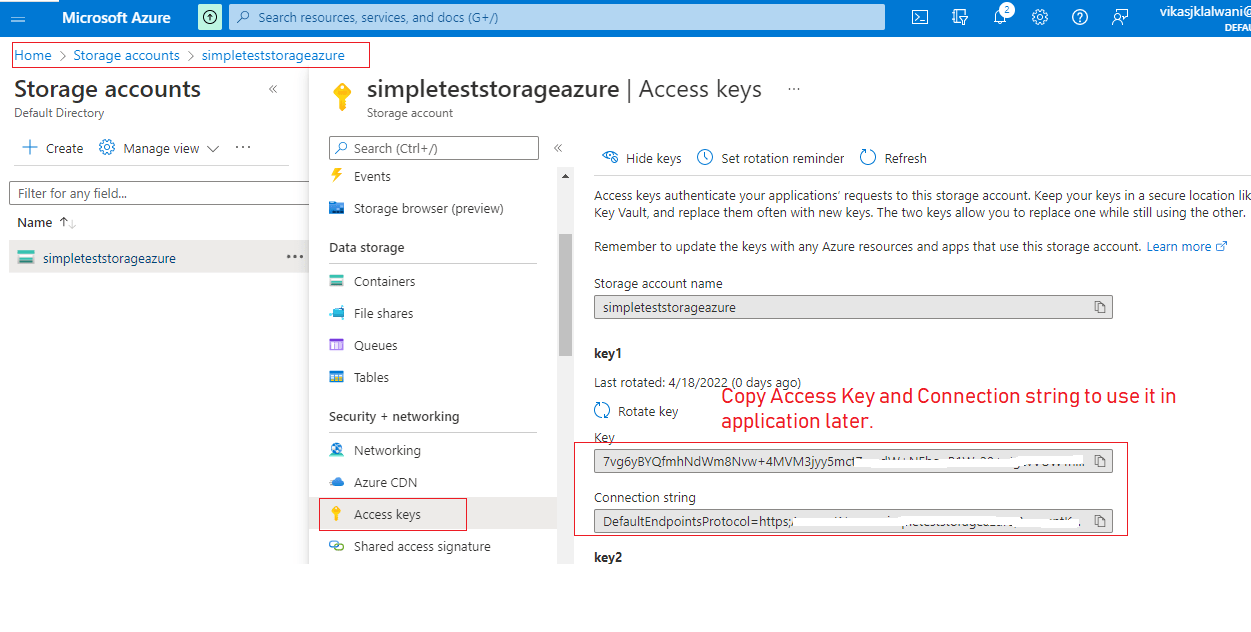
Step 2: Once we have a storage account, we will try to get an "Access Key" for that account, so we can use it C# application later.
So Navigate to "Storage account" -> Select your Storage Account -> Access Key and then Copy "Key" and "Connection String" to use it in our C# application to upload files on Azure storage.
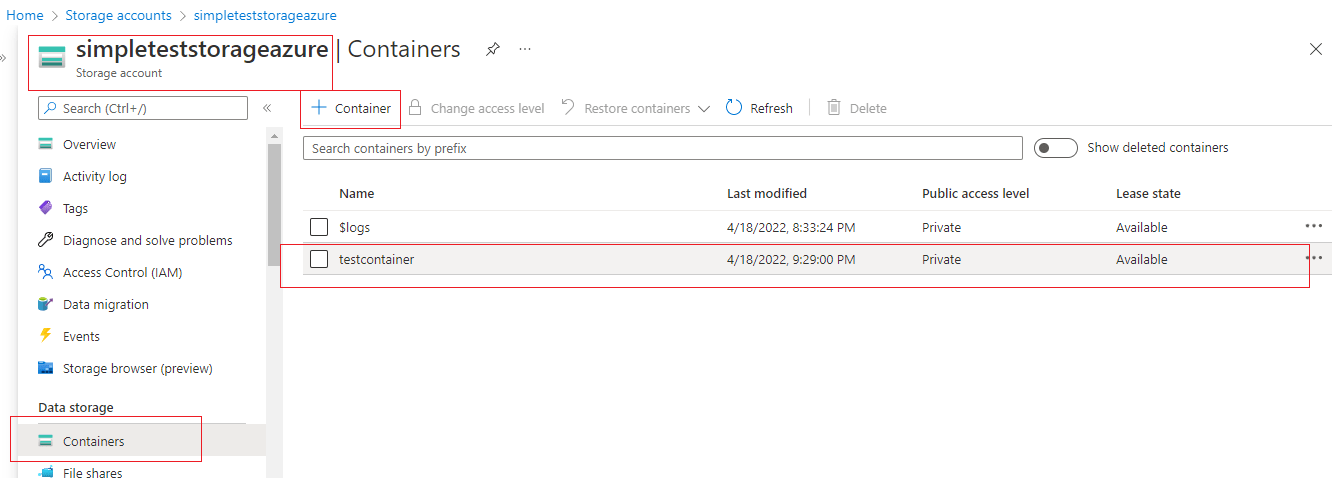
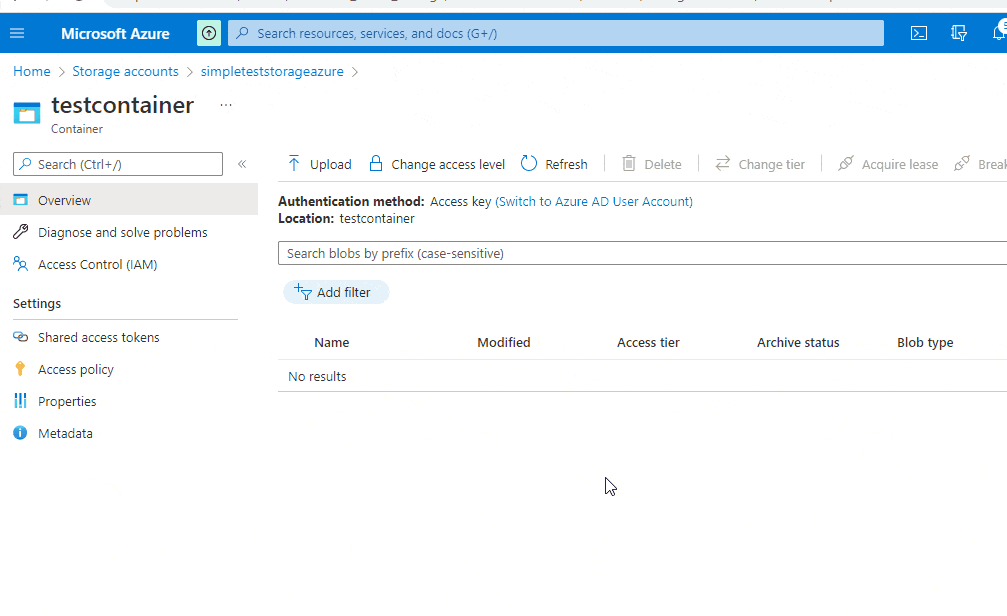
Step 3: We still need to Create a container, so navigate to "Azure Storage" -> Your Storage Account -> Select "Containers" and then click on "+Container", name your container and give permissions as needed, then click "Create".
Step 4: Once, we have set up everything on Azure, then we will create a new Console application in Visual Studio, so open Visual Studio and Click on "Create new project" -> Select "Console application" and then name it, then click on "Create"
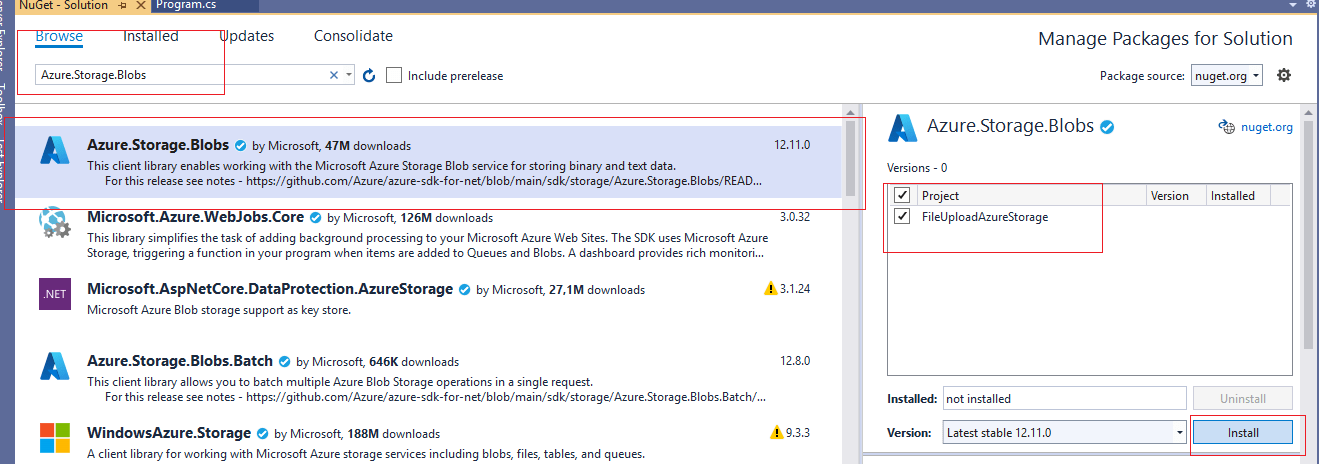
Step 5: Once the template is generated by Visual Studio, Navigate to "Tools" ->Select "Nuget Package Manager" -> select "Manage Nuget Package for solution" , then click on "Browse" -> Search for "Azure.Storage.Blobs", then select it and install.
Step 6: We have everything install, now you can go to your program.cs and use the code below, to upload file on Azure Storage.
using Azure.Storage.Blobs;
using System;
using System.IO;

namespace FileUploadAzureStorage
{
    class Program
    {
        static void Main(string[] args)
        {
            var localFilePath = "D:\\sample_XLSX.xlsx";

            BlobServiceClient blobServiceClient = new BlobServiceClient("DefaultEndpointsProtocol=https;AccountName=simpleteststorageazure;AccountKey=YourKey6/UNw==;EndpointSuffix=core.windows.net");

            BlobContainerClient containerClient = blobServiceClient.GetBlobContainerClient("testcontainer");

            Console.WriteLine("Uploading to Blob storage as blob:\n\t {0}\n", blobServiceClient.Uri);
            BlobClient blobClient = containerClient.GetBlobClient("sample_XLSX");

            using FileStream uploadFileStream = File.OpenRead(localFilePath);

            blobClient.Upload(uploadFileStream);
            uploadFileStream.Close();
        }
    }
}
Once you will build and run above project, by replacing Connection String.
You will see output like below
That's it, hope it helps.
You may also like to read:
Connect to SQL Server in C# (example using Console application)
Open and Read XML in C# (Examples using Linq, XMLReader, XMLDocument)
Encrypt and Decrypt files in C#
Resize image in C# (Console application example)
 Buy us a coffee
 Become a Patron