In this article, I am going to explain, how to show validation messages in the bootstrap pop-up modal and save the data in the database using PartilView and Entity Framework, without closing the Bootstrap Pop-up modal.
Steps to Validate Bootstrap Pop-up Modal in MVC C# using jQuery unobtrusive and Ajax.BeginForm
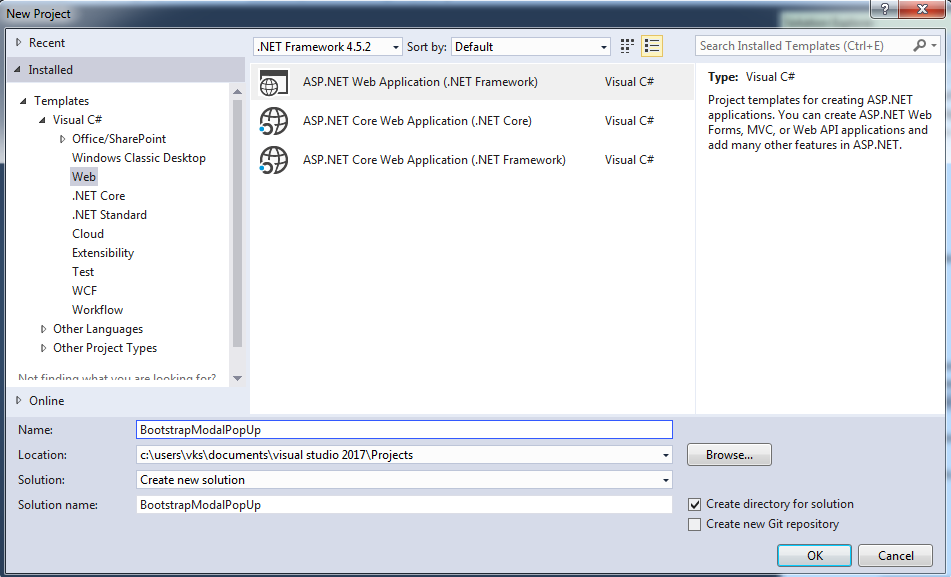
Step 1: Create a new MVC web-application using Visual Studio, naviagte to File-> New -> Project -> Select "Web" from left-pane and Select "ASP.NET Web-application" from right-pane, name it "BootstrapModalPopup" and click "ok"
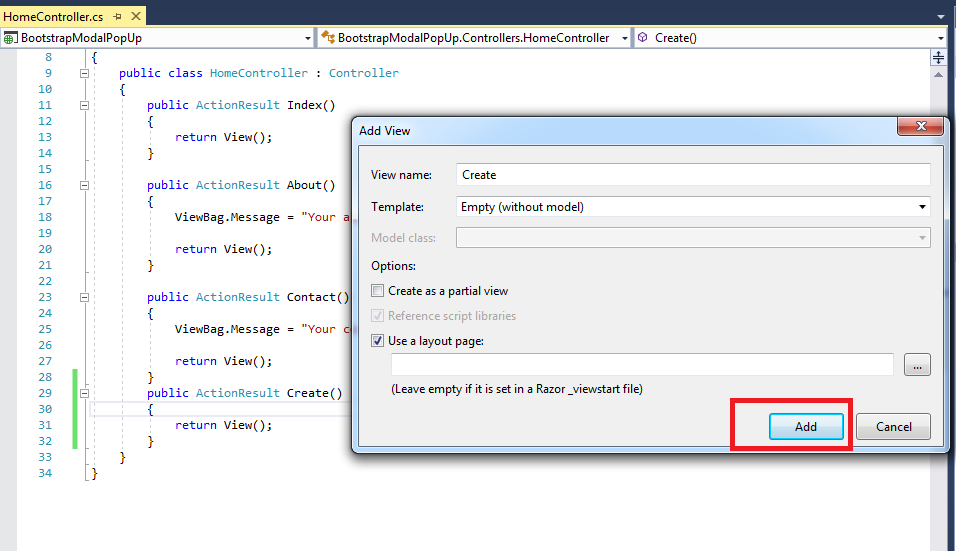
Step 2: Go to your HomeController(as we have are using basic template, not empty MVC project), and create a new ActionMethod
public ActionResult Create()
{
    return View();
}
Step 3: Right Click inside above created ActionMethod and Click on "Add View"
Step 4: Let's assume we have a Database in our Local/SQLExpress named as BlogDb, we will connect to the database using Code First Migration with Entity Framework. or connect to database using database first approach and entity framework.
Let's create the class for Blog with data annotation in mvc now, for validation purpose,so our Blog.cs would be
public class Blog
    {
        public int BlogId { get; set; }
        [Display(Name = "Blog Name")]
        [Required(ErrorMessage = "Blog Name is Required.")]
        public string Name { get; set; }
        [Display(Name = "Category Name")]
        [Required(ErrorMessage = "Category Name is Required.")]
        public string CategoryName { get; set; }
    }
The above class will be used to validate the user input in pop-up model using Data-annotations.
Step 5: In the View(Create.cshtml), place this code to show pop-up button
@{
ViewBag.Title = "Create";
}
<button type="button" class="btn btn-primary btn-lg" data-toggle="modal" data-target="#myModal">
Create Blog
</button>
<!-- Modal -->
@using (Ajax.BeginForm("SaveBlog", "Home", new AjaxOptions() { HttpMethod = "POST",UpdateTargetId = "frmEmp" }))
{
<div>
<div class="modal fade" id="myModal" tabindex="-1" role="dialog" aria-labelledby="myModalLabel">
<div class="modal-dialog" role="document">
<div class="modal-content">
<div class="modal-header">
<button type="button" class="close" data-dismiss="modal" aria-label="Close">
<span aria-hidden="true">×</span>
</button>
<h4 class="modal-title" id="myModalLabel">Create New Blog</h4>
</div>
<div class="modal-body" id="frmEmp">
@Html.Partial("_Blog")
</div>
<div class="modal-footer">
<input type="submit" class="btn btn-primary" value="Submit" />
</div>
</div>
</div>
</div>
</div>
}
Step 6: Refer the required js files in your view, we will need following files
<script src="~/Scripts/jquery-1.10.2.min.js"></script>
<script src="~/Scripts/bootstrap.min.js"></script>

<script src="~/Scripts/jquery.validate.min.js"></script>
<script src="~/Scripts/jquery.validate.unobtrusive.min.js"></script>
<script src="~/Scripts/jquery.unobtrusive-ajax.min.js"></script>
in the above scripts, jQuery.validate and jquery.validate.unobtrusive is used to validate modal without refreshing page and jquery.unobtrusive-ajax.min.js is used to update Target Div in Ajax.BeginForm, while jquery is required to run these scripts.
Note: Remember to include
jquery.unobtrusive-ajax.min.jsotherwise, UpdateTargetId of Ajax.BeginForm will not work. If You don't find this file in your script folder install it using Nuget Command Install-Package Microsoft.jQuery.Unobtrusive.AjaxNote: Please Comment down these lines from your _Layout.cshtml page,
 @*@Scripts.Render("~/bundles/jquery")
    @Scripts.Render("~/bundles/bootstrap")
    @RenderSection("scripts", required: false)*@
we don't need them, as only required files are referenced by us above
Step 7: Create _Blog.cshtml PartialView, with the below code, to refer Blog.Cs Model in it, so that we can validate it before submitting it to the controller.
@model BootstrapModalPopUp.Models.Blog

@Html.AntiForgeryToken()
@if (ViewBag.Message != null)
{
    <span class="text-success">@ViewBag.Message</span>
}
<span class="alert-danger">
    @Html.ValidationSummary()
</span>
<div class="form-group">
    @Html.LabelFor(model => model.Name)
    @Html.TextBoxFor(model => model.Name, new { @class = "form-control" })
</div>
<div class="form-group">
    @Html.LabelFor(model => model.CategoryName)
    @Html.TextBoxFor(model => model.CategoryName, new { @class = "form-control" })
</div>
Step 8: Create C# code in controller to save the data
[HttpPost]
[ValidateAntiForgeryToken]
[HandleError]
public ActionResult SaveBlog(Blog model)
{
if (ModelState.IsValid)
{
// Save it in database
//Return Success message
ViewBag.Message = "Blog saved";
ModelState.Clear();
return PartialView("_Blog");
}
return PartialView("_Blog", model);
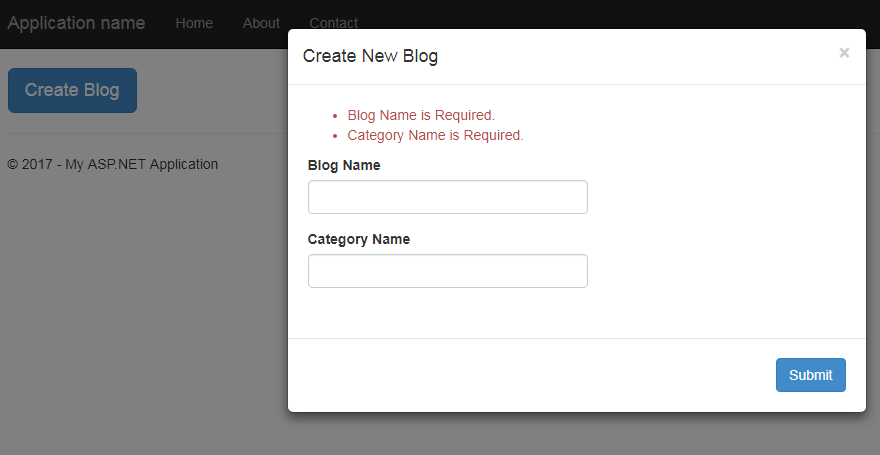
}Step 9: Run your application, Got to URL "/Home/Create", and Click on "Create Blog", and try to submit the form without entering details, you will see errors, without page-refresh(reload), these error messsages are generated with the help of Data annotation in MVC, you can change these error messages from Blog.cs
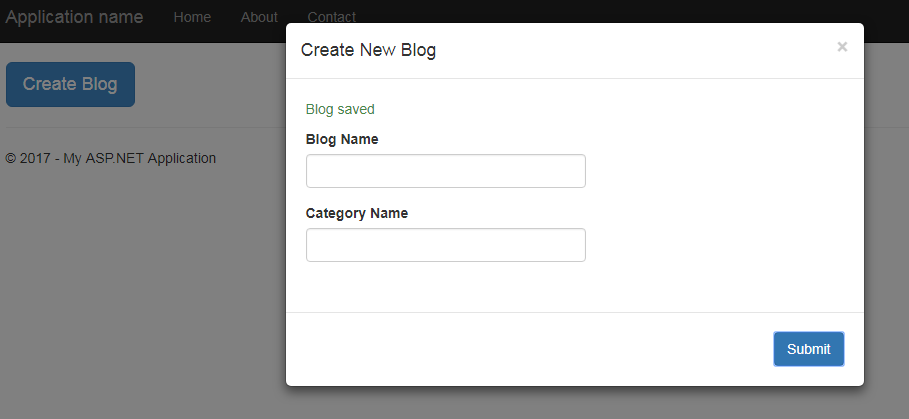
Step 10: Enter the details and Click "Submit", it will save the details in a database, and you will see Bootstrap Modal with the fields cleared up, this is due to the line in UpdateTargetId = "frmEmp" in Ajax.Beginform, where "frmEmp" is the id of div.
Here is the working demo of the above example
Note: I am not saving any data in database but you can connect your project to the database using Database first approach or Code First Approach, and save the form data in database after validation.
 Buy us a coffee
 Become a Patron