
In previous post, I have explained how you can create Hello World Program in C# using Visual Studio, and have also explained it in First C# Hello World program of tutorial, so in this post I am going to provide you details of creating C# Hello World program using Visual Studio Code, light weighted IDE.
Visual Studio Code, is a great and lightweight code Editor, which has simple and easy interface. Although it doesn't have too many tools like bigger IDE (Visual Studio, Eclipse, PyCharm etc), it can still be useful by using it various extensions. If you haven't downloaded Visual Studio Code yet, you can download it from here: https://code.visualstudio.com/download
Once you have downloaded and installed the above set up, you need to follow below steps.
1.Install C# Extension
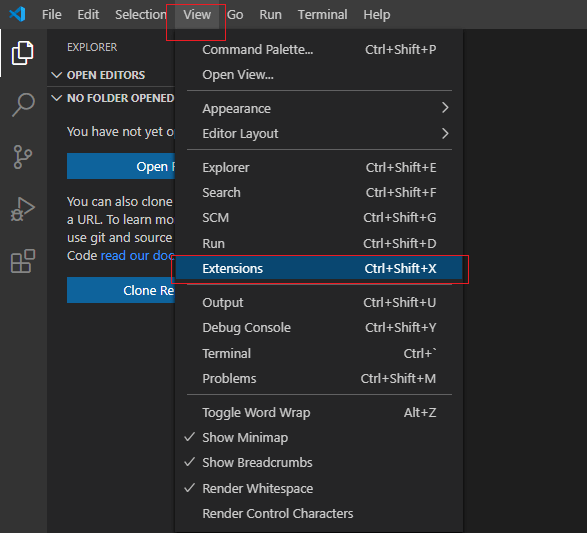
After installing VS Code, open it and Navigate to "View"-> "Extension"
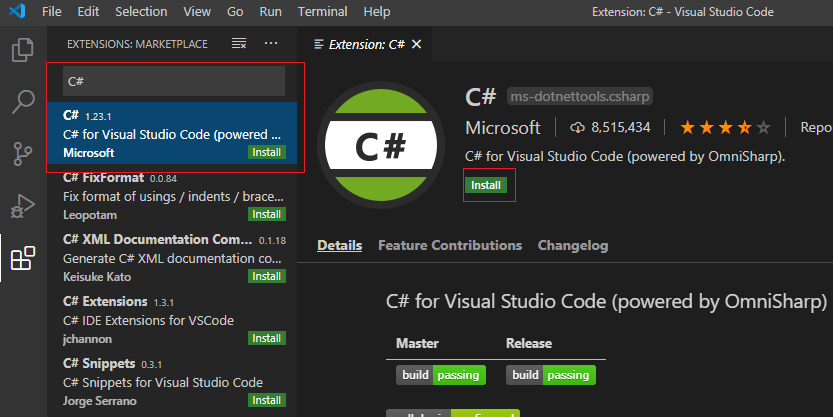
Now Serach for "C#" and select the "C#" Extension, click on "Install" button, as shown in the below image
It would be helpful if you install few more plugins with the above one, repeating same procedure, you must install these extensions also
- C# FixFormat
- C# Extensions
- Code runner
Once you have installed all these Extensions, head to next step.
2. Download and Install .NET Core (Skip this if you have already installed it)
We still need .NET Core in our system so click "here", you can download .NET Core SDK based on your system ( Windows, Linux or Mac) and then Install the SDK, once the installation is finished you will see output similar to below
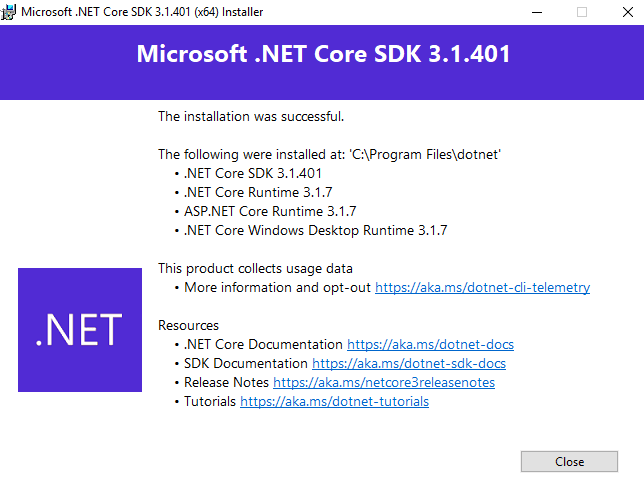
In the above image, I have installed .NET Core 3.1, if you want you can download latest .NET Core 7 or .NET Core 8
3. Create new C# project and run
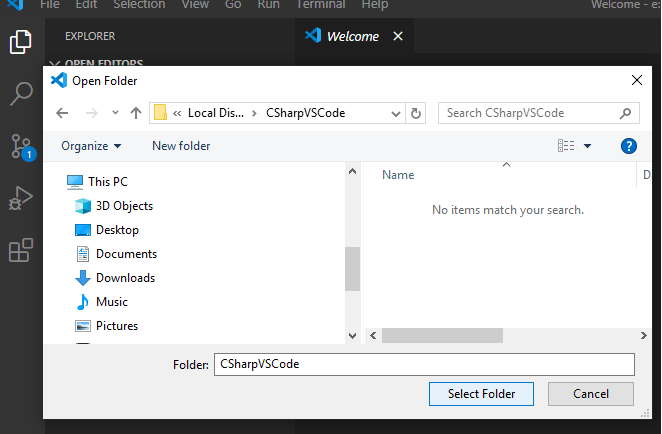
Now, we need to create new C# project,so create a new folder on "Dekstop" or on C:\ or anywhere else on your PC, basically wherever you prefer. I will create it inside "E:\" as "CSharpVSCode"
Now open VS Code, navigate to "File"-> "Open Folder", open the folder which we have just created above.
Now, Select "Terminal"-> "New terminal" and then run command "dotnet new console" (remeber to select "powershell" as your default shell before running this command)
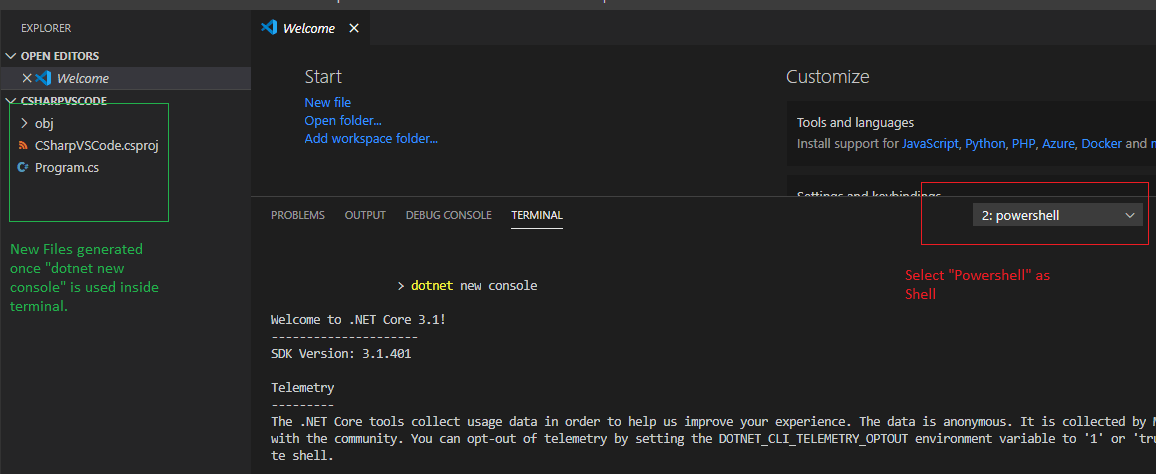
Once the command is executed successfully, you will see new files were generated.
Above command creates a project file with the name of your directory, and a C# file called Program.cs that contains the code of the program.
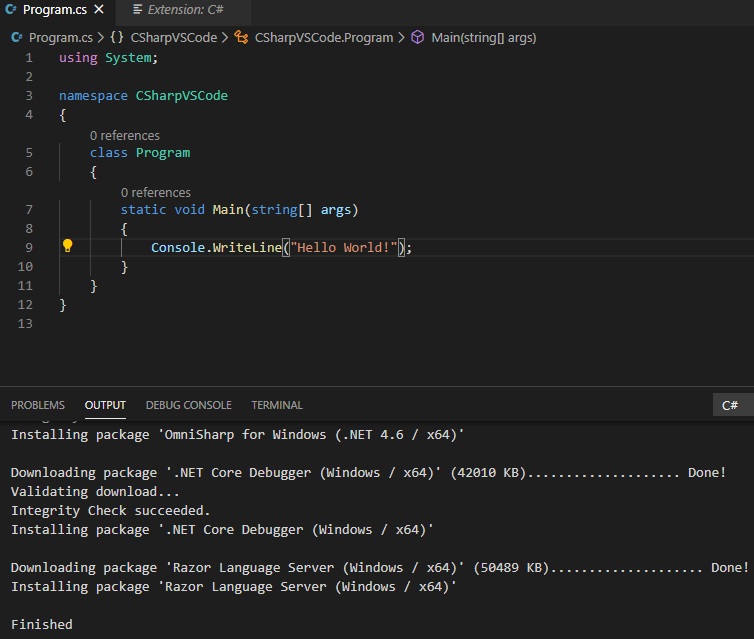
Select and click on "Program.cs" to open it, once you will open it, VS Code might ask you to install "C#" Extension if not correctly installed and enabled on Step 1, then install it.
Once everything is done, you will see output like below
That's it, we are done.
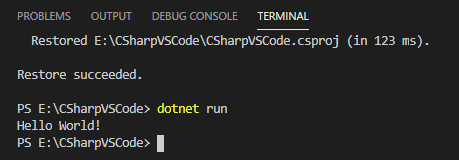
Now we just need to compile the above code and get the output.
So, if you want to run and compile the above code, you can simply type "dotnet run" in the terminal to see the output
If you are new C# and want's to understand the code, here is the code explanation, which we have explained here
- namespace: Namespace is a collection of collection of classes and sub namespaces. These sub namespaces are also namespaces in their own scope, but may have to be referenced using the parent namespace.
- class: it’s a keyword which is used to define class. A class is a piece of code that defines how a class of objects should behave, and what properties they can have.
- static: It is a keyword which is used to declare the class variable. We don’t need to create object to access static variable.
- void: void is a return type of the main method.
- Main: Method is a logical representation of a behavior. Methods can be used to create functionalities for a class. A method can have a scope, the type of data it returns, a name to be referenced from other code, list of arguments that it can take.
Main is the method name, in console application , main method is the method which is required and runs/executes first. - string[] args: It is string array which is used to store the command line arguments. Writing this is optional.
- Console.WriteLine(“Hello World”): WriteLine is the method used for writing on the console application. In this code line, we print the "Hello World" string to the console. To print a message to the console, we use the
WriteLine()method of the Console class. The class represents the standard input, output, and error streams for console applications. Note that Console class is part of the System namespace. This line was the reason to import the namespace with theusing System;statement. If we didn't use the statement, we would have to use the fully qualified name of theWriteLine()method:System.Console.WriteLine("Hello World");. - Using system: These are usually called as Imports, we are importing just one namespace here "System", We can import other namespaces and use them in our program, but here only "System" namespace is required, because of Console.WriteLine method.
Although you can see we can easily create a new console application in Visual Studio code and even create .NET Core based web-application, I will recommend any beginner or advanced developer to use Visual Studio IDE for C# or .NET related projects, as it is more powerful and with Visual Studio extensions, it makes development easier in C#.
To Continue learning C#, you can check the Complete C# Tutorial
You may also like to read:
C# Console Writeline and Write
Best HTML Editors for developers
Best IDE for Web Development (C#, ASP.NET, Java , PHP, HTML, Javascript)
How to debug in visual studio? ( Tutorial to debug C# code )
 Buy us a coffee
 Become a Patron